¶ Miniature Complete Procedure
¶ Update History
| Number | Version | Update Date | What's Changed |
| 1 | V1.0 | 8/15/2023 | Initially published. |
¶ Devices, Materials, Software, and Tools
Devices used
| Number | Name | System Version |
| 1 | UltaCraft Reflex (printer) | V1.2.7.10 or later |
| 2 | UltaCraft Wash (washing machine) | V1.2.7.10 or later |
| 3 | UltaCraft Cure (curing machine) | V1.2.7.10 or laterV1.2.7.10 or later |
Material used
| Number | Name | Information | Supporting Layer Thickness |
| 1 | Production PAP10 | High-precision application resin. Ash Grey. | 30μm |
Software used for pre-processing
| Number | Name | Version |
| 1 | Blueprint Studio | V1.0.7 or later |
Tools used in post-processing
| Number | Name | Notes |
| 1 | Pliers | / |
| 2 | Art knife | / |
| 3 | Sponge sandpaper | 500 grit, 1000 grit, 1500 grit |
| 5 | Adhesive-backed sandpaper | 500 grit, 1000 grit, 1500 grit |
| 6 | Sanding board | / |
| 7 | Tweezers | / |
¶ Parameters
¶ Support Parameters
Auto-Support parameters (trussed) for miniatures
| Support Body | Lift Height (mm) | 4 |
| Trunk Diameter (mm) | 0.60 | |
| Overhang Angle (°) | 35 | |
| Truss Support | Lattice Size-XY | 4.5 |
| Lattice Size-Z | 6 | |
| Merge Level | 2 | |
| Support Density | Anchor Distance (mm) | 2.5 |
| Border Anchor Distance (mm) | 2 | |
| Connection | Top Diameter (mm) | 0.3 |
| Connection Length (mm) | 1.5 | |
| Contact | Contact Shape | None |
| Embedded Depth (mm) | 0.15 |
¶ Washing Settings
Washing settings for miniatures
| Number | Speed | Cleaning Solution | Washing Time | |
|---|---|---|---|---|
| Models in diff. support bases | Models in one support base or with protective casing | |||
| 1 | 80 r/min | 200 r/min | 95% alcohol | 2min rough wash + 2min fine wash |
* Models in diff. support bases must be placed with spacing in UltraCraft Wash to avoid collision or wear.
¶ Curing Settings
Curing settings for miniatures
| Number | Curing Medium | Heat or Not | Curing Time |
| 1 | Air | No | 30 min |
¶ Design Parameters
Design settings for miniatures
| Number | Item | Requirements | Image |
| 1 | Pillar | Diameter: 0.15 mm or above. Height: 4 mm or above. |
 |
| 2 | Hole | Diameter: 0.20 mm or above. Depth: 2 mm or above. |
 |
| 3 | Cranny | 0.20 mm or above. | 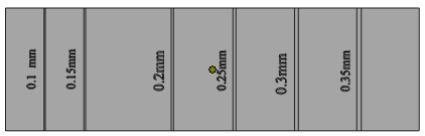 |
| 4 | No support offset | 1 mm or shorter. |  |
| 5 | Overhang angle | 25° or above. | 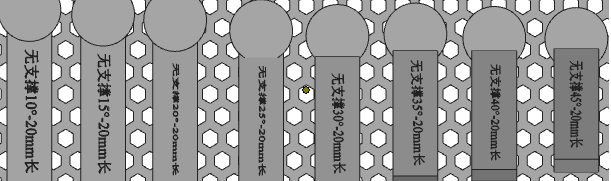 |
| 6 | Wall thickness | 0.20 mm or above. | 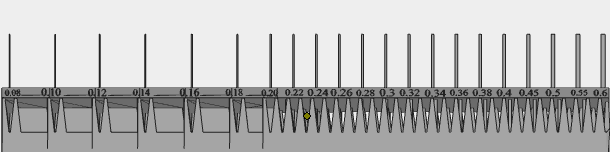 |
| 7 | Island | Number of islands that will obviously fall off or have missing should be 0. | 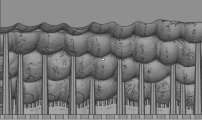 |
¶ Pre-Processing Procedures
¶ Create Projects
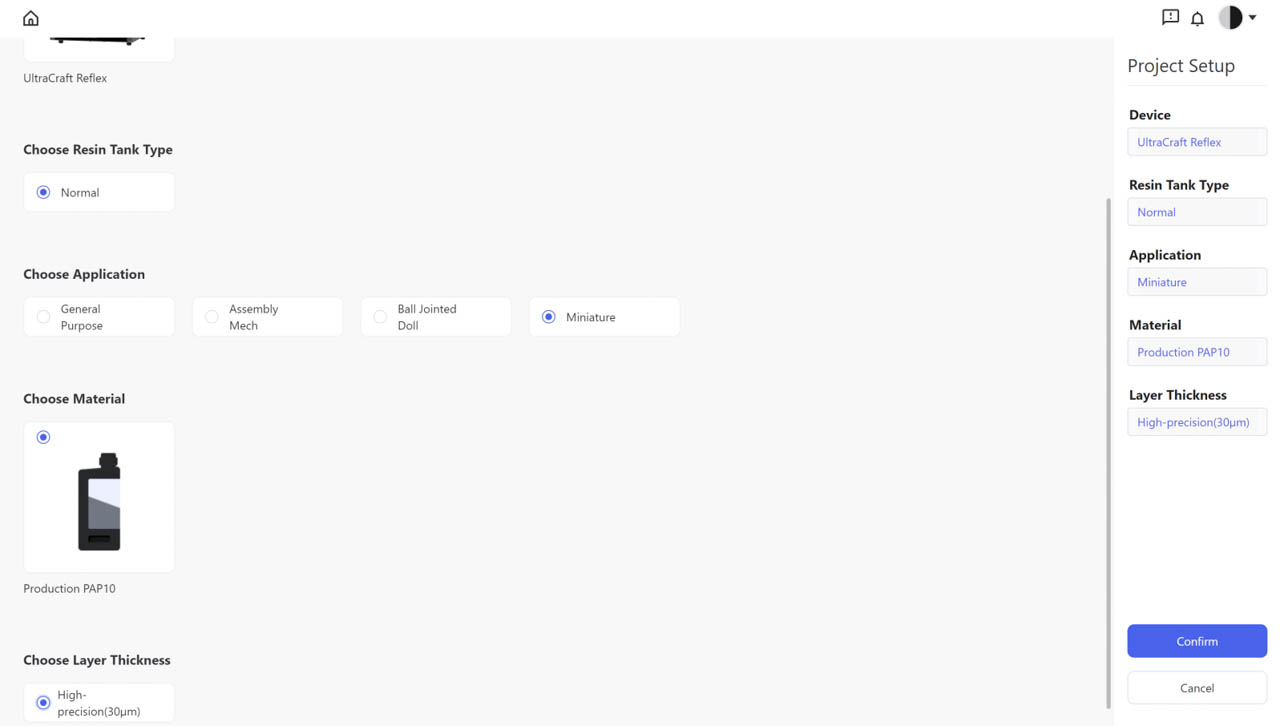
a.Open Blueprint Studio and enter “Slicer”.
b.Create a new project and set the parameters as: UltraCraft Reflex, Normal Resin Tank, Miniature Application, Production PAP10, Super HD (30μm).
¶ Prepare
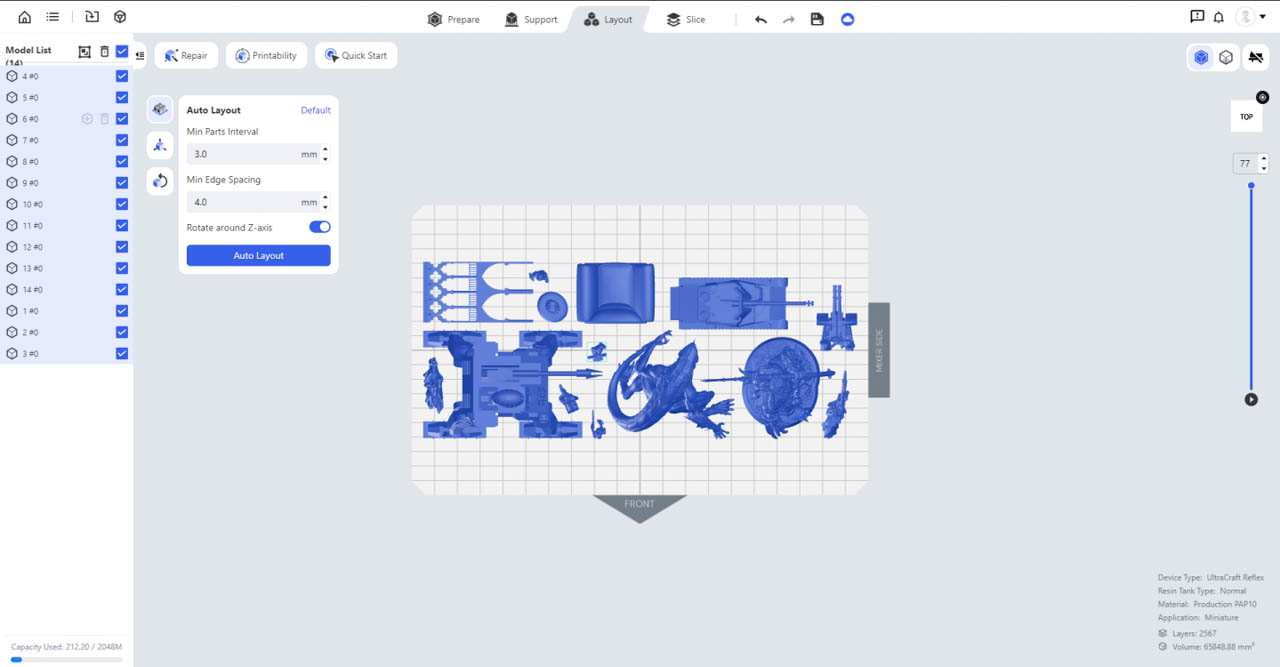
a.Import models in the new project by clicking “Import” icon or directly dragging models to the Studio.
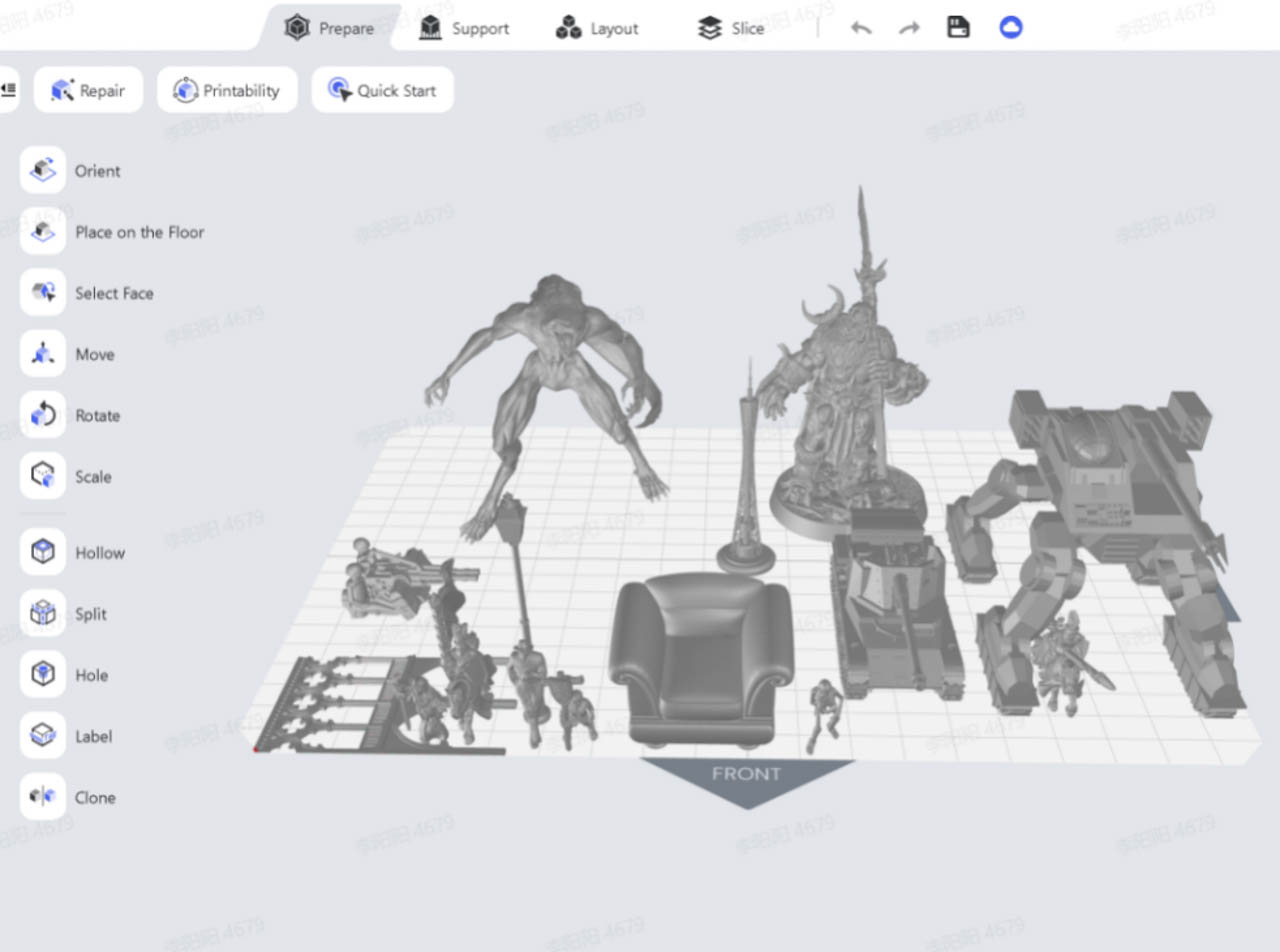
b.Layout: Adjust the position to place the models with “Move” tool and the angle with “Rotate” tool.
Recommended layout for various miniature models
| Number | Categories | Description | Image |
| 1 | Faces and tiny details | Faces and tiny details should face upward, avoiding any supports. | 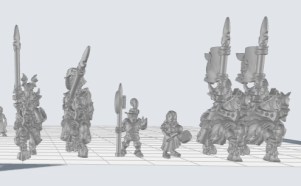 |
| 2 | Terrains and other structures with large flat surface | 1.Base should incline a little to avoid large flat layers after slicing. 2.For higher demands on surface, it's recommended to incline the print parts 41.09° and set the support’s overhang angle at 45°. For lower demands on surface, incline the print parts 30° and set the support's overhang angle at 35°. |
 |
| 3 | Scale models (military) | Such models are recommended to be inclined as they usually contain large flat surface and characteristic parts. For low demands on surface, it's recommended to incline the print parts 30° and set the support's overhand angle at 35°. | 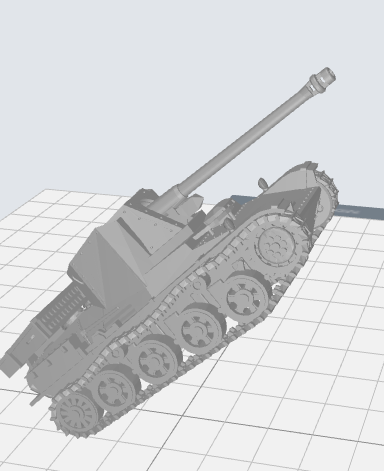 |
| 4 | Others | Principle is facing openings down and placing supports as few as possible. | 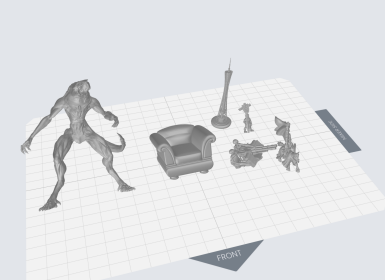 |
¶ Layout
You may "Move” and “Rotate” models to avoid them from crashing into each other or connect their plates for more convenient washing. Recommended Auto-Layout parameters: min parts interval - 3 mm, min edge spacing - 4 mm.
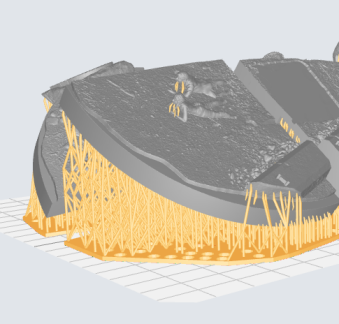
¶ Support
a.Auto-Support: Select all the models, and click "Auto-Supports” to generate supports with default parameters. (Connection tip diameter should be 0.2 mm at least)
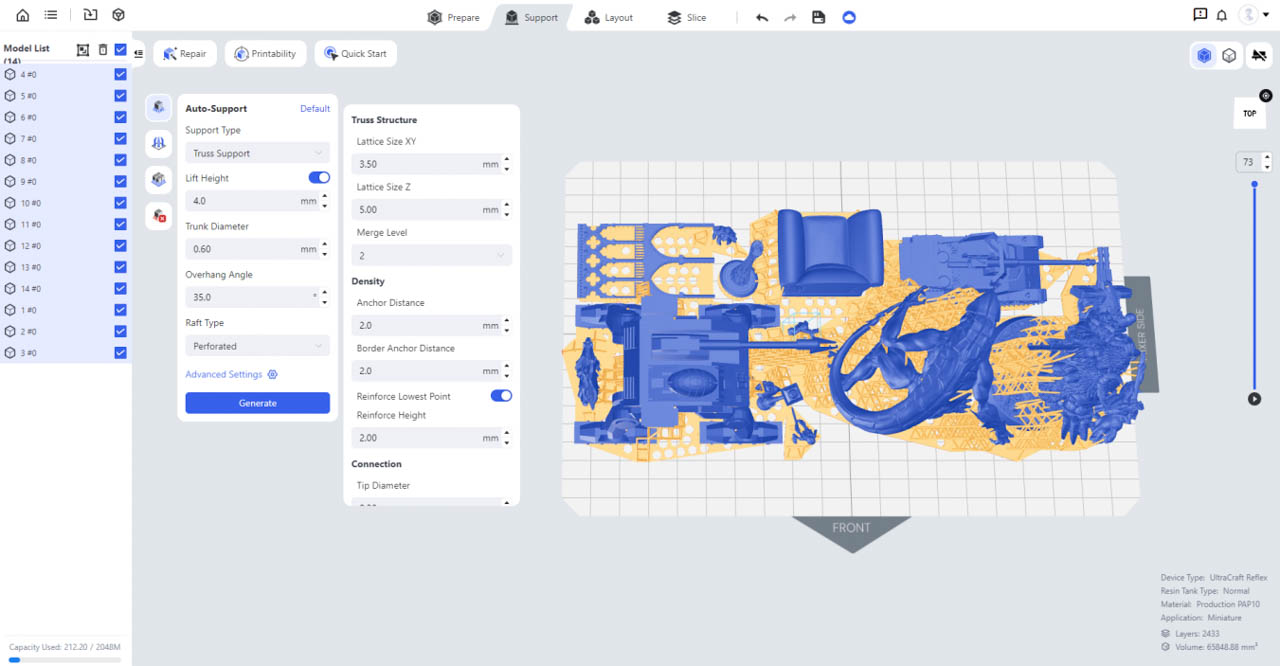
b.Manual-Support: Check if support contacts are auto-generated on the lowest points at key parts such as faces and tiny details. You may delete those not on the lowest points using “Manual-Support” tool.

¶ Slice (You may edit file names in the left list if needed)
a.On “Slice” page, set the parameters as follows and then perform slicing: layer thickness - 30 um, Z-compensation - on, anti-aliasing - on, fuzzing - 0.
b.For a highly smooth surface, you may set the “fuzzing” at 2.
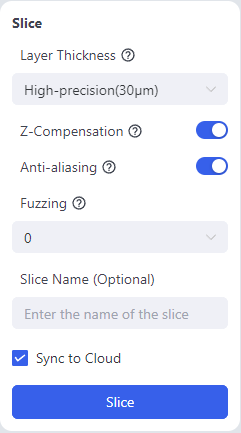
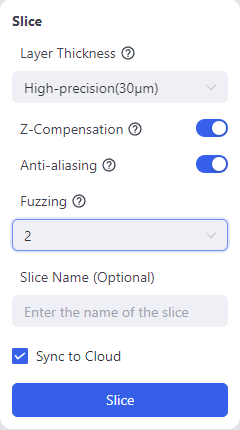
Slice parameters for regular surface (Left) Slice parameters for highly smooth surface (Right)
¶ Printing

¶ Post-processing
¶ Washing
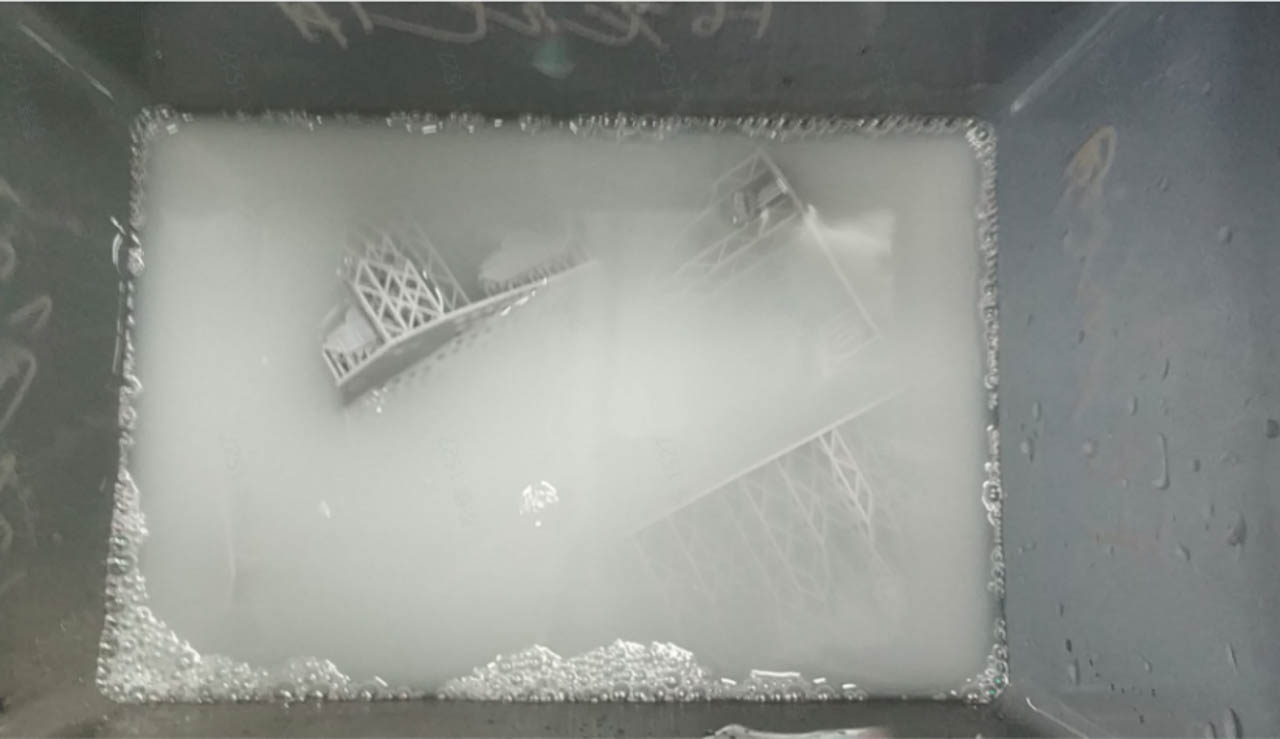
a.Put the printed models in the washing box with reused 95% alcohol of the two UltraCraft Wash boxes and perform a rough wash. Make sure the models are submerged by alcohol and more than 1 mm from each other, and do not pile up or put too many models to avoid model surfaces from being scratched.
b.Set the washing settings on UltraCraft Wash or Blueprint platform when sending wash jobs.
c.After rough wash, fine wash the models in the other washing box with new, clean 95% alcohol.
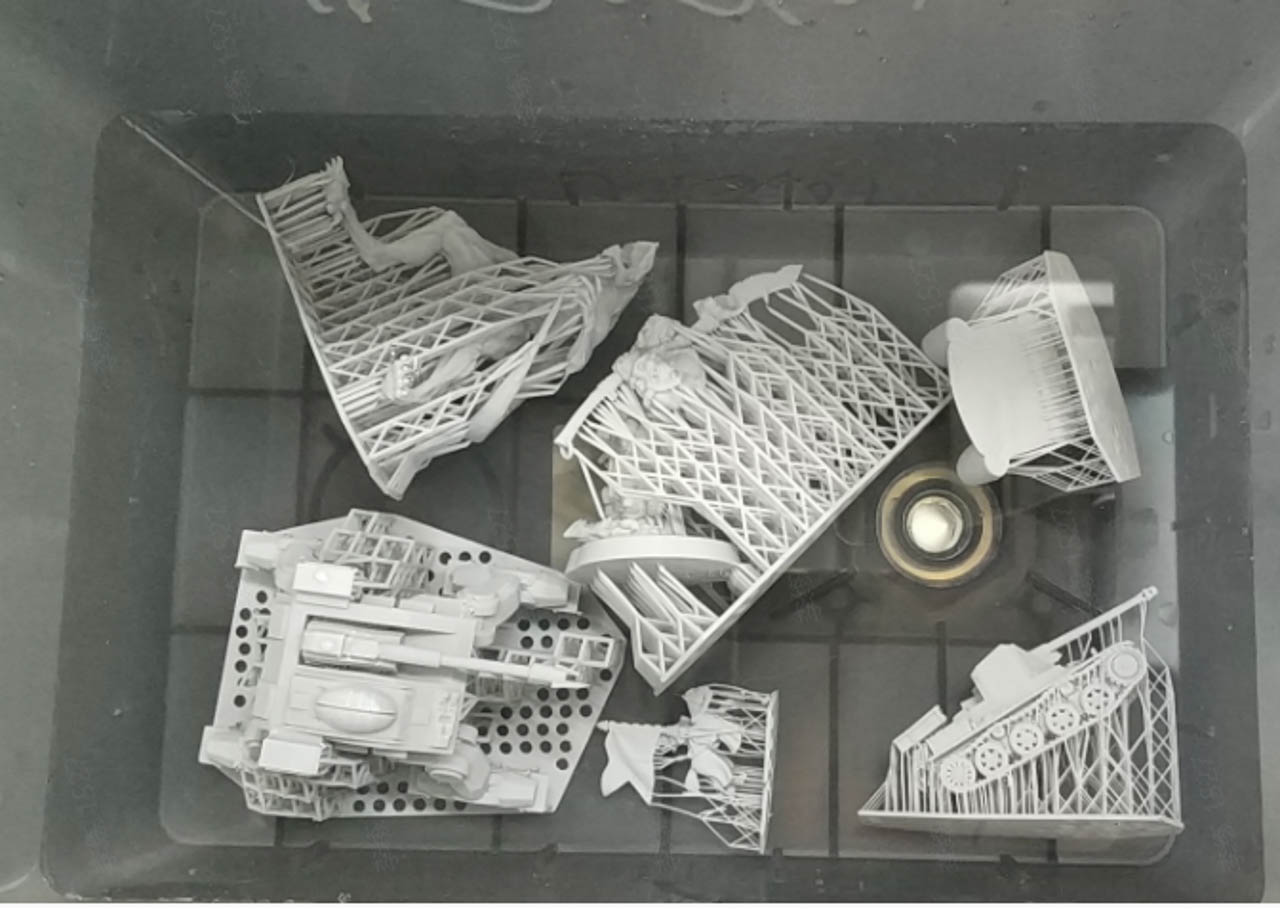
d.After washing, blow dry or air dry the models.
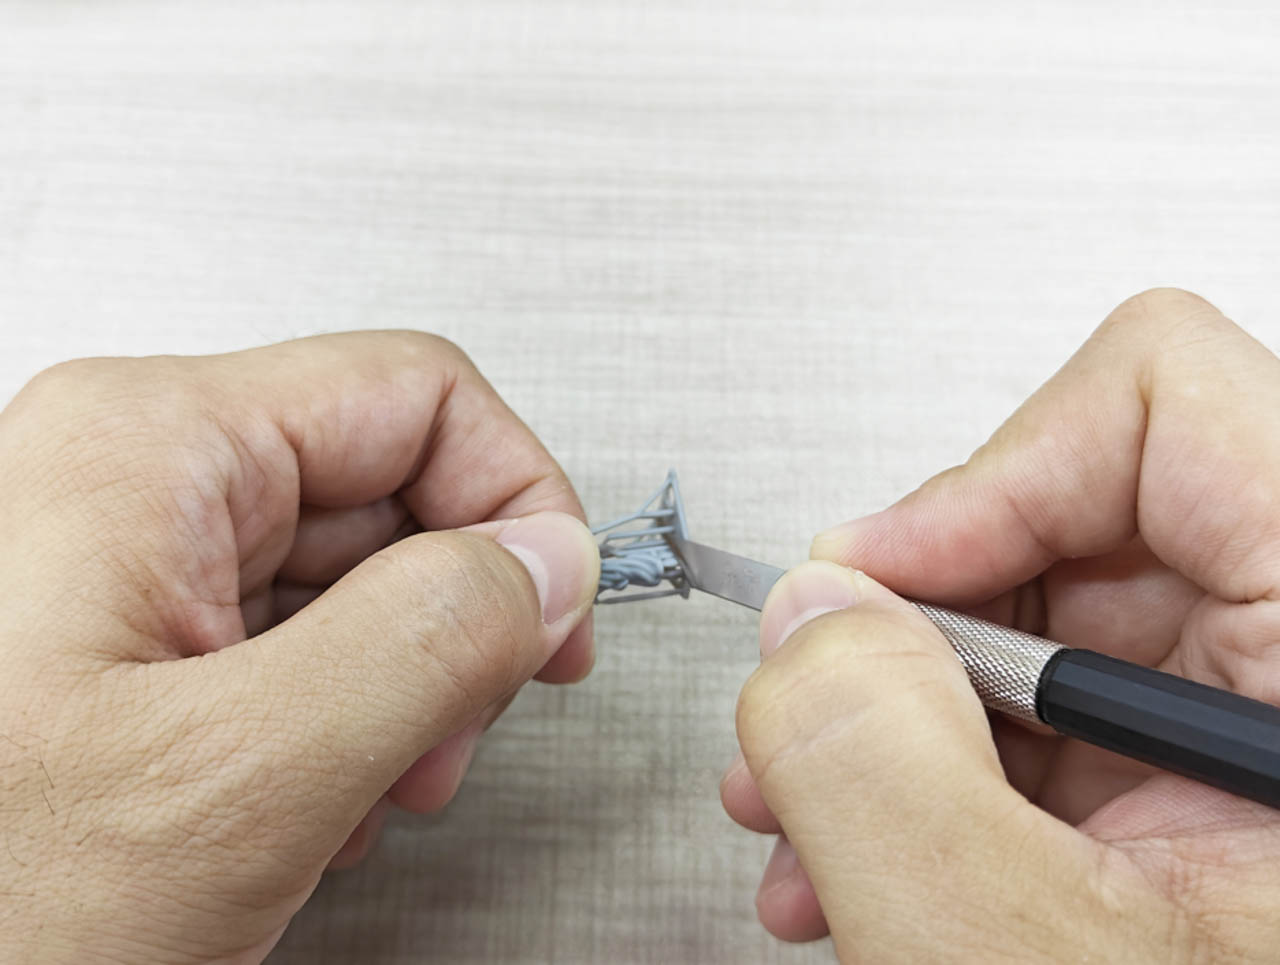
¶ Remove supports
a.For models with large flat surface or thick wall, removing by hand will be fine (twisting off the support structures).
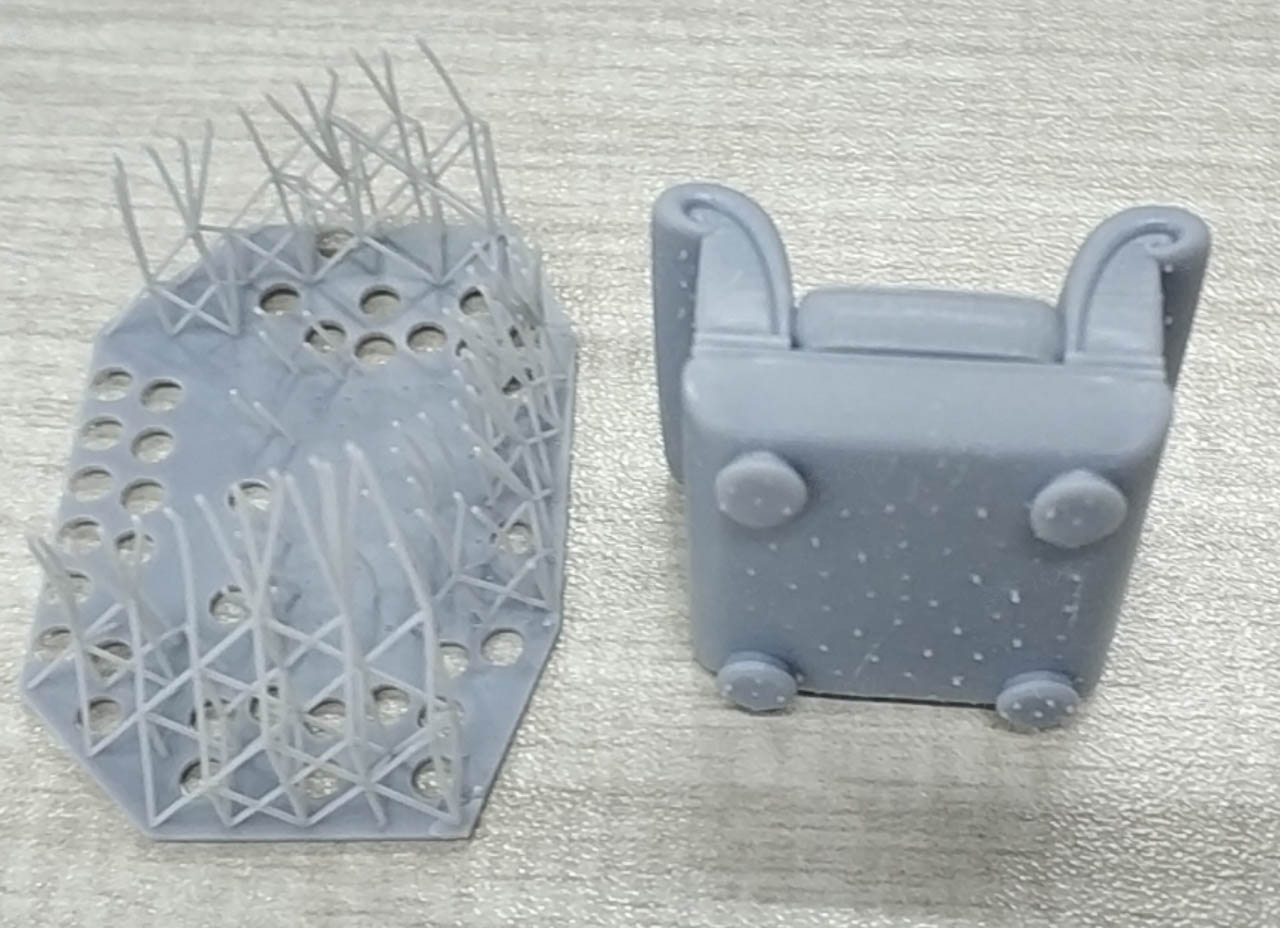
b.For models with thin wall or detailed structures, use an art knife or pliers instead.
¶ Curing
a.Put the models in UltraCraft Cure to cure them. Curing medium is air.
b.Set the curing settings on UltraCraft Cure or on Blueprint platform when sending curing jobs.

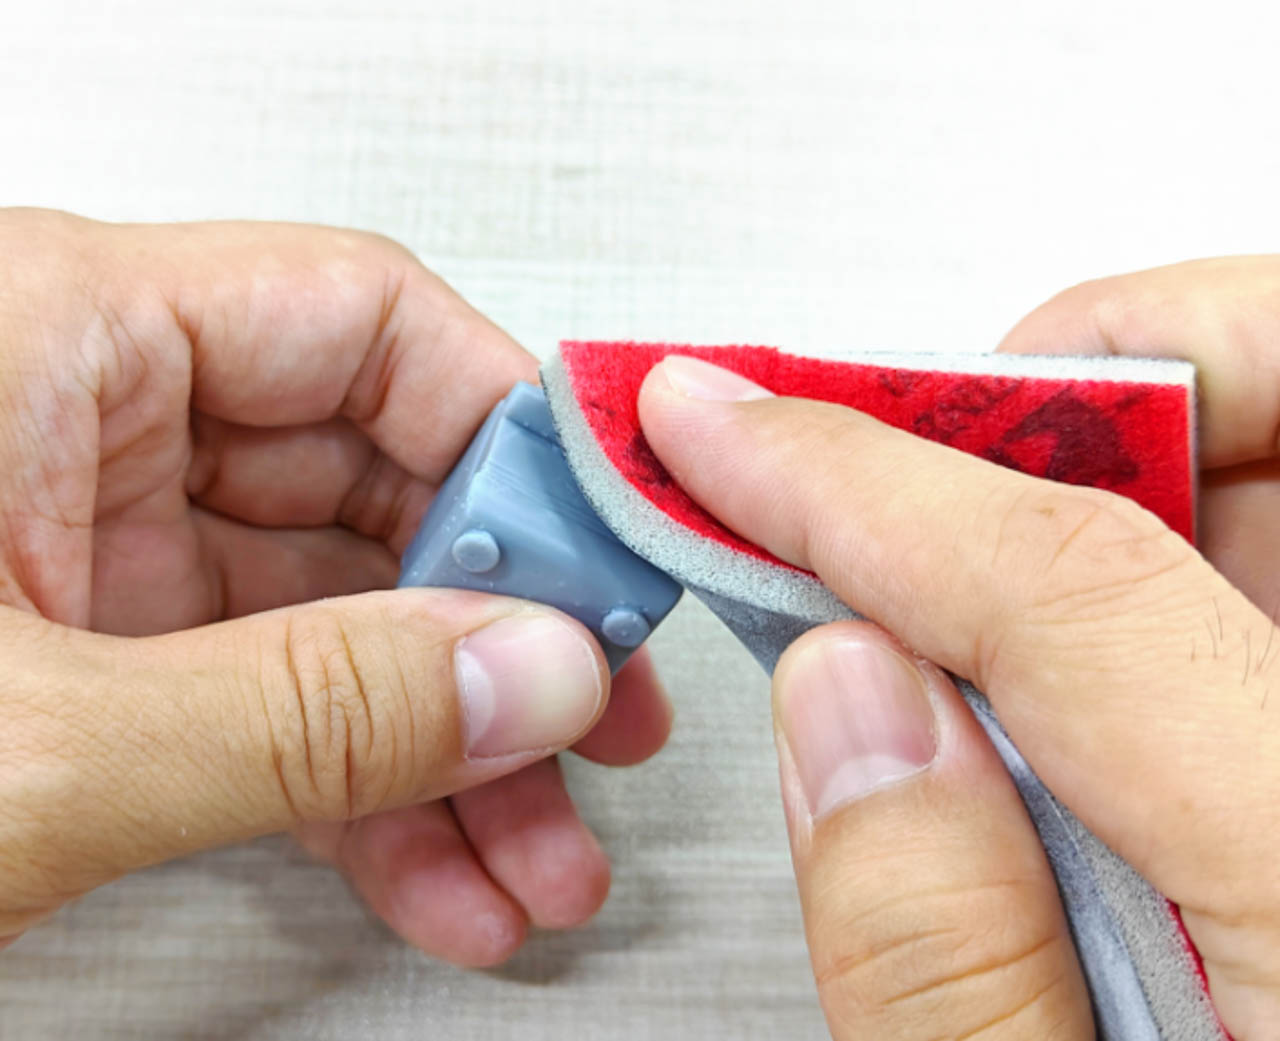
¶ Polish
¶ Curved surface polish
For curved surface, it's recommended to:
(1) Rough polish off the support remains with a 300-400 grit sponge sandpaper first;
(2) Polish again with a 800-1000 grit sponge sandpaper to remove polish marks;
(3) Fine polish with a 1500-2000 grit sponge sandpaper for a consistently smooth surface.
(4) If more demanding on surface, you may use a sandpaper with a higher grit number or use polishing wax to further polish the models.
¶ Flat surface polish
a.For flat surface, it’s recommended to use a sanding board stuck with sandpaper to polish the surface in one direction for a flat, smooth finish.
b.Start off with a rough grit, and then with a finer and finer grit, until you get the finish you want.
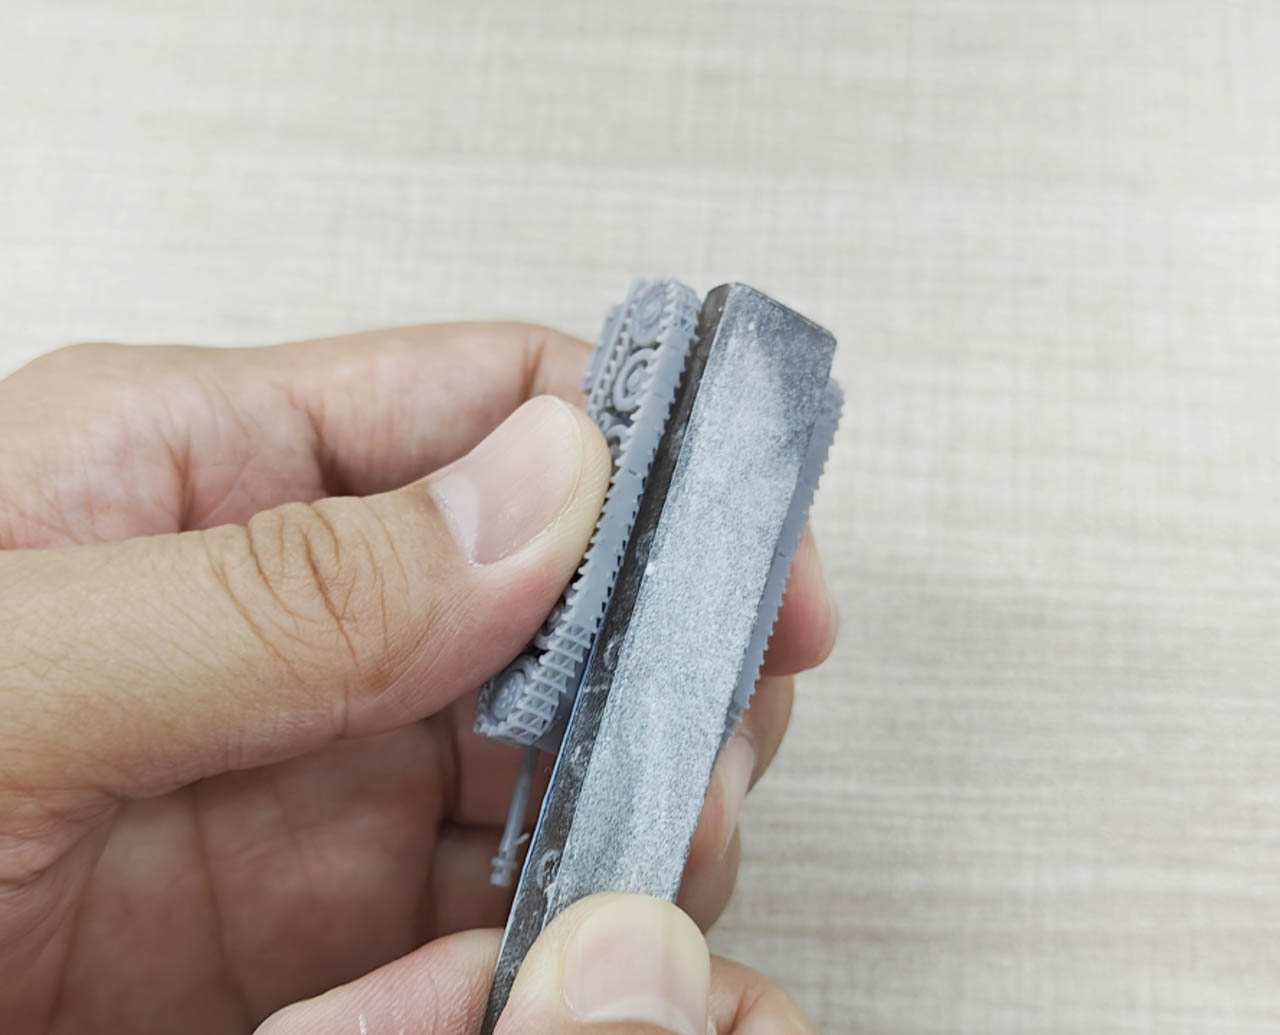
¶ Thin-walled structure and detail polish
a.For thin-walled structures and details, cut off support remains little by little with an art knife until the areas are generally smooth;
b.Smooth the surface with 1000-1200 grit sandpaper (choose sandpapers according to actual needs);
c.If more demanding on surface, you may use a sandpaper with a higher grit number or use polishing wax to further polish the models.
¶ Narrow space polish
For narrow spaces, use tweezers holding a sandpaper to polish. Start off with a rough grit, and then with a finer and finer grit.