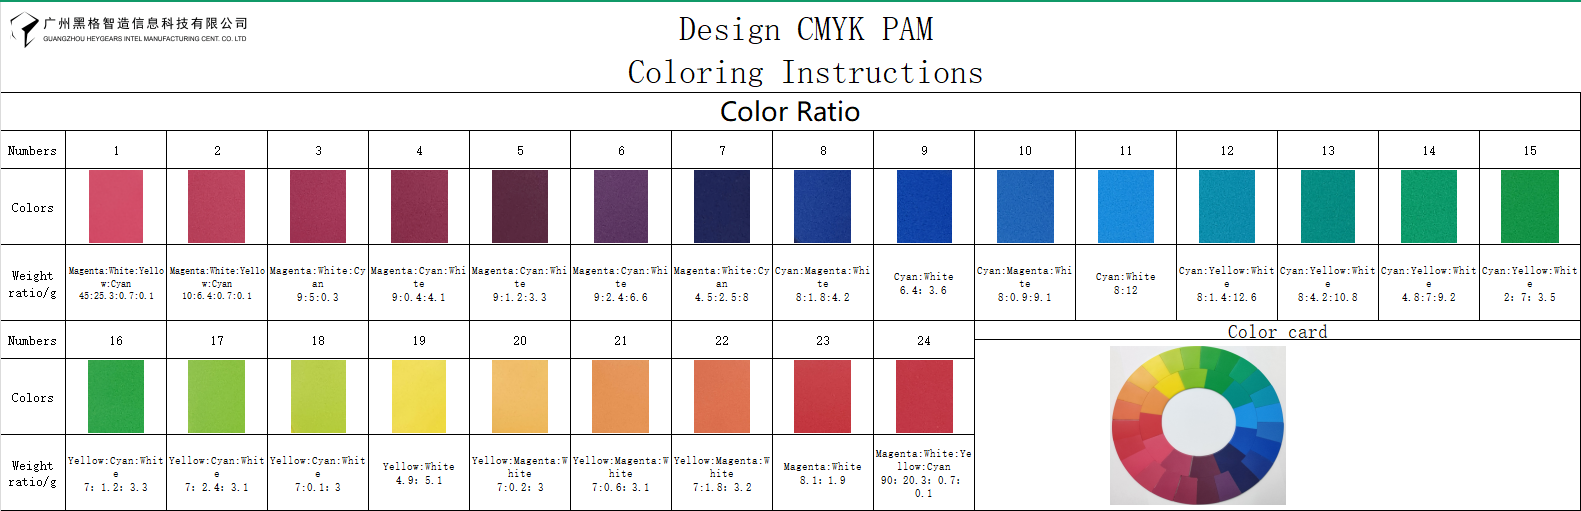
¶ Multi-color mixing
¶ Environment Requirements
-
Please operate away from sunlight, as the resin is photosensitive.
-
Please keep resin away from dust, fluff and other matters and keep the environment clean with no dust.
-
Please make sure all the tools are clean, protecting resin from contamination.
¶ Tools
| Numbers | Tools | Specifications | Quantity |
|---|---|---|---|
| 1 | Bottles with yorker spouts | 100ml | 2 |
| 2 | Small measuring cup | 50ml | 2 |
| 3 | Large dropper | 5ml | 2 |
| 4 | Small dropper | 1ml | 2 |
| 5 | ABS stir stick | 6mm*240mm | 1 |
| 6 | Printing material (resin) | 1000g/bottle (yellow/cyan) | 2 |
| 7 | Scale | Precision 0.01 | 1 |
| 8 | Beaker | 500ml | 1 |
.jpg) |
.jpg) |
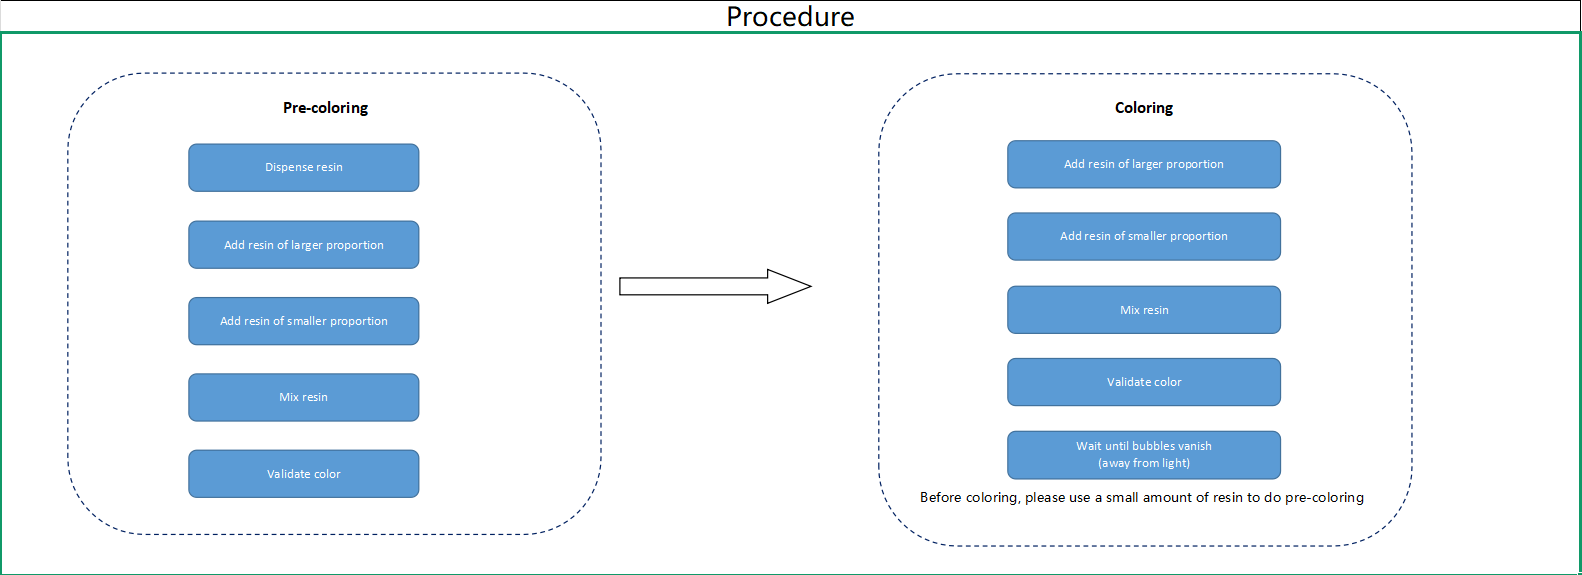
¶ Operation steps
Pre-coloring (Mixing for the color Number 17 as an example. Resin weight: Yellow - 20g, Cyan - 0.6g.)
 |
 |
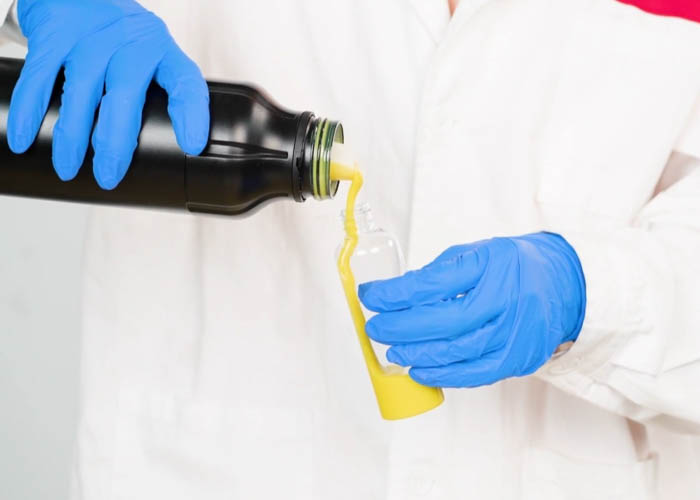
| 1.Dispense the yellow and cyan resin from their bottles into small bottles with yorker spouts or small measuring cups. Please note: Please fully shake the bottles before dispensing, as the resin may have developed dye precipitation. |
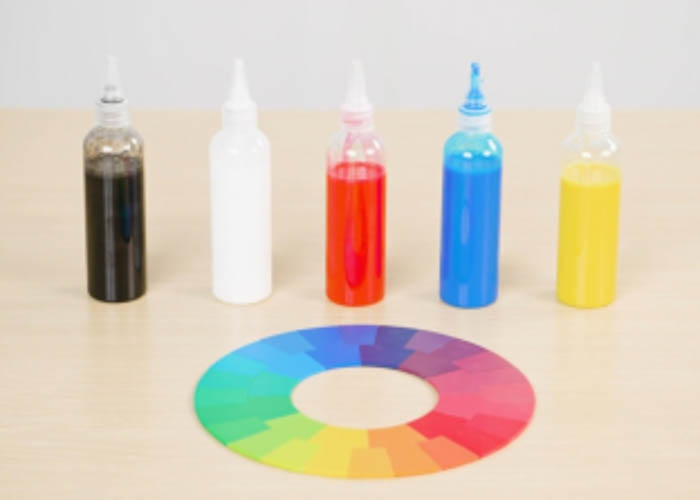
2.The image shows the resin dispensed, of primary colors: black, white, magenta, cyan and yellow. In this example, yellow and cyan resin is needed. |
 |
 |
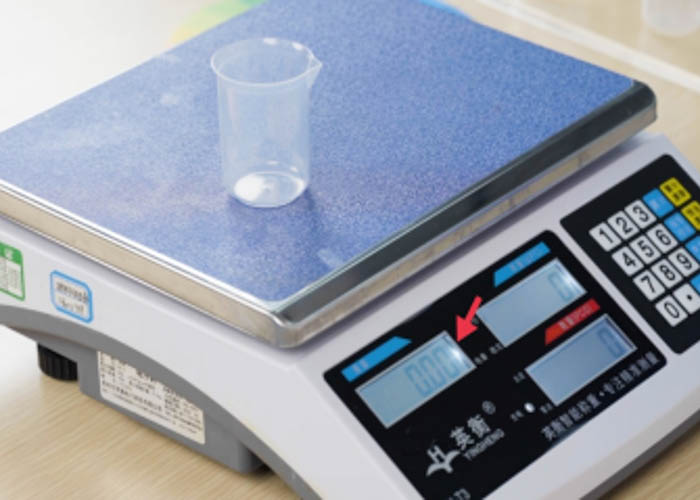
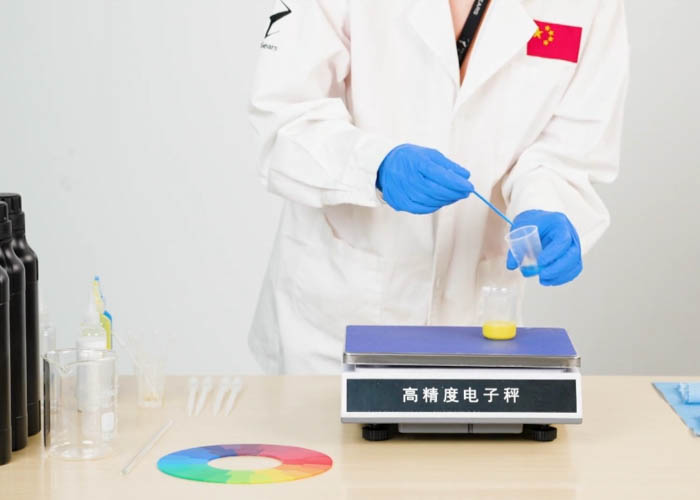
| 3.Now starts pre-coloring. Put the 50ml measuring cup on the scale, and press the tare button. | 4.First pour in the yellow resin which takes the larger proportion. Pour until the weight reaches the range of 17g-18g. |
 |
 |
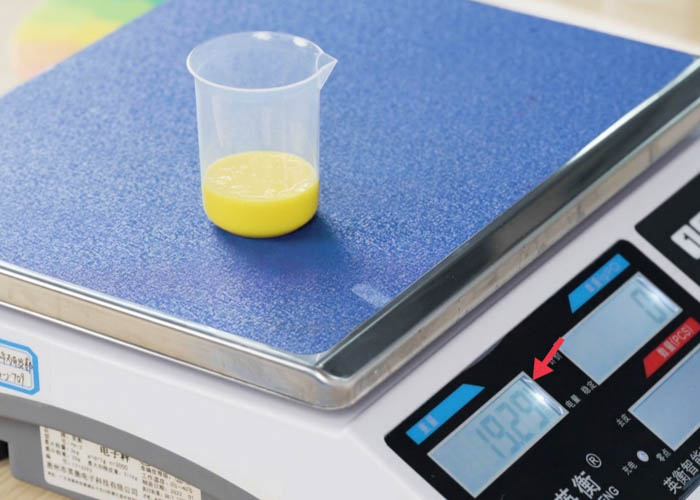
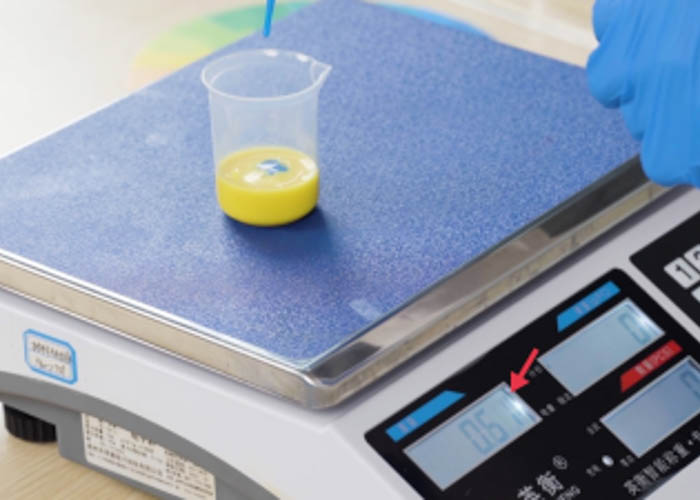
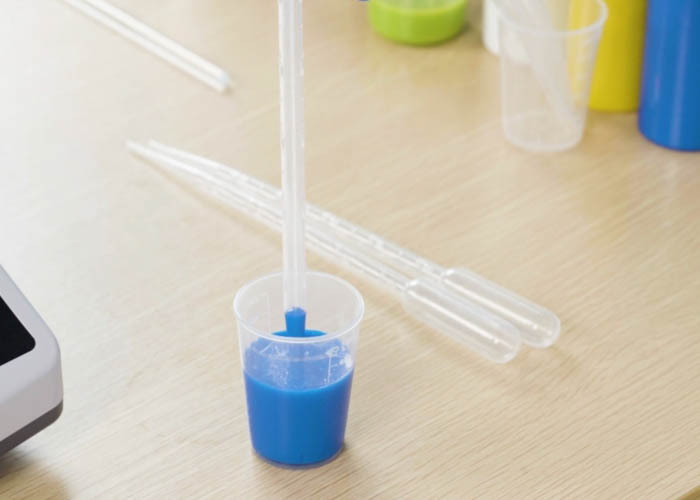
| 5.Then use a dropper to fetch more yellow resin and drop it into the measuring cup little by little. A drop of resin weighs 0.04g to 0.07g normally. |
6.Add resin until the weight reaches the range of 19.95g-20.05g. Then press the tare button. Please be slow when dropping resin, to avoid adding too much of it. |
 |
 |
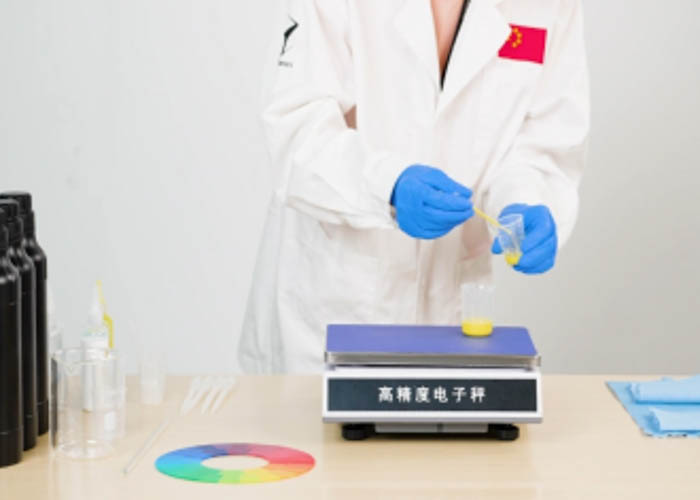
| 7.Use a clean dropper to fetch some cyan resin and drop it into the measuring cup。 The desired weight of the cyan resin is 0.6g according to the ratio of number 17. |
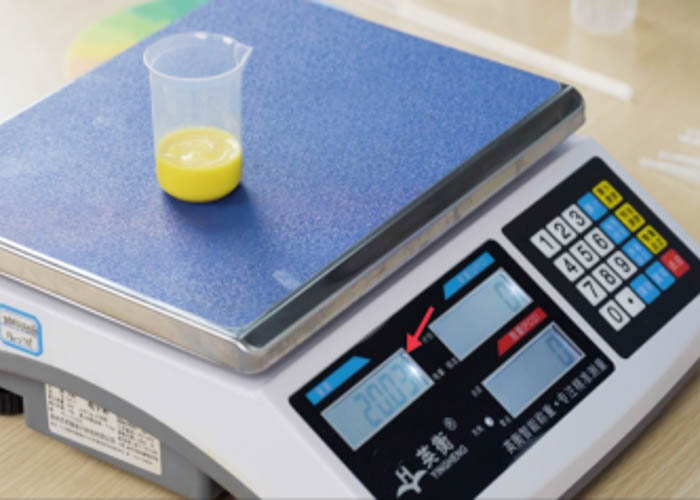
8.Add cyan resin until the weight reaches the range of 0.55g-0.65g |
 |
 |
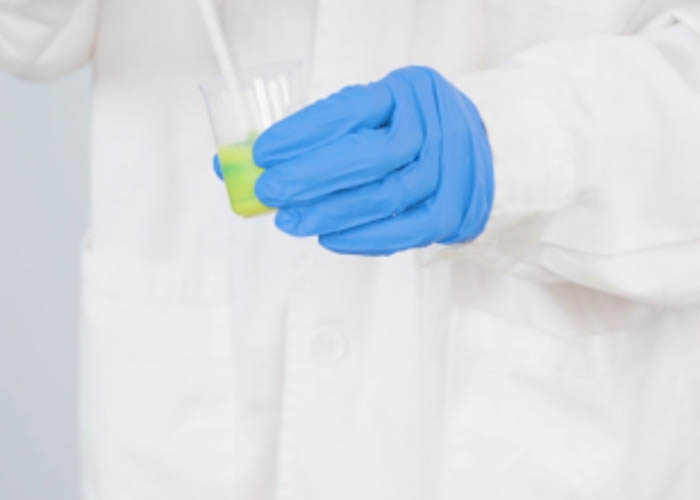
| 9.Mix the sample in the measuring cup with the ABS stir stick. Make sure to also involve the resin stuck on the cup wall. Mix until the two color is fully mixed, with no noticeable yellow or cyan color. |
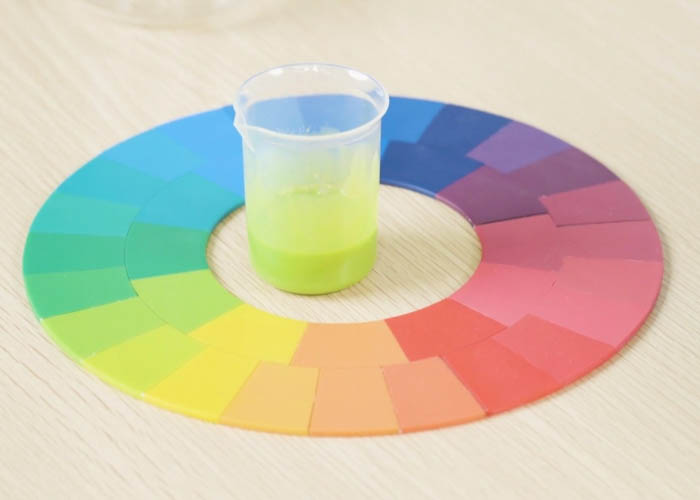
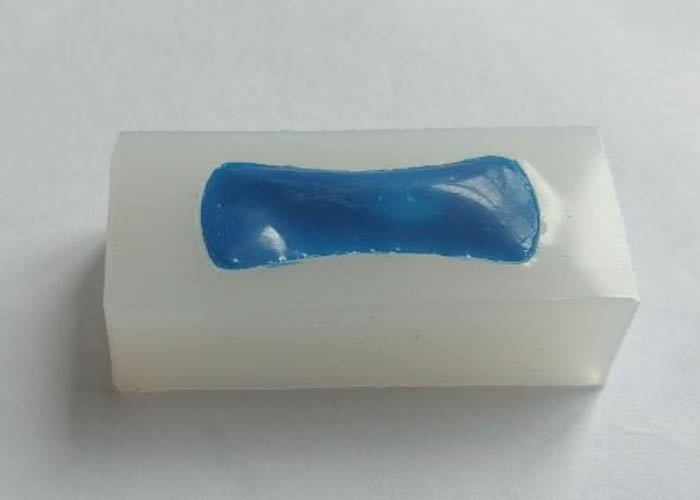
10.After fully mixing, compare the sample color with a color card to confirm the color. ① It's recommended to do it under the light, avoiding mistaken judgment due to the lighting. ② You may cure the resin before comparing it, so to prevent impact from the gloss and other factors. |
| Eg) Cured resin sample in a silicone mold. |
 |
 |
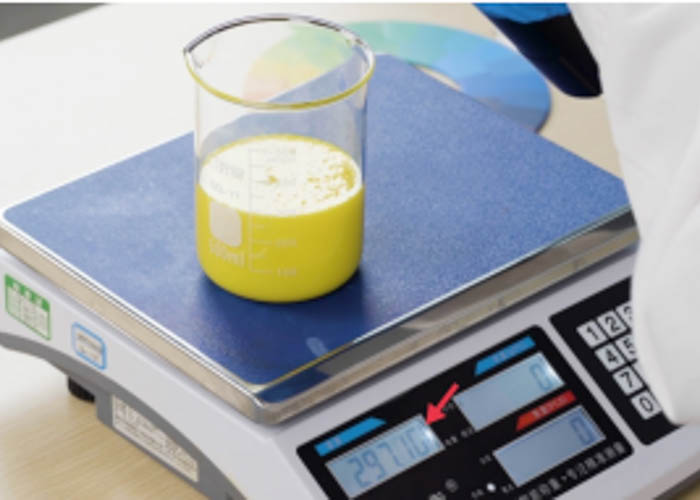 |
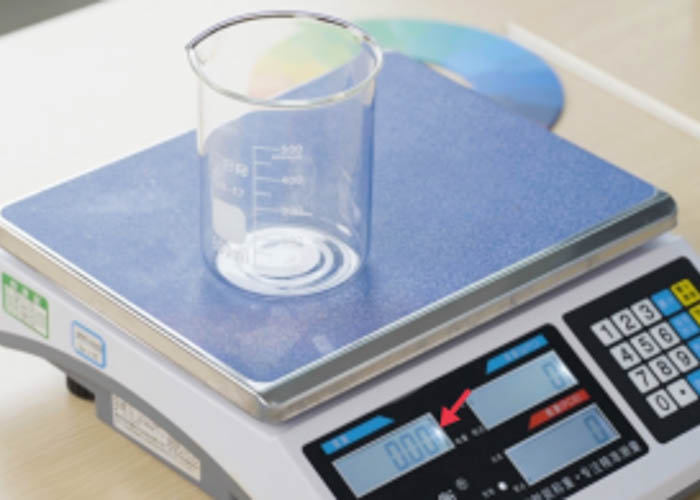
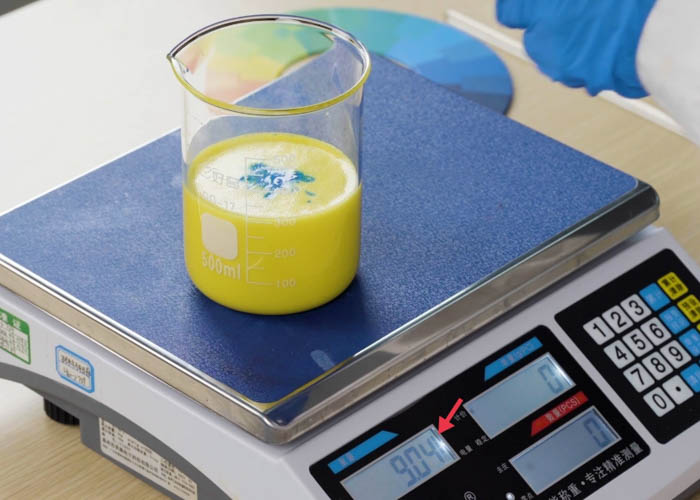
| 1.Put the 500ml beaker on the scale, and press the tare button. | 2.Pour the yellow resin into the beaker slowly until the weight reaches 290g. |
 |
 |
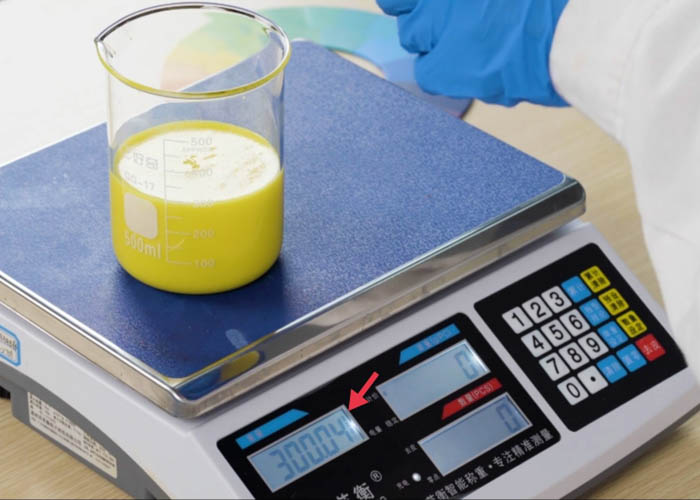
| 3.Use a dropper to fetch more yellow resin and slowly drop it into the measuring cup little by little until the weight reaches the range of 299.05g-300.05g. *Please be slow when dropping resin, to avoid adding too much of it. |
4.Press the tare button. Then use a clean dropper to fetch some cyan resin and start dropping it into the beaker. |
 |
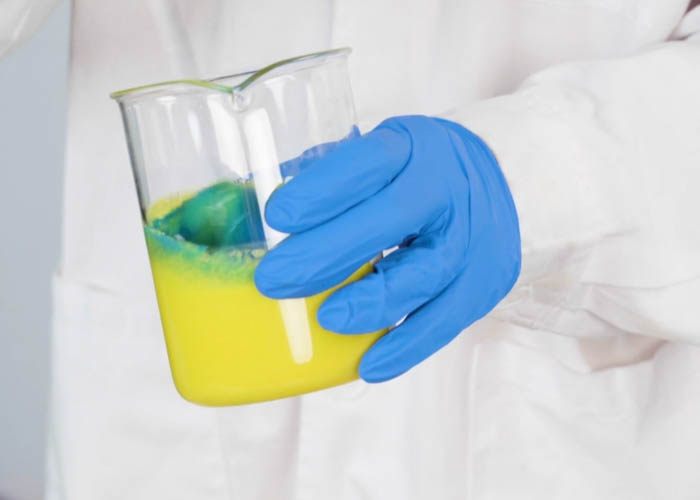 |
| 5.Drop the cyan resin slowly until the weight reaches the range of 8.95g-9.05g. | 6.Fully mix the resin in the beaker with a clean ABS stir stick. Make sure to also involve the resin stuck on the cup wall. |
 |
|
| 7.Cover the beaker’s opening with lint-free cloth and leave the beaker aside away from light until the bubbles all vanish. Keep the resin away from strong light. The resin is ready for printing when there are no bubbles. |