¶ Print doesn't stick to build platform?
Why doesn’t my print stick to bed? How to deal with it?
Possible reason ①: Residues on resin tank or print platform/Resin tank is broken
In case when the resin tank is not clean, there’re solid residues or flocculent in it or the build platform, or its release film is broken leaking resin liquid, light path and leveling will be impacted during printing, leading to the first layer's failure in adhering to the build platform.
Solution: Clean the resin tank and check its release film and build platform.
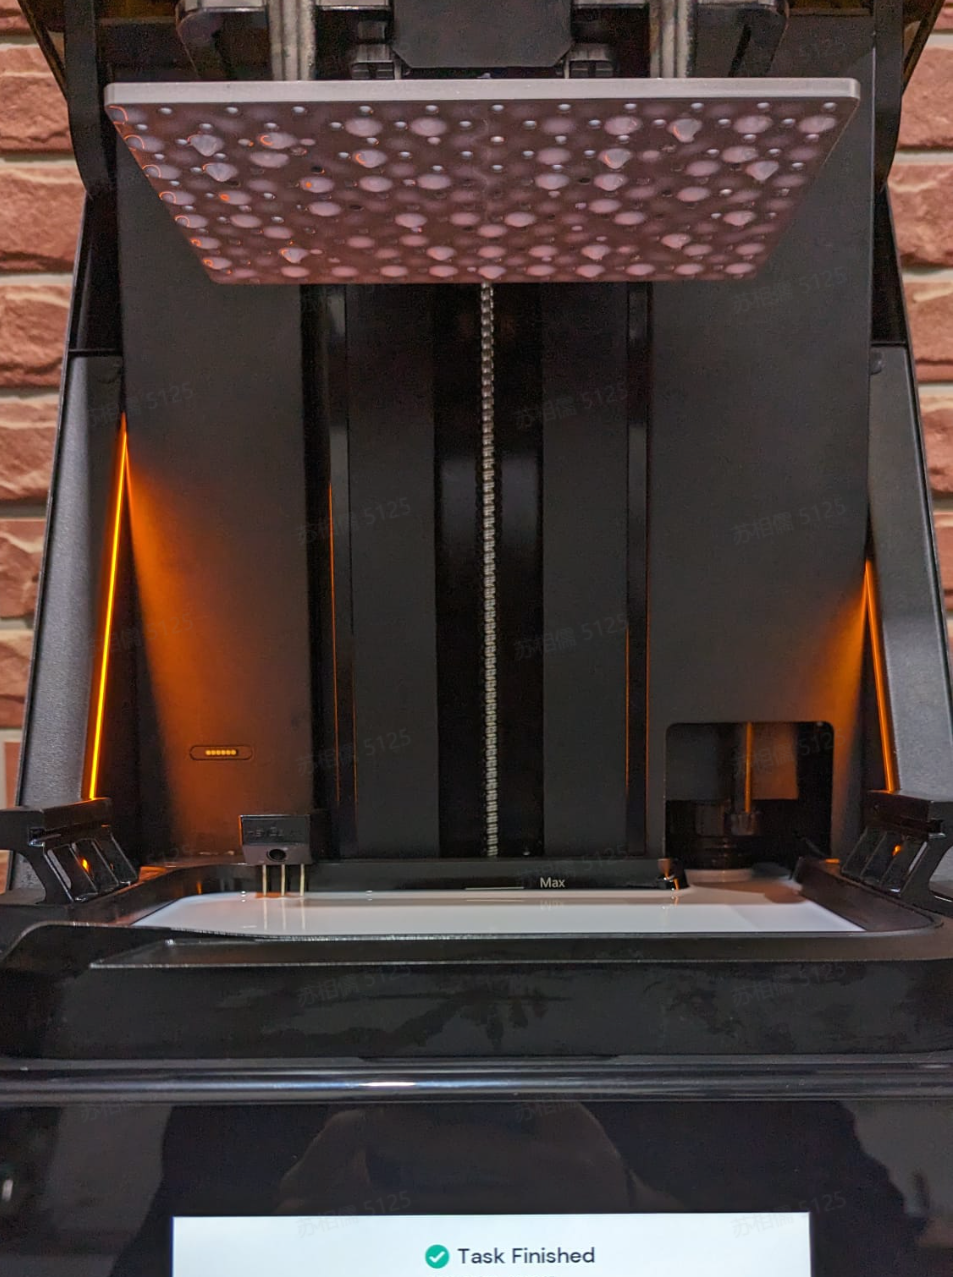
a. After each print, make sure to check if there's any residue (print part residue, flocculent, foreign matters or so) in the resin tank with the provided scraper. If any, use Resin Tank Cleaning feature on your printer. Filtering is also recommended for the resin material in your resin tank every time you finish 3 print jobs.
b. Every time after you remove print pars from the build platform, check and make sure there're no residues on the build platform or in its holes.
c. It's advised to check your resin tank release film if it is damaged or turned white partially, and replace it with a new one if needed. And you may check it more often when your Reflex starts to remind you that the release film is wearing out.
Possible reason ②: Wrong print parameters
Different materials might vary hugely in performances such as light absorption, reaction speed, adhesion and so on. HeyGears adapts its printing for each HeyGears resin UV material, so please choose correct parameters to decrease the risk of prints falling.
Solution: When creating new Slicer projects in Blueprint Studio, make sure to set the project parameters (that is, print parameters) according to your actual needs and conditions.
Possible reason ③: Resin material spoilage
Resin might absorbs water, spoils, sediments and so, if not well stored, which might affect its performance seriously and lead to print parts falling.
Solution: Resin materials should be stored in room temperature out of light. Do not use expired materials. Do not leave an opened bottle of resin too long without finishing it. For the resin in the resin tank, it's advised to stir it before printing starts and, if you're not printing it in these three days, recycle it back in the resin cartridge for better storage (remember to filter it before pouring it back into the cartridge).
Possible reason ④: Ambient temperature too low/Humidity too high
If the ambient temperature is too low or humidity is too low, the resin material’s performance will be impacted and lead to issues like material spoilage and print parts falling.
Solution: Recommended temperature is in the range of 20℃-25℃ and humidity below 50%. When the temperature is between 10℃ and 20℃, the printer will automatically turn on Resin Heating mode for a successful print; when lower than 10℃, it’s advised to raise the temperature before printing.
Possible reason ⑤: Abnormal light projection
Projection error might occur in case of issues such as external force to the projection screen, projection screen contaminated by resin, projection screen not properly mounted, software bugs or so, causing no (complete) print parts on the build platform.
Solution: Check the projection screen.
If dark spots, lines, flicking, no respondents or other errors occor to the projection screen, you may contact HeyGears Support for troubleshooting and fixes.
Possible reason ⑥: Incorrect raft parameters
The raft's parameters, such as shape, size and thickness, impact its adhesive strength to the build platform, so incorrect settings might cause print falling due to poor adhesion.
Solution: Define the raft properly according to the resin material's performance. In case of models with supports, here are some tips:
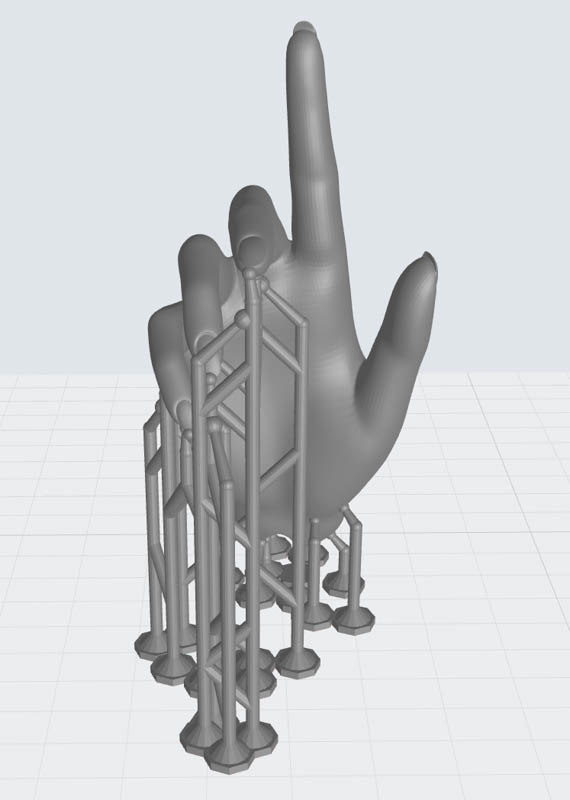
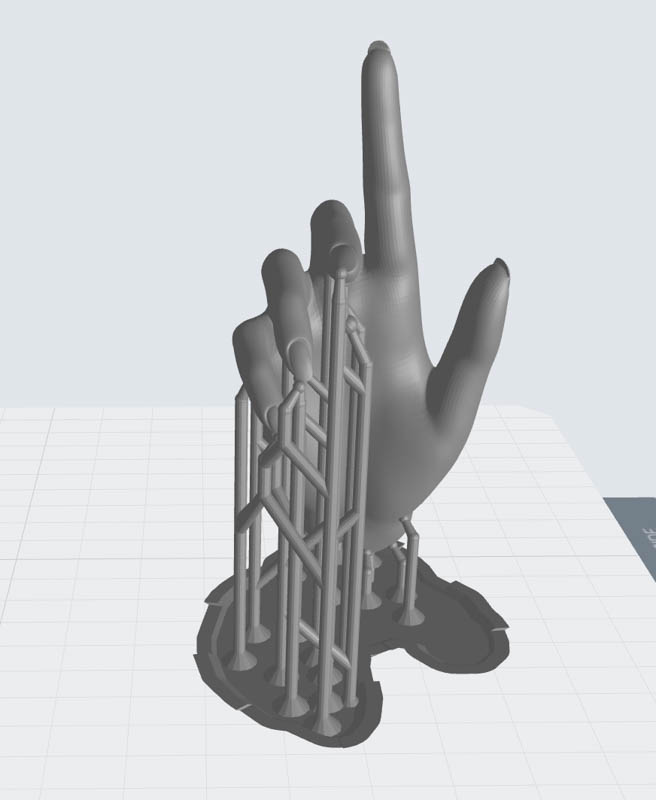
a. Raft type: Solid rafts, skate rafts or no rafts are not recommended. The former two might cause the print part to pop of as it’s too easy to separate according to our large amount of tests; In no raft case, supports might be generated at the holes of the build platform during print preparation in Blueprint Studio, resulting in a failed print.
 |
 |
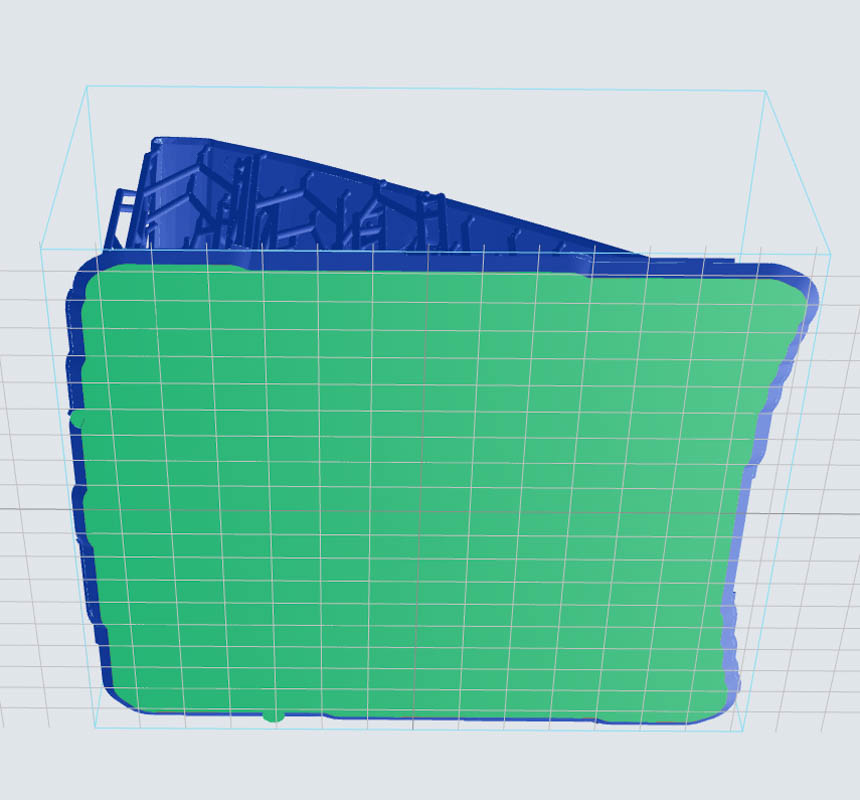 |
b. Raft size: To avoid supports being generated at the holes of the build platform during print preparation in Blueprint Studio, the raft should not be smaller than the print part’s cross section and is advised to be at least larger than 10*10mm. If print parts are too small or too thin that its raft is smaller than the recommended min size, you may use the “Group” feature in Blueprint Studio which will group selected parts into one, the software will generate one raft for the grouped parts.
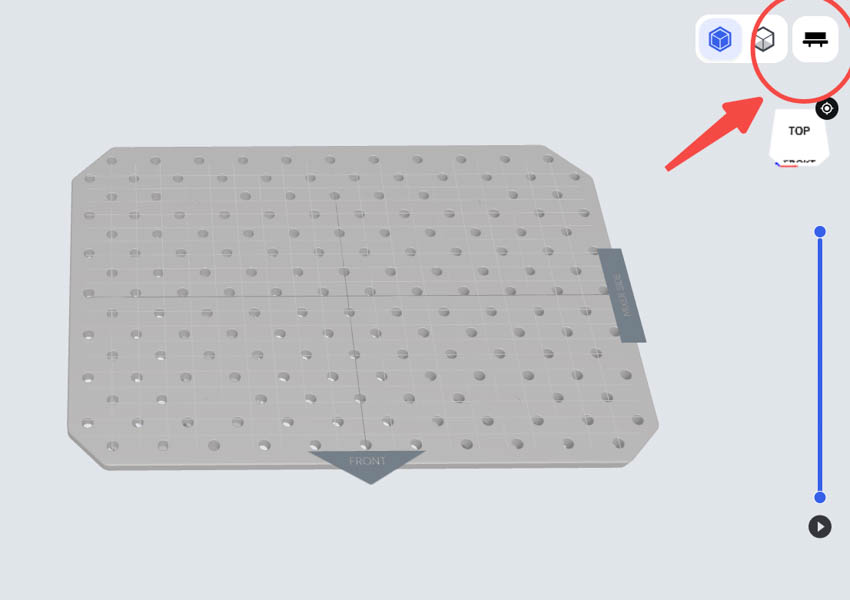
Show the build platform in Blueprint Studio, to check if any support is generated at any hole
 |
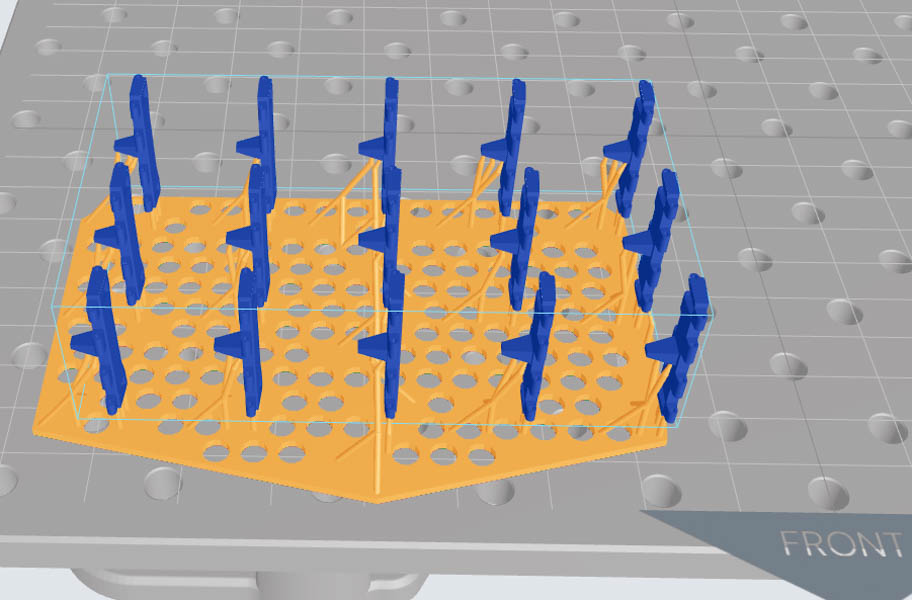 |
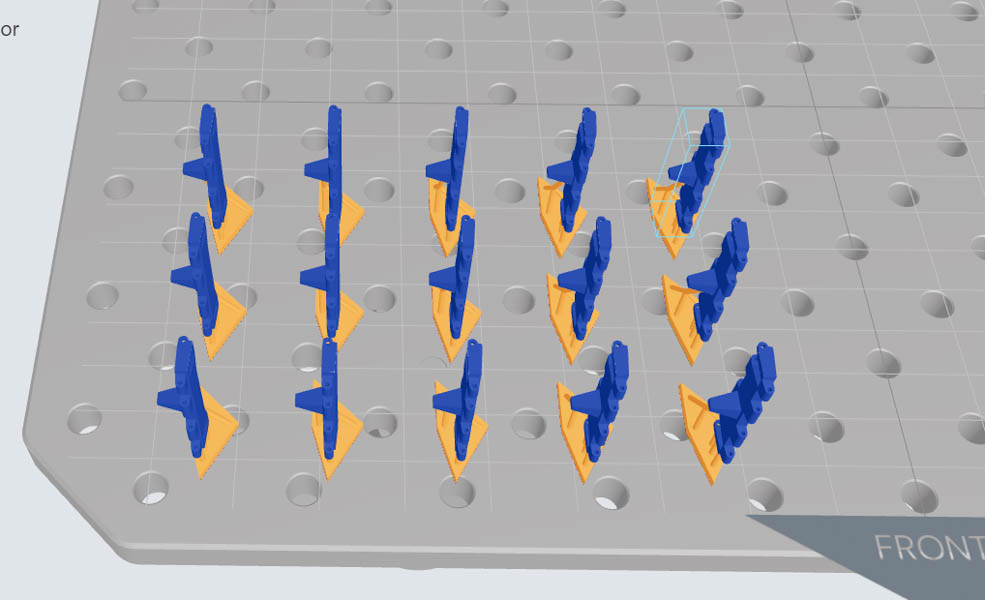
| print parts and rafts too small, potentially falling; | one raft for grouped parts, easy to remove and sort out when printed out. |
c. Raft thickness: Recommended above 1mm. If the raft is too thin, it may be not easy to be removed completely or cleaned well after printing, leaving residues on the build platform and causing print parts falling during next print job.