To accommodate the purification needs of different users' printing environments, the 3D printing purification unit can not only purify room air but also be connected to the HeyGears Reflex 2 series printers through a direct connection method, enabling more direct and efficient air purification. Users can prepare relevant tools themselves, print part models, and purchase standard-sized models for installation and use.
Kind reminder: Please ensure that the printer and the purification module are powered off and disconnected from the power supply before operating.
¶ Preparations before installation
¶ Required Tools:
| Tools list | Size | Description |
| Cross Screwdriver | / | Not provided. Prepared by users themselves. |
| Pliers | / | Not provided. Prepared by users themselves. |
| Foldable Air Duct | Inner Diameter: 40mm, Outer Diameter: 50mm, Length: ≈ 1.2m | Not provided. Prepared by users themselves. |
| PET Windproof Tape | Drawings are provided below. | Option 1: Drawing files have been provided below, and users can purchase and cut out the standard PET tape referring to the drawings. Option 2: Use transparent tape instead to cover on the area needed. |
| Hose Clamp | Print the model parts on a 1:1 scale. | The model's slice files are below and in the Part Library on Blueprint Studio. |
| Printer-Side Connector | Print the model parts on a 1:1 scale. | The model's slice files are below and in the Part Library on Blueprint Studio. |
| Hex Nut | Print the model parts on a 1:1 scale. | The model's slice files are below and in the Part Library on Blueprint Studio. |
| Purification-Unit-Side Connector | Print the model parts on a 1:1 scale. | The model's slice files are below and in the Part Library on Blueprint Studio. |
| 2.9x6.5 Screws x 4 | 2.9*6.5mm | Not provided. Prepared by users themselves. Four screws needed. |
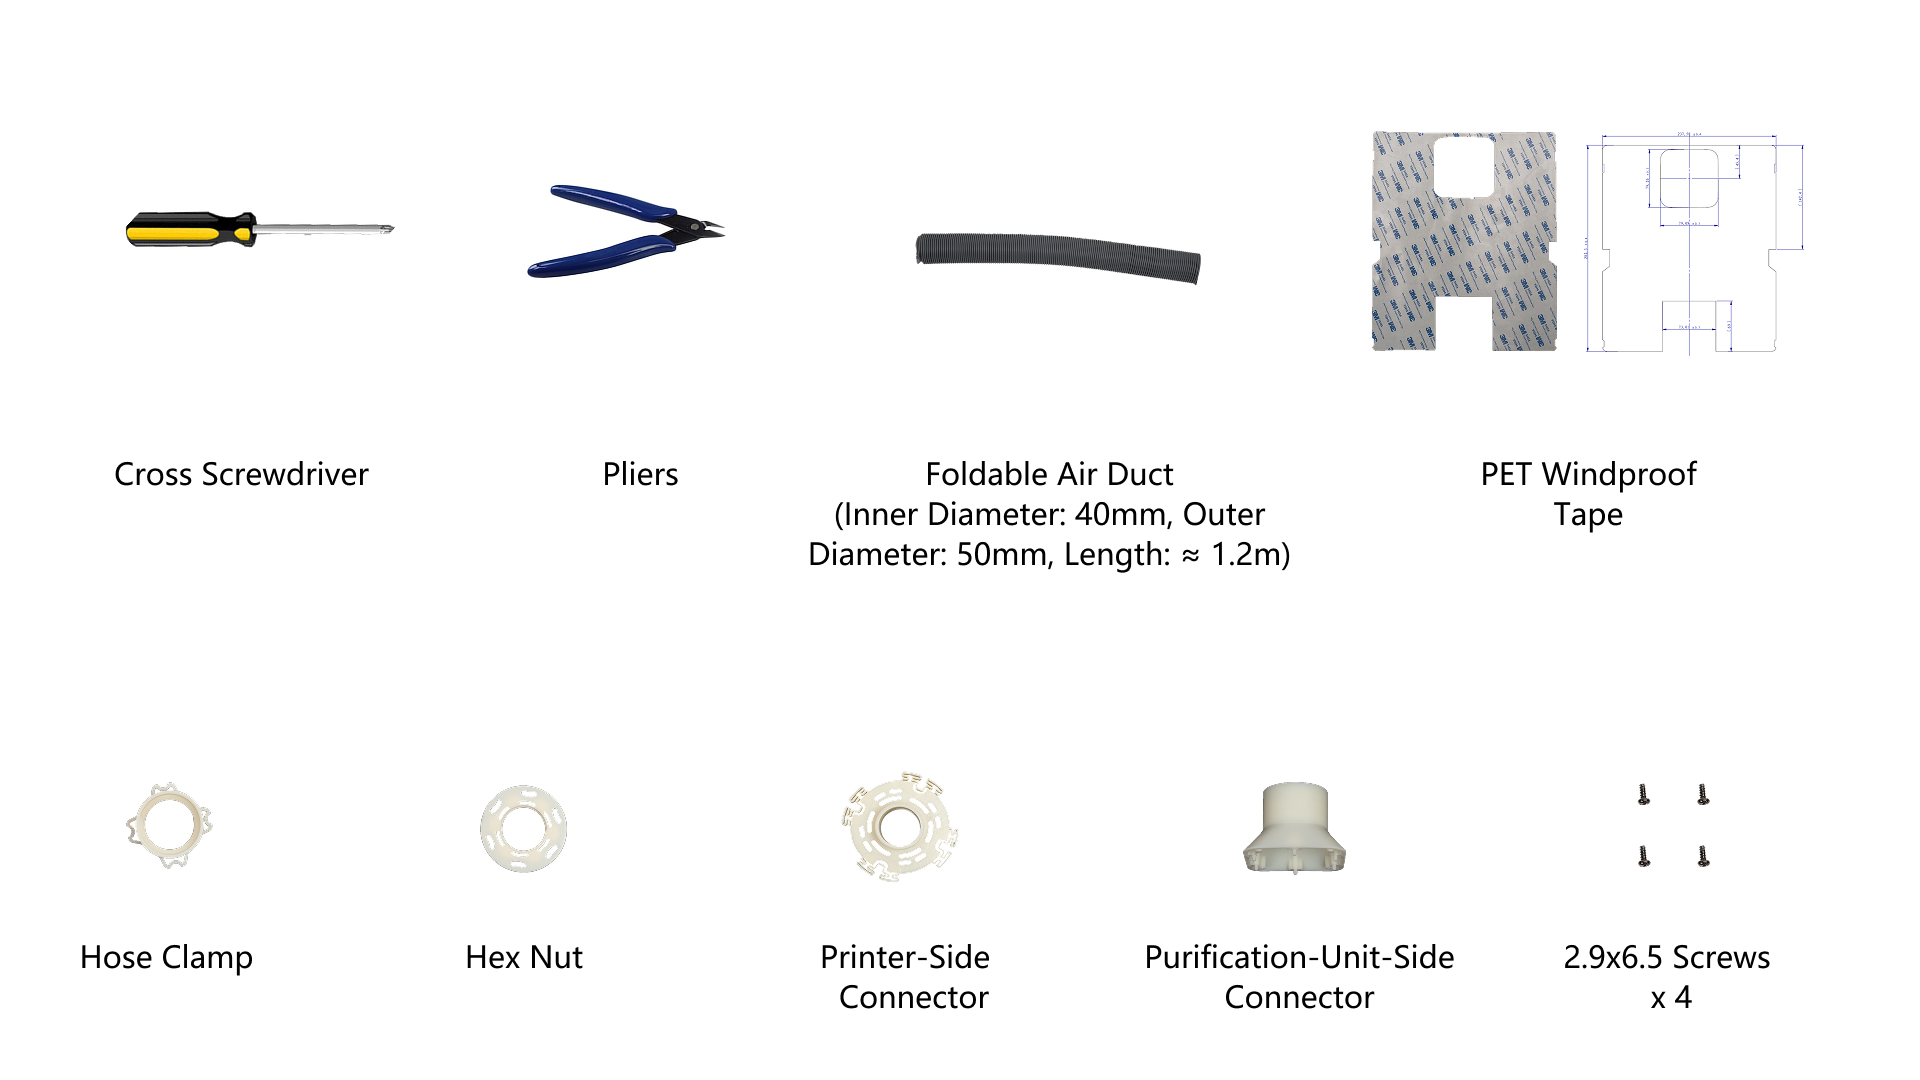
¶ Drawings of PET windproof tape:
PET Windproof Tape.dwg
PET Windproof Tape.pdf
PET Windproof Tape.step
¶ Fixed connectors' model files:
Hex Nut.stl
Hose Clamp.stl
Printer Side Connector.stl
Purification Unit Side Connector.stl
¶ Connection operation on the printer side
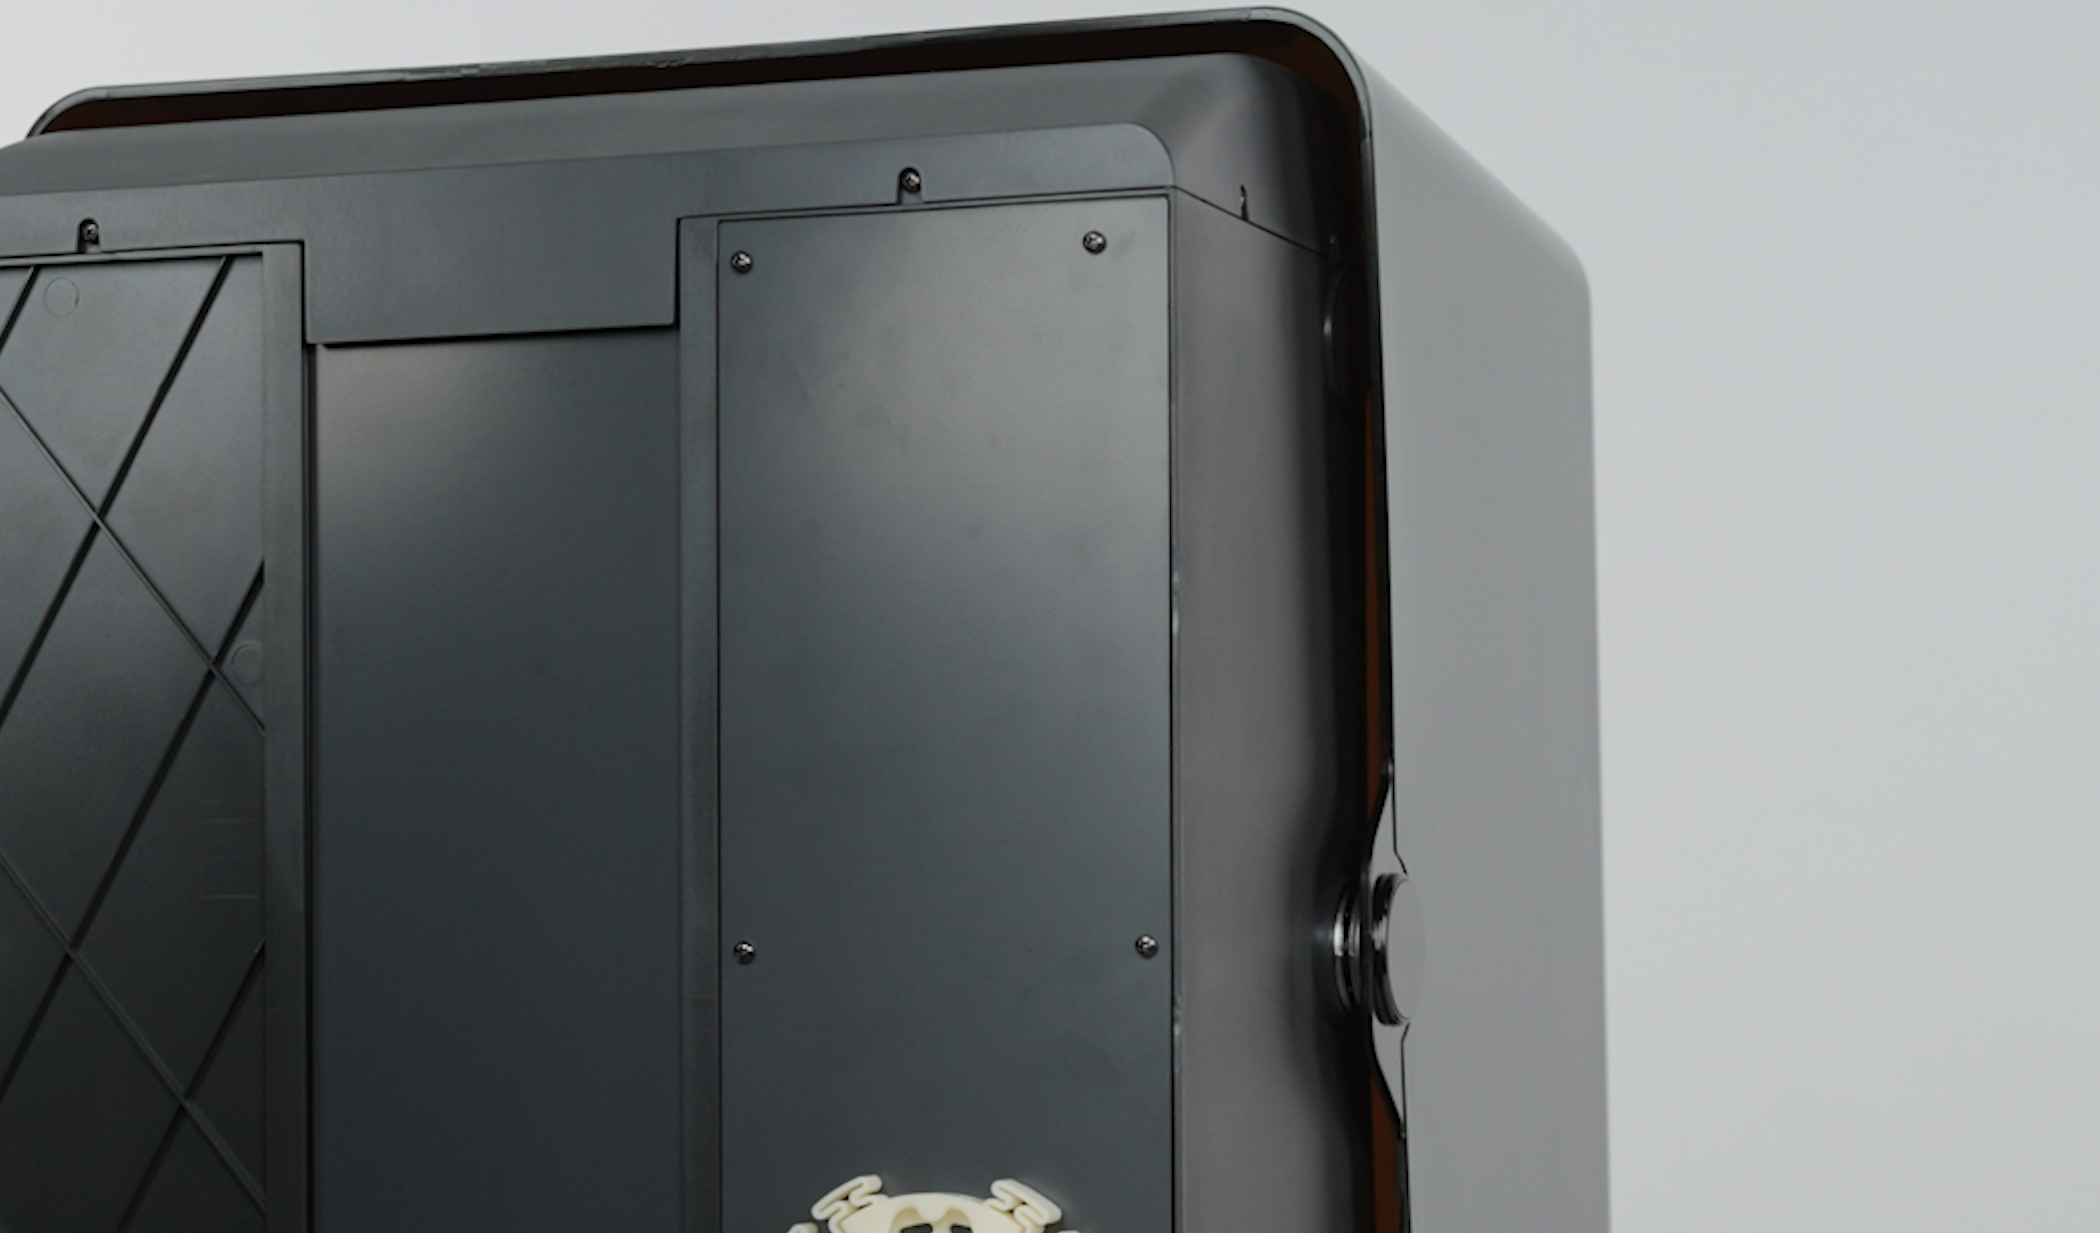
First, remove the right back panel of the Reflex 2/Reflex 2 Pro.

To be more specific, use a Cross Screwdriver to remove the 6 screws on the back panel and take off the panel.
 |
 |
Use pliers to cut off the purifier interface at the back panel along the reserved opening on the back panel.
 |
 |
Mount the printer-side connector onto the opening, flip over the panel and then connect the hex nut to the connector.
 |
 |
Demonstration

Put the panel back on and connect the foldable air duct to the hex nut.
¶ Connection operation on the GreenPrint Purification Unit Side
Remove the rear cover of the purification unit and stick the PET windproof tape on the inner side of the cover. (Or use transparent tape to cover it instead.)
 |
 |
Align the purification-side connector with the opening of the windproof tape from the outer side.
 |
 |
Tighten the 2.9x6.5 screws from the inner side to fix the connector onto the cover.

Put back the cover and make sure it snaps tight onto the purification unit.

Fix the foldable air duct to the connector.

Install the hose clamp on the other end of the air duct.

Connect the clamp to the connection on the printer by snapping it in and then rotating it to fix it.

¶ Installation completed
