ou might need to lay out the models properly to make full use of the print frame of the build platform.
¶ 1. Auto-layout
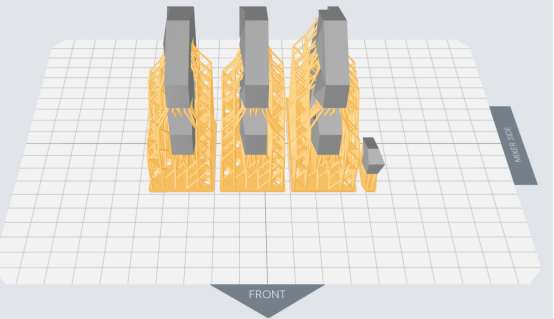
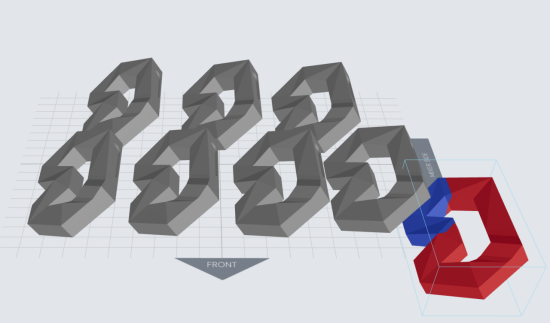
Automatically arrange the layout of the model, placing as many models within the print area as possible. Models that are failed will be placed outside the area. You'll need to move them to put them aside or delete them before slice.
| all models within the plate | red one failed to be on the plate |
|---|---|
 |
 |
¶ 2. Functions
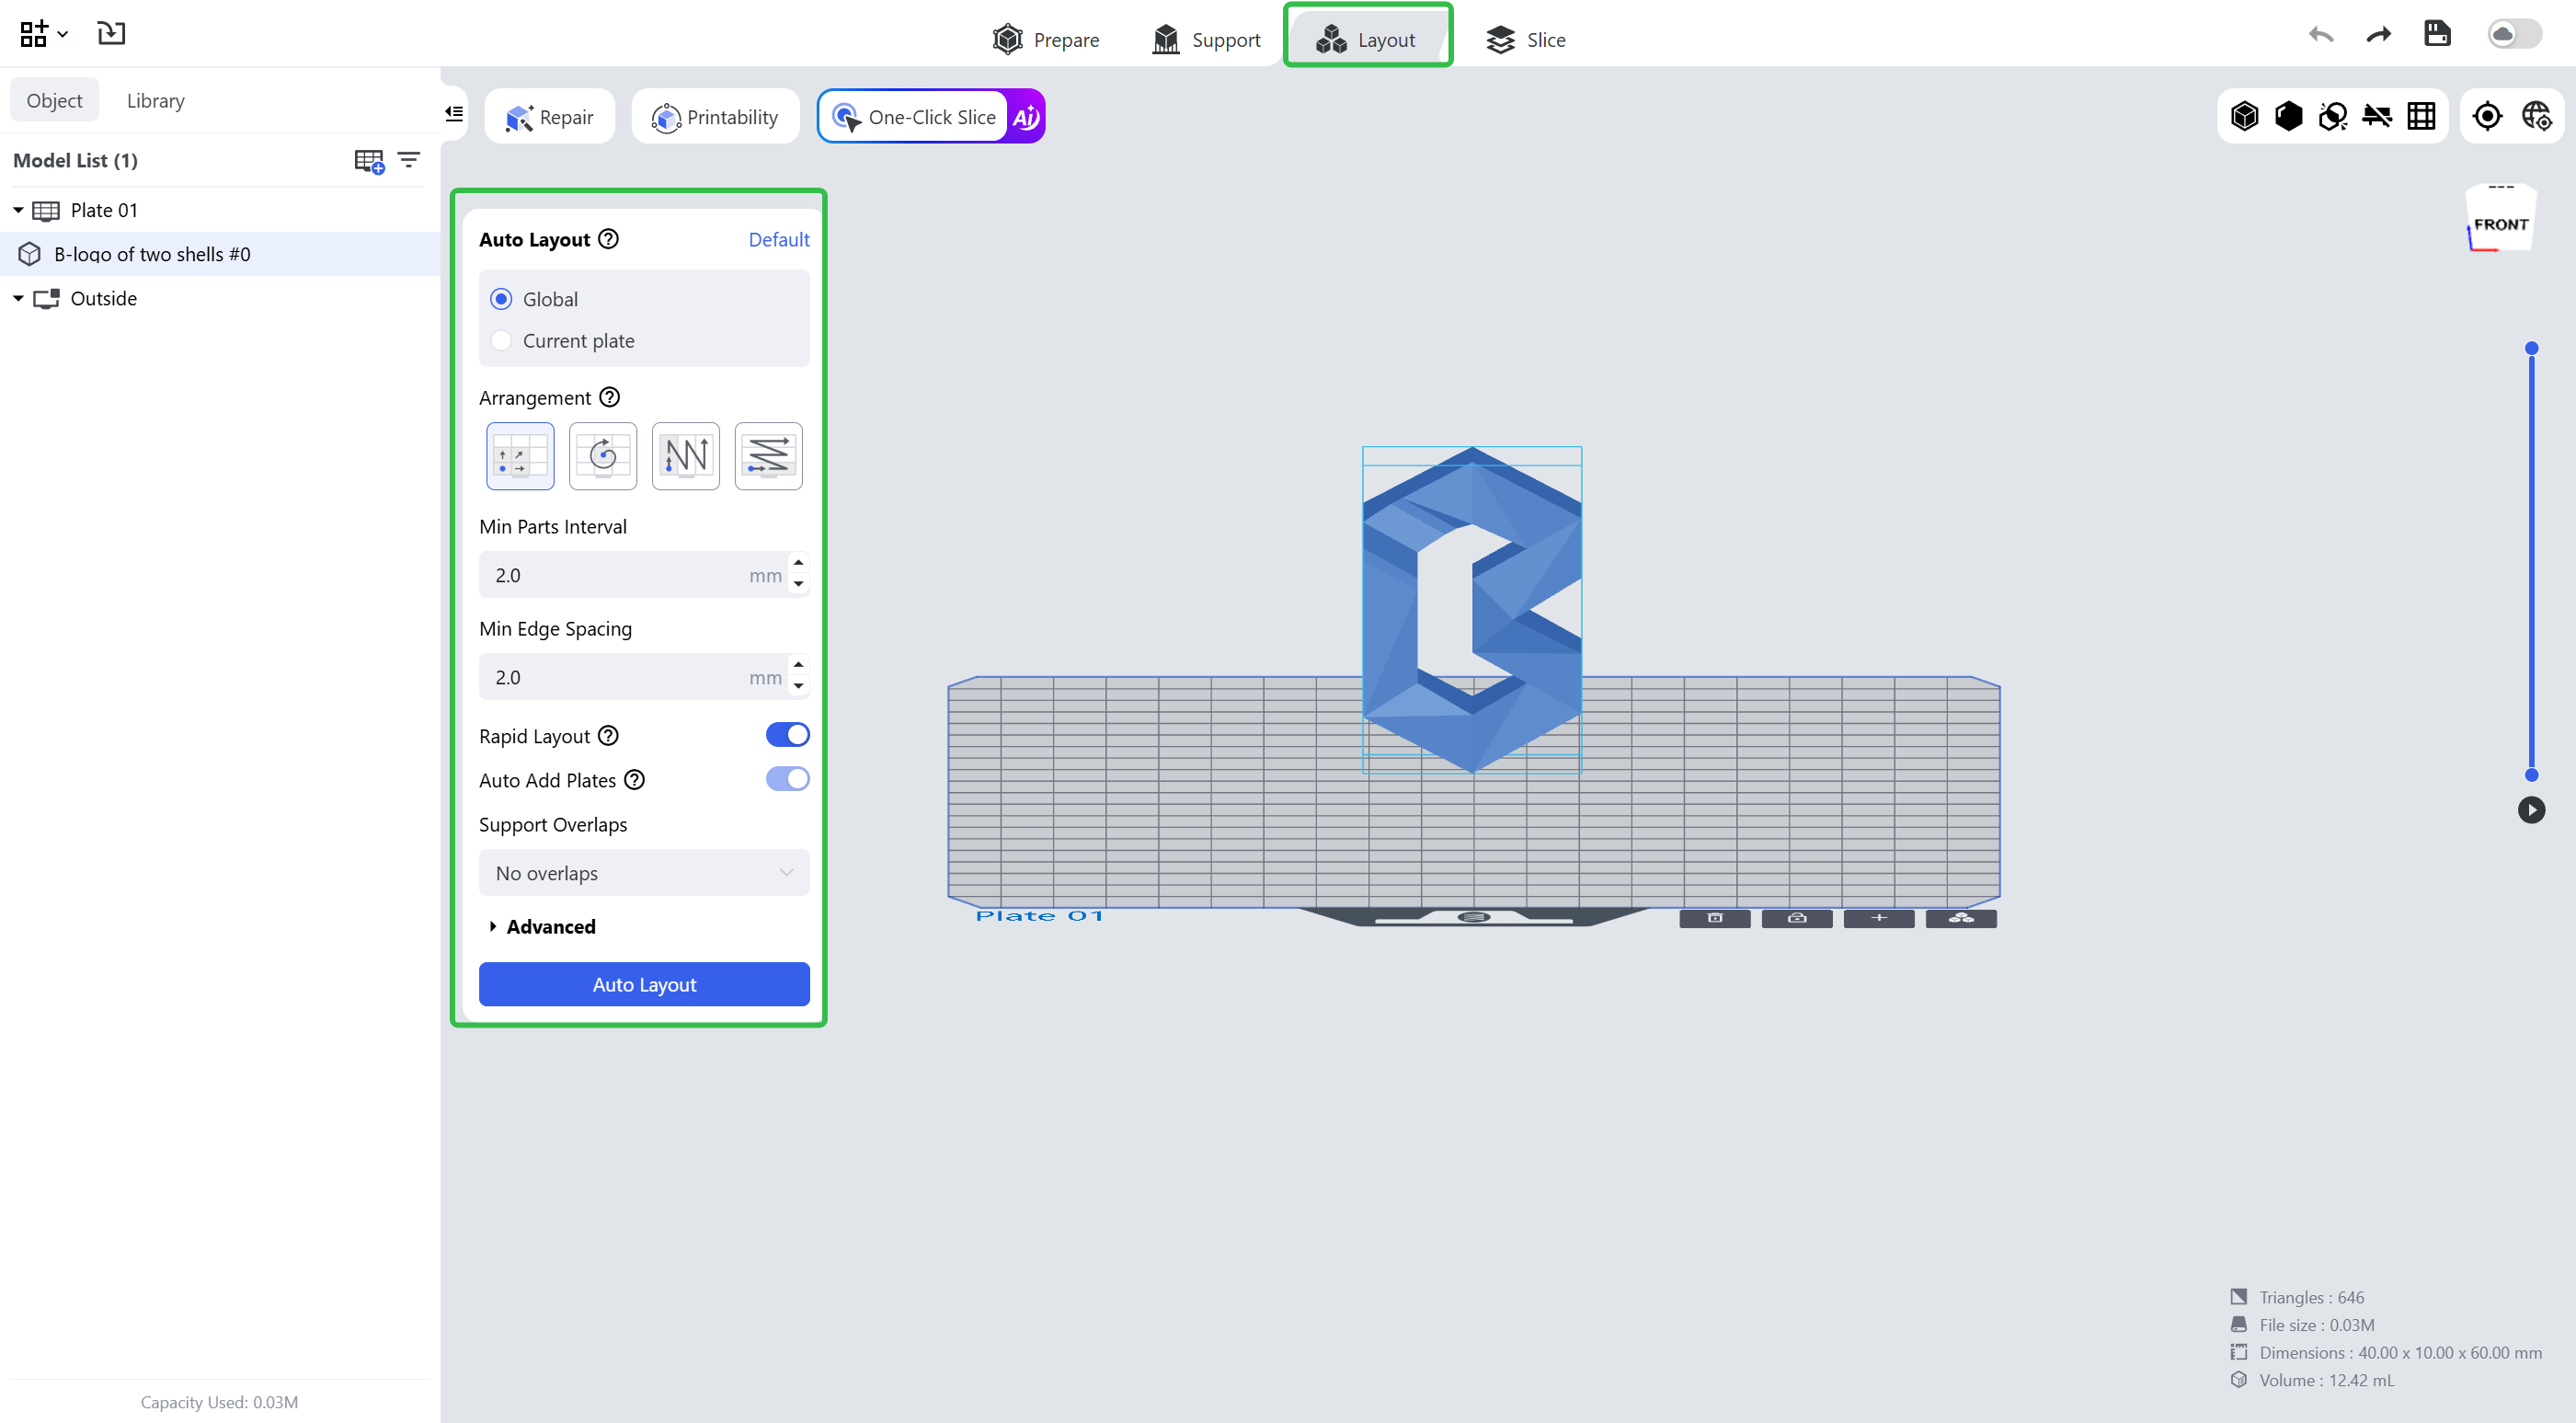
Blueprint Studio provides auto-layout settings with four arrangement modes: lower left, center, left and bottom. You may also set the minimum part spacing and the minimum edge spacing.
- Rapid Layout: when enabled, the layout efficiency is prioritized and the compactness of the model distribution may be lower.
- Auto Add Plates: auto-add plates when selected plates reaches capacity. For <Current Plate>, new plates will be inserted after it while shifting the rest of existing plates backward.
- Support Overlaps: you may choose <No overlaps>, <Between supports only>, and <Between supports and models>.
- Restore Default: to reset the parameter settings, click <Default> in the upper right corner.
Note: when the current plate is selected, a new plate is inserted after the current plate, and all the other plates move backward as a whole.
¶ 3. Advanced Settings
Besides the basic parameters, more layout parameters can be set.
- Order: you may choose <By the order in Model List>, <By bounding projection (descending)>, and <By bounding projection (ascending)>.
- Allow Position Covering: allow some models at the back of the order to be arranged in the frame earlier, if needed due to the arrangement.
- Center After Arrangement: If enabled, the models will be moved together, after arrangement, to the center of the build platform.
- Steps to Rotate Around Z-Axis: 8 angle settings are supported; models will rotate in a series of angular steps, resulting in a more compact layout, but it may take some time.
¶ Update History
| Version | Date |
|---|---|
| 1.0 | 2026-10-26 |