¶ Overview
This guide is about the software operation of the first print, applicable when using Blueprint Studio with a Reflex series printer..
- Operations: complete the three steps of creating a project, pre-processing the model and sending the printable file in turn, and the software part of the first print is done.
- Model pre-processing: you may use the One-Click Slice feature, or carry out the repair, printability, editing, support and layout operations while slicing; you may use the default parameters directly or customize them as needed.
- Notes on sending slice files:
- Send via network: local slice files can only be sent to the printers on the same LAN, while cloud slice files can be sent through the internet to the networked printers, wash machines and cure machines;
- Import via USB drive: when working offline, you may save the slice files to the local disk and import them to the Reflex printer through a USB drive to finish the printing.
¶ 1. Create a Project
Hit <New Project> on the home page, or hit New in the upper right corner of the [Project] page, and you may create a local project or a cloud project. If you have created a project before, you may double-click the project card on the home page or the [Project] page to continue the previous project.
- Local project: the data of a local project is saved only on the local computer, and the project dcfata cannot be accessed across devices.
- Cloud project: the data of a cloud project is synchronized and saved in the cloud, and the project data can be accessed across devices.
¶ 2. Pre-process the Model
Enter the pre-processing interface and complete the model editing, support adding, layout, repair and printability steps in turn; after the designed model is sliced, you will get the printable file.
¶ 2.1 One-Click Slice
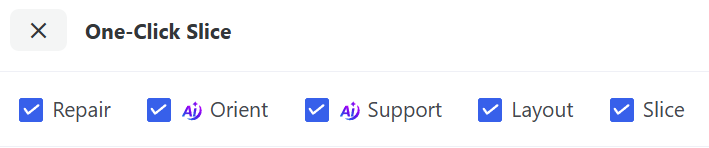
It will perform Repair→Orient→Support→Layout→Slice on all the models according to the settings ticked in the One-Click Slice pop-up; you may use the presets or customize the corresponding parameters as needed.
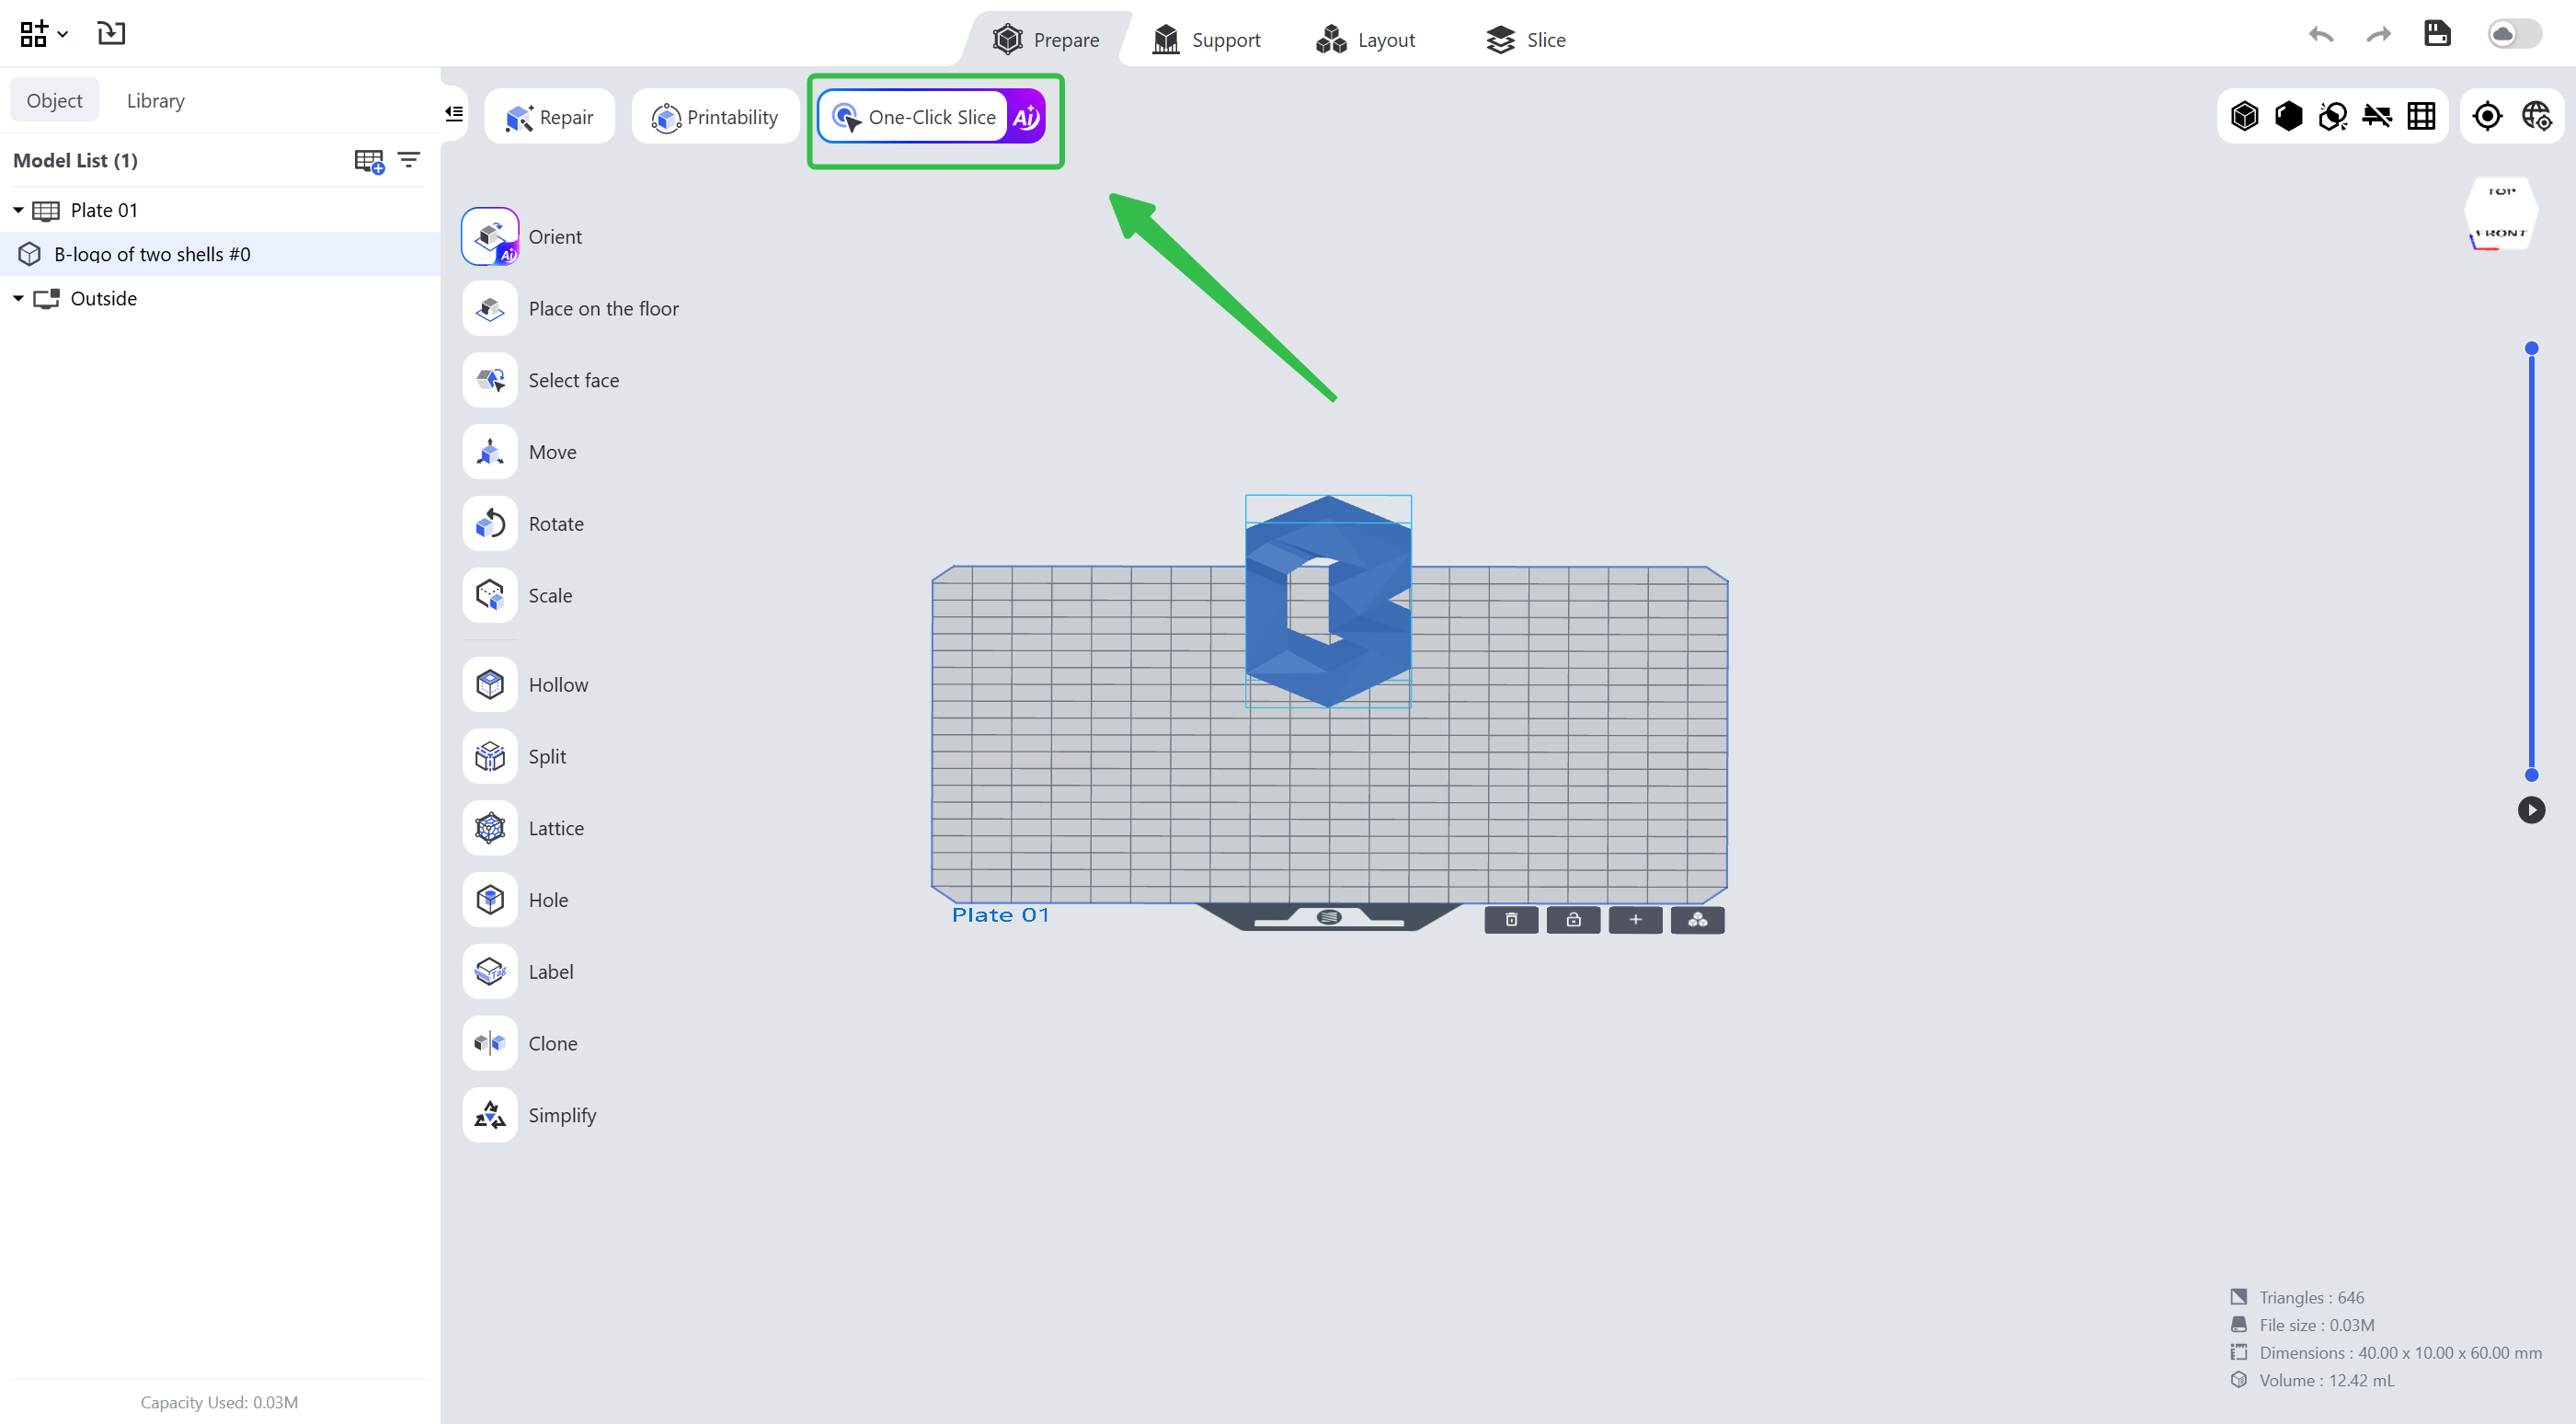
Enter the [Prepare], [Support] or [Layout] page and click the third icon in the upper left corner.
See specific applications and parameters on One-Click Slice.
¶ 2.2 Slice
¶ 2.2.1 Repair
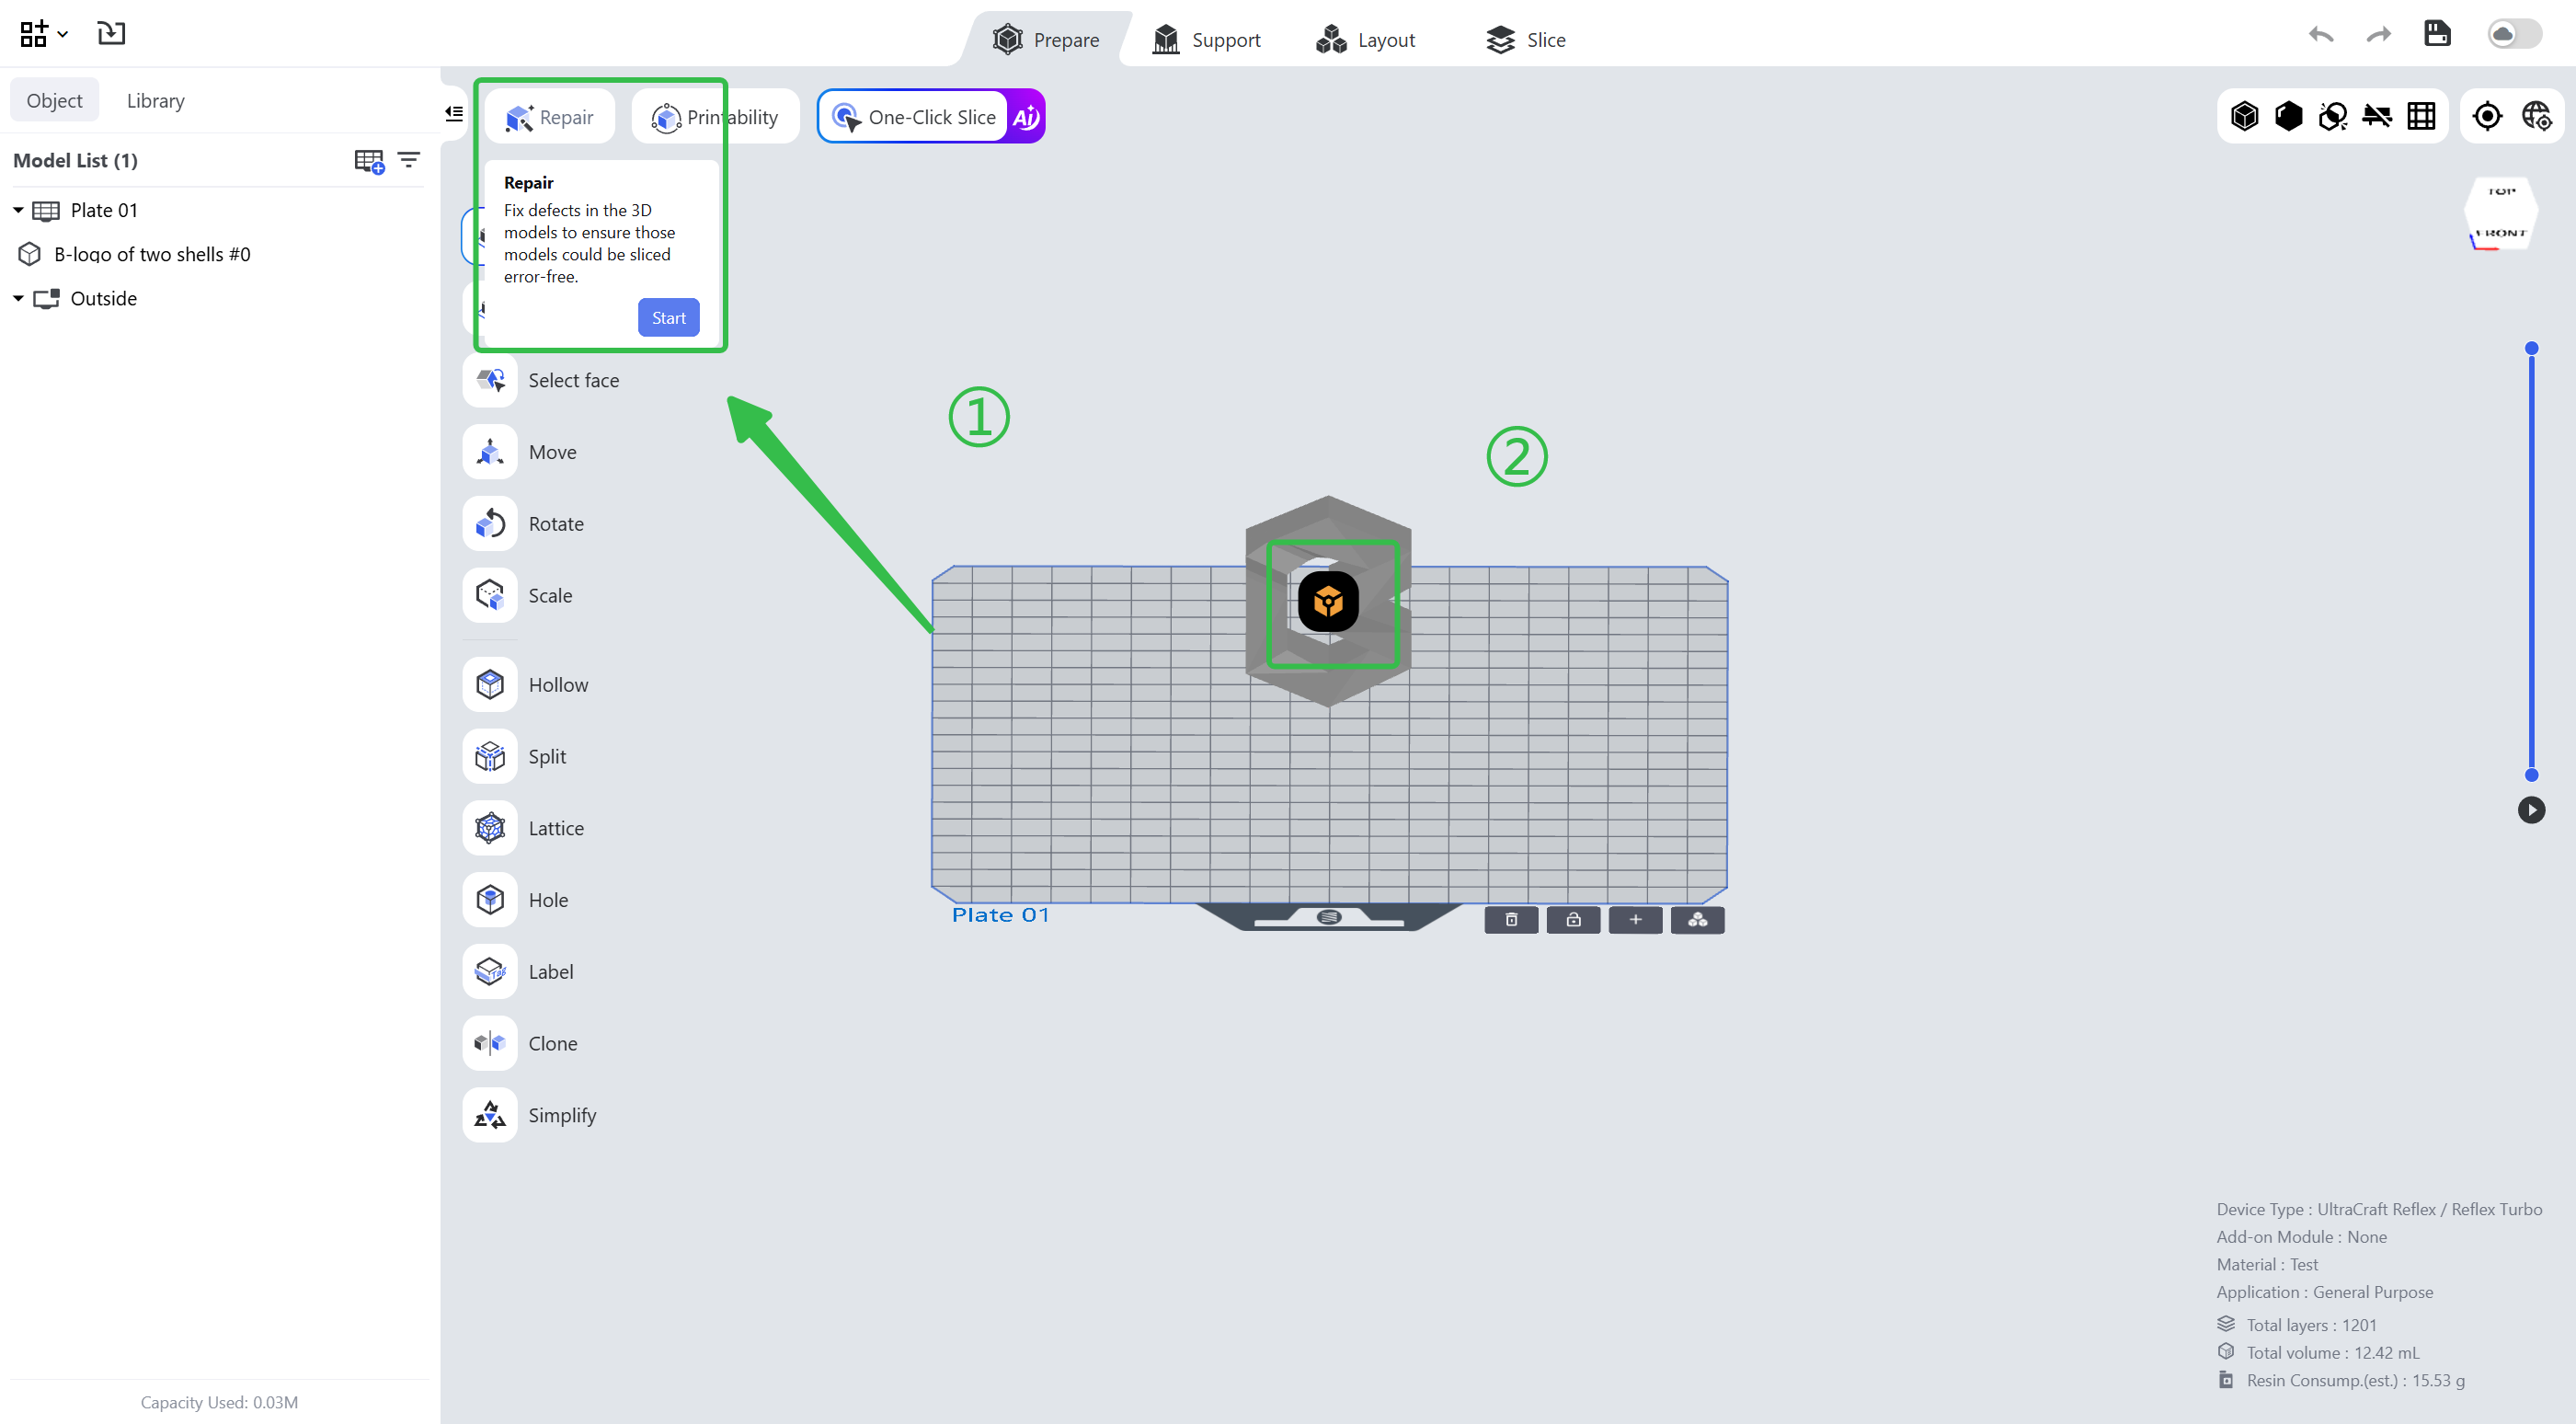
The repair feature can detect the defects of the selected model, such as the inverted normals, and remove them automatically. Enter the pre-processing page and click the first icon in the toolbar in the upper left corner to repair the model; for the detailed application, please refer to Repair.
¶ 2.2.2 Printability
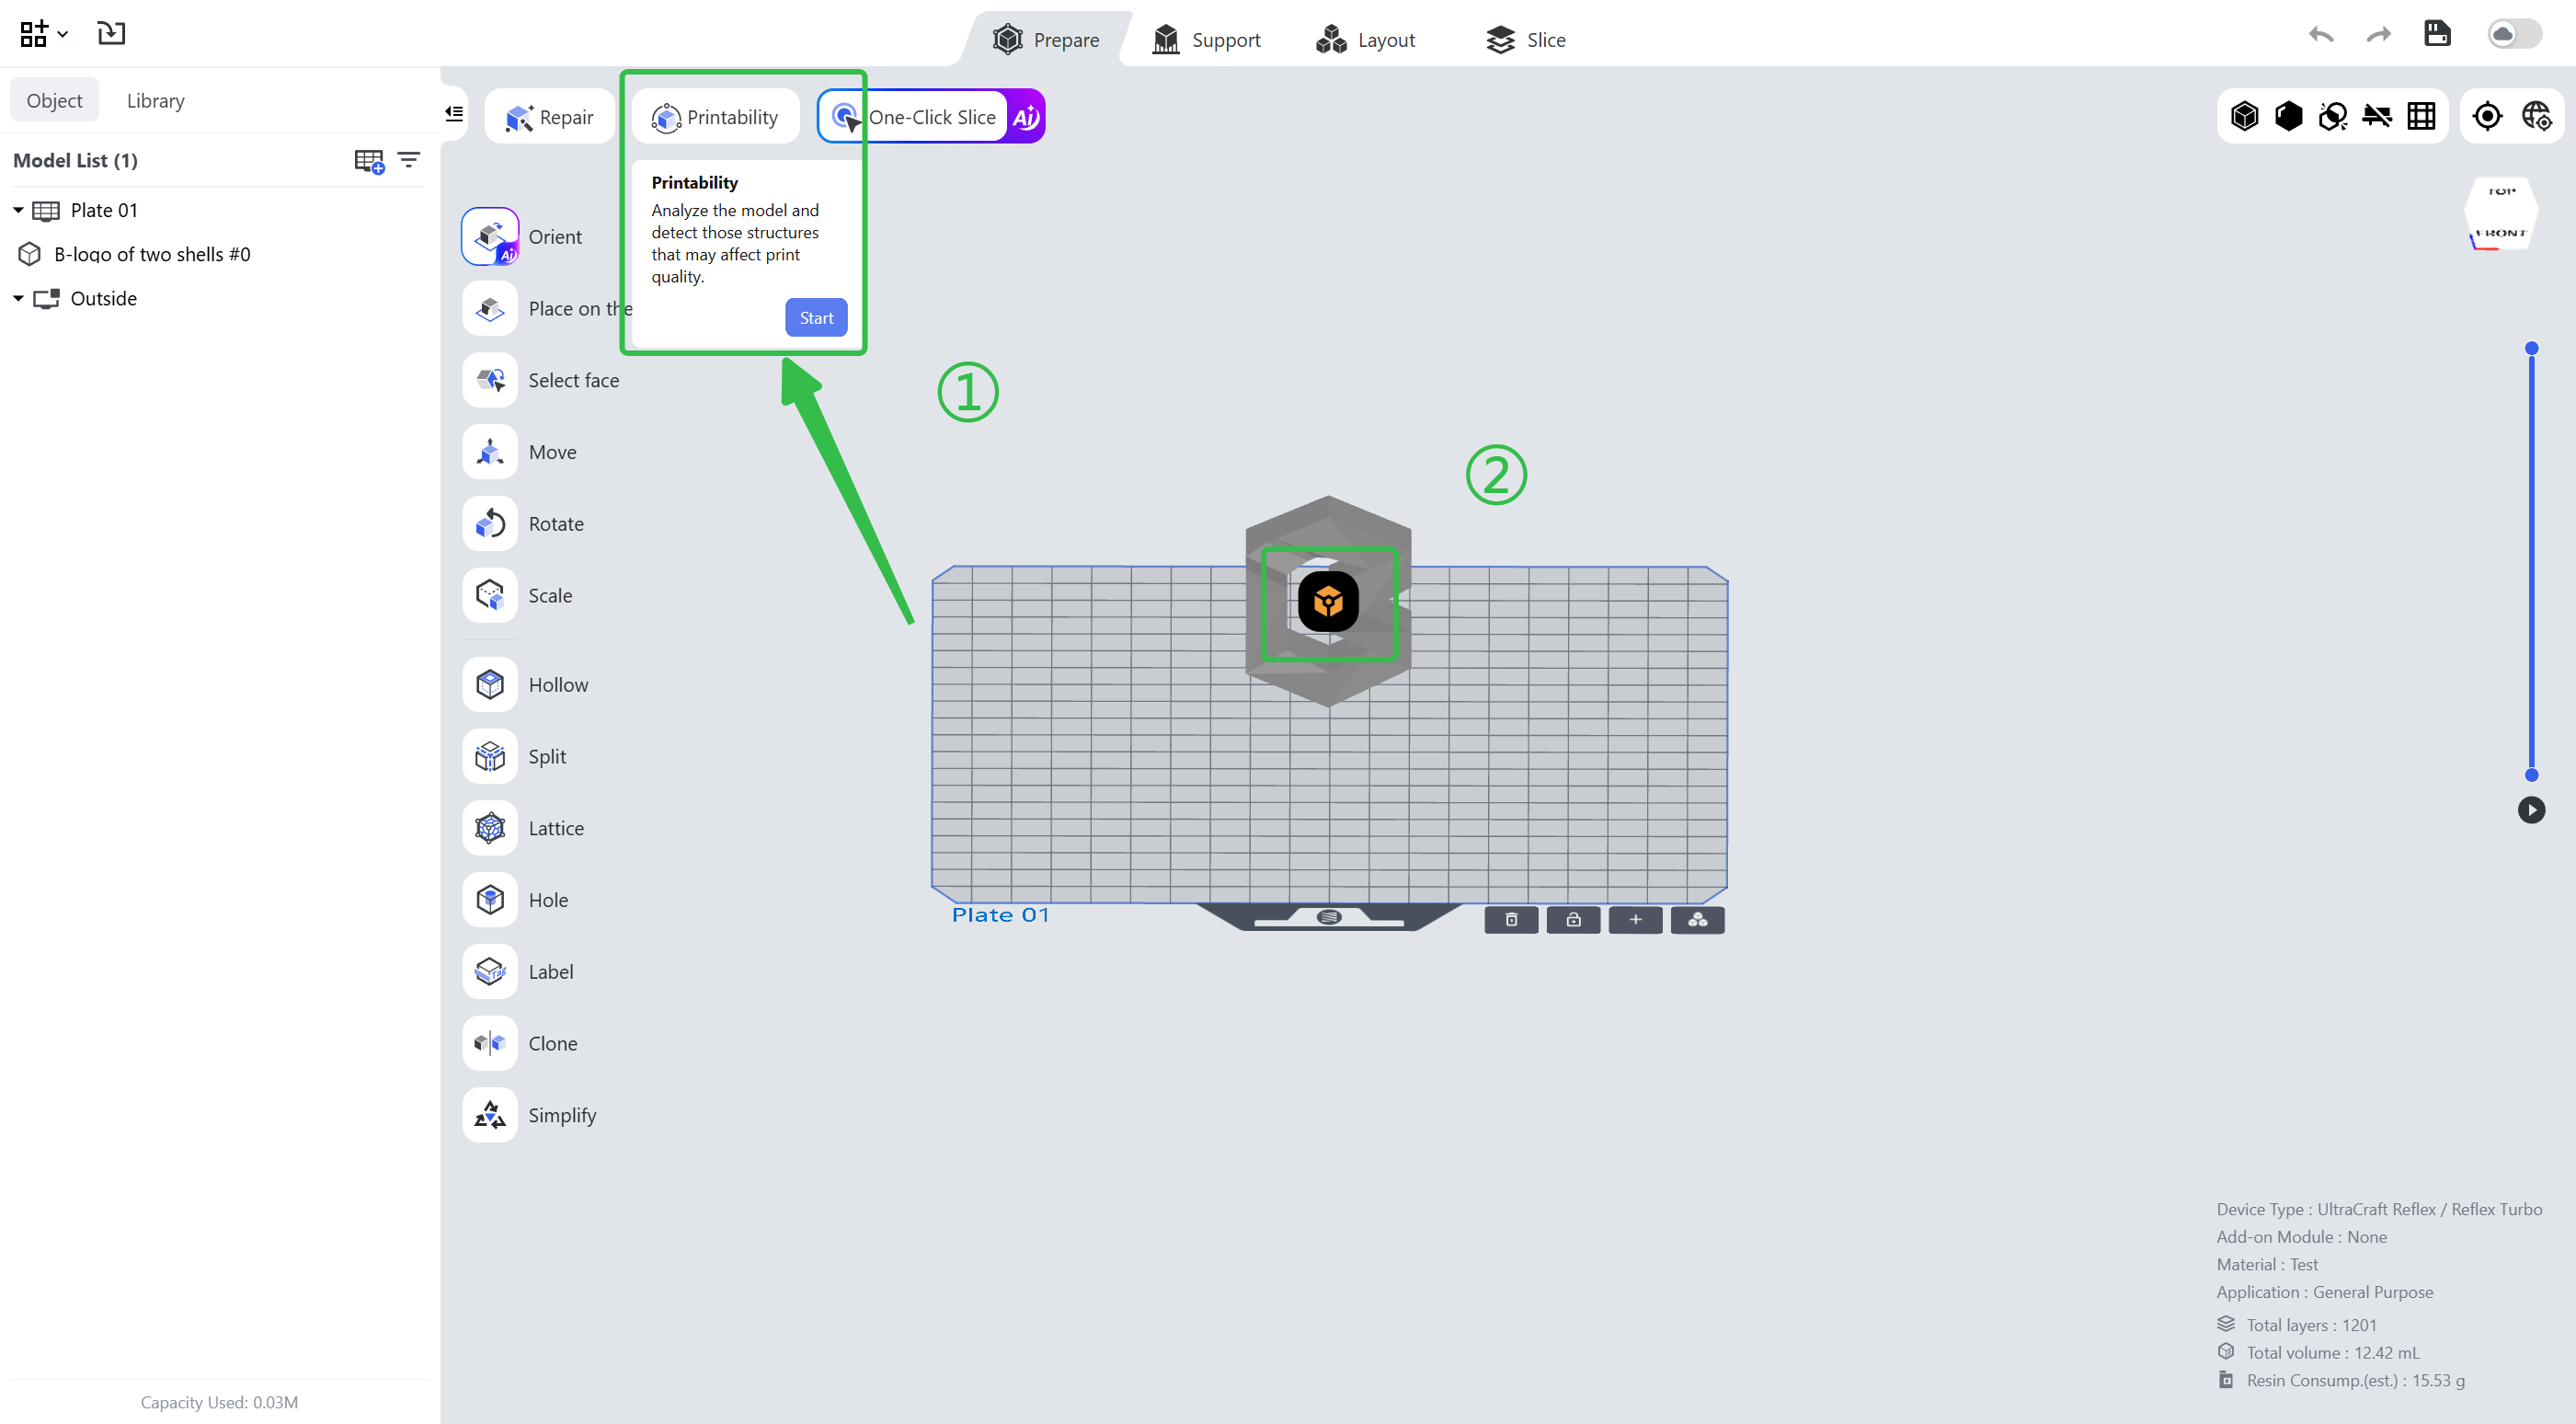
The printability feature can check the printability of the selected model and provides a tool with optimization suggestions. Enter the pre-processing page and click the second icon in the toolbar in the upper left corner to complete the printability check; for the detailed application, please refer to Printability.
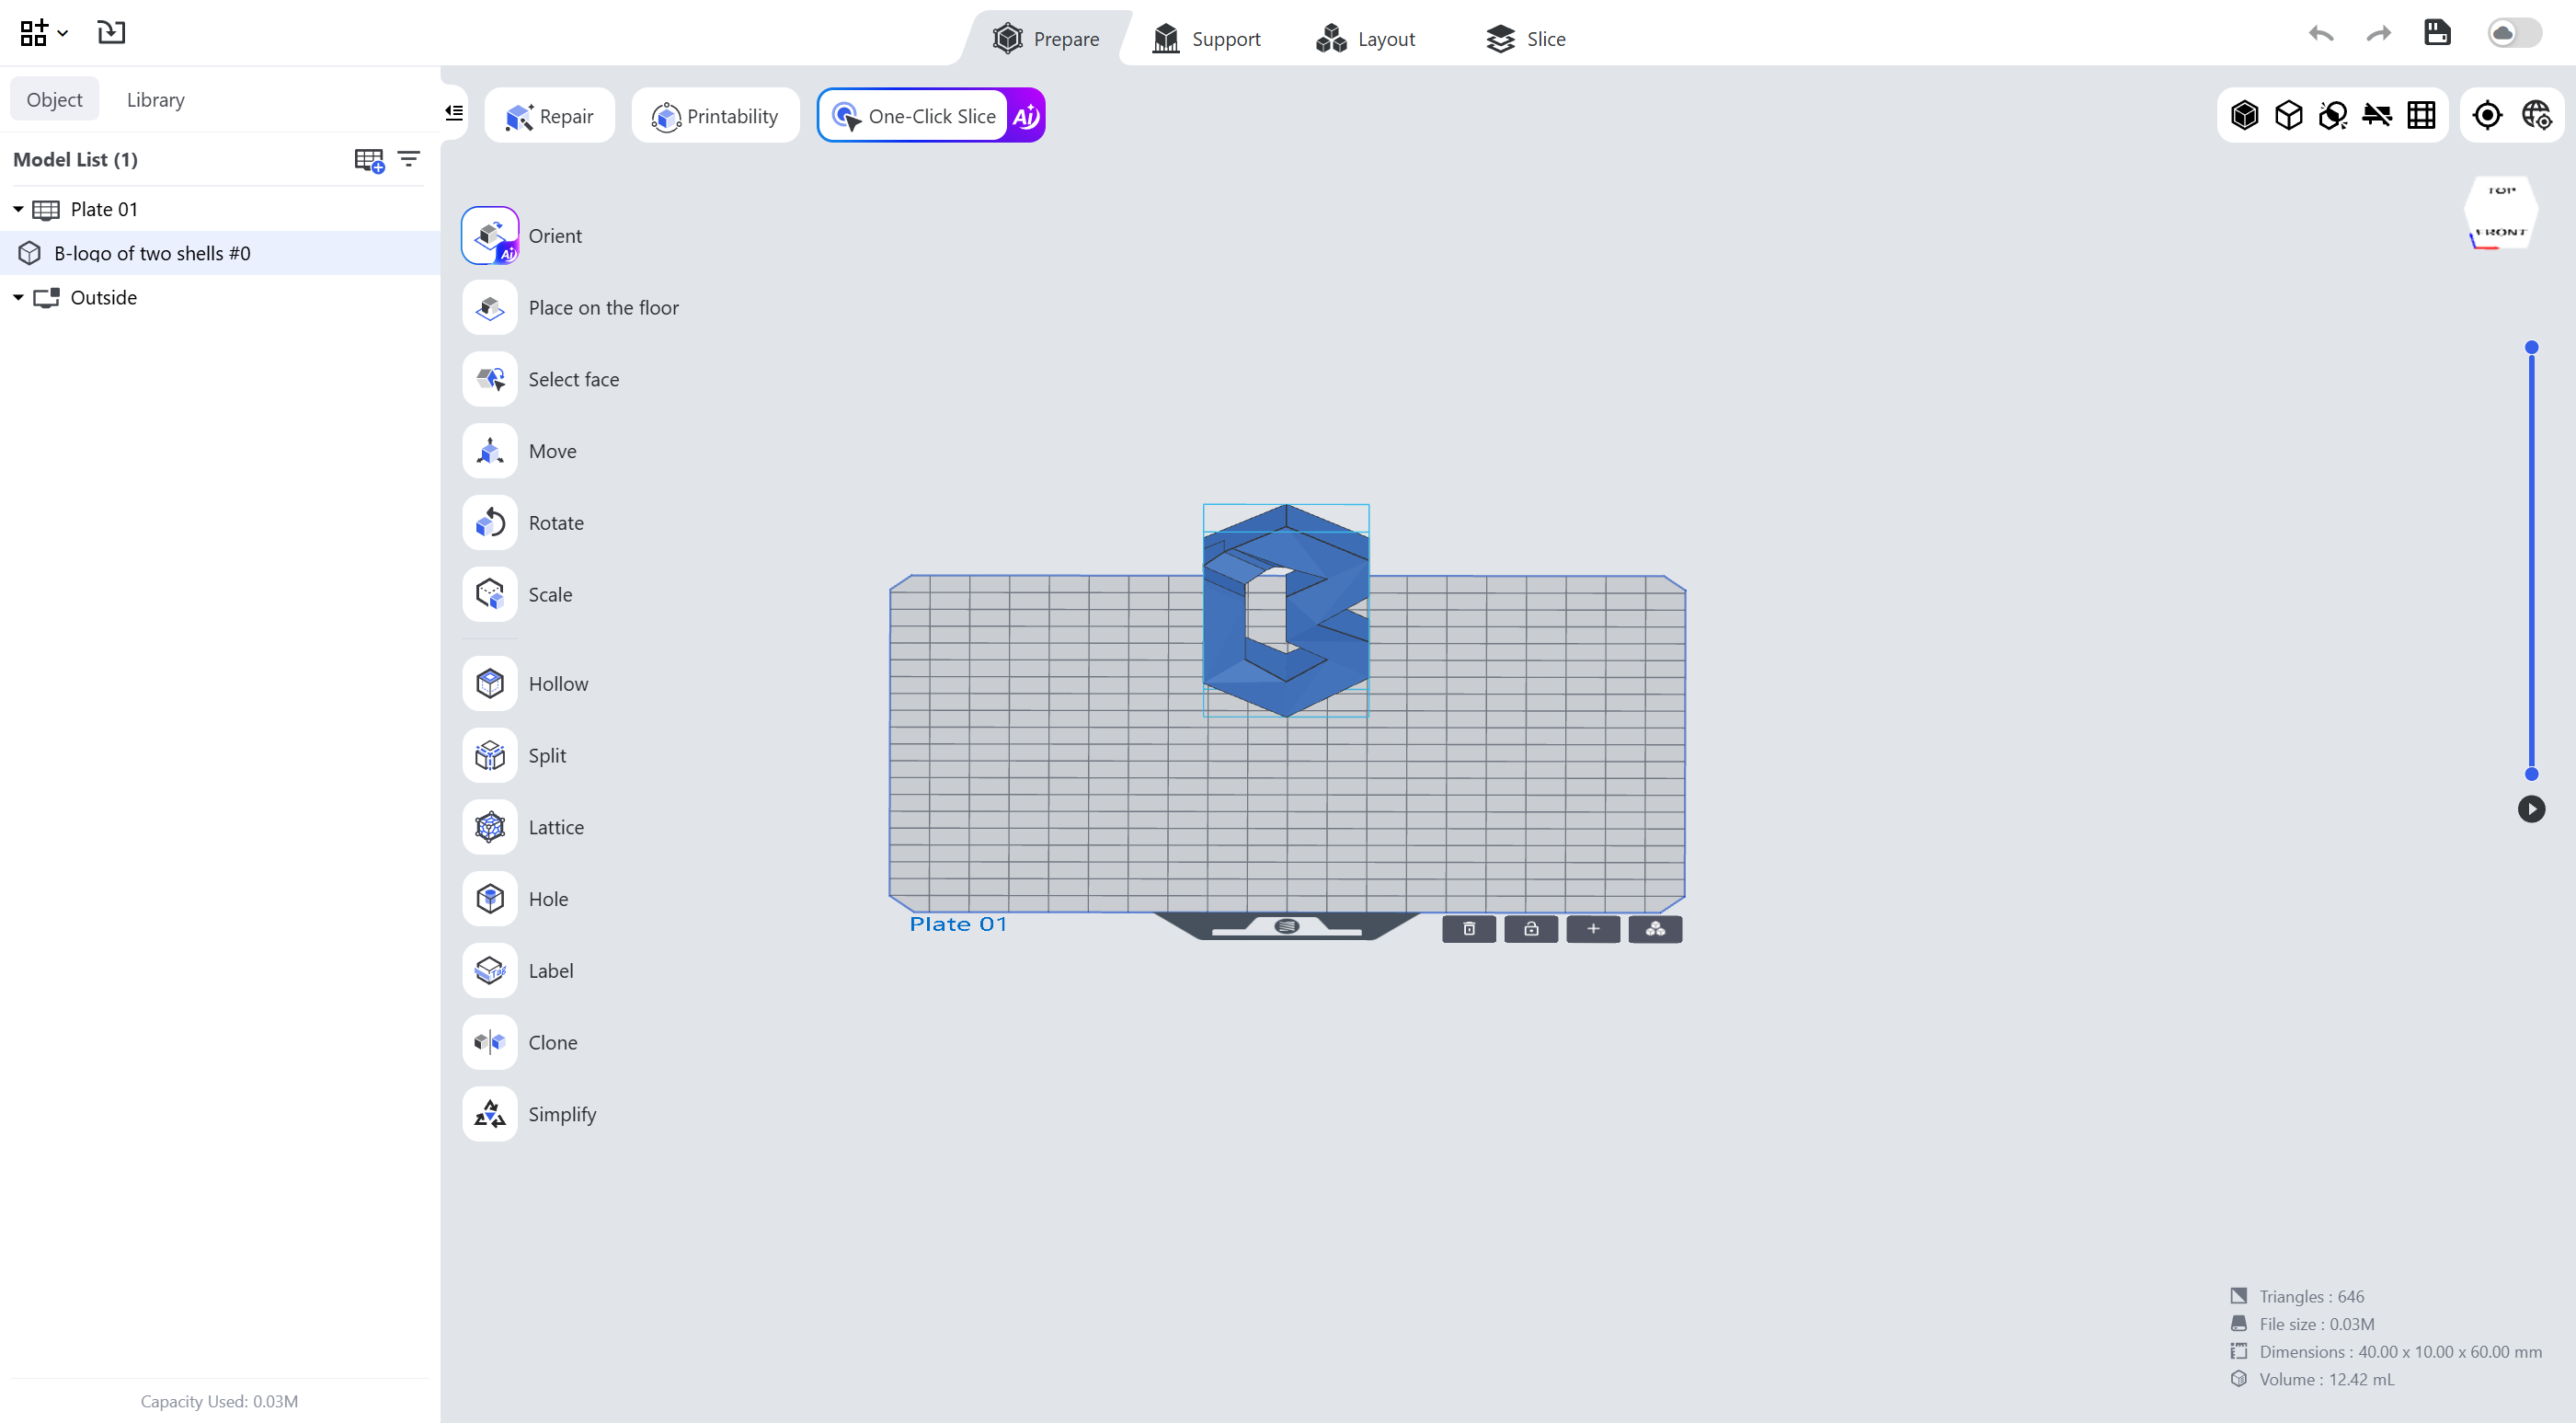
¶ 2.2.3 Prepare
Blueprint Studio provides Orient, Scale and other editing tools; for the detailed application, please refer to [Prepare] Page.
¶ 2.2.4 Support
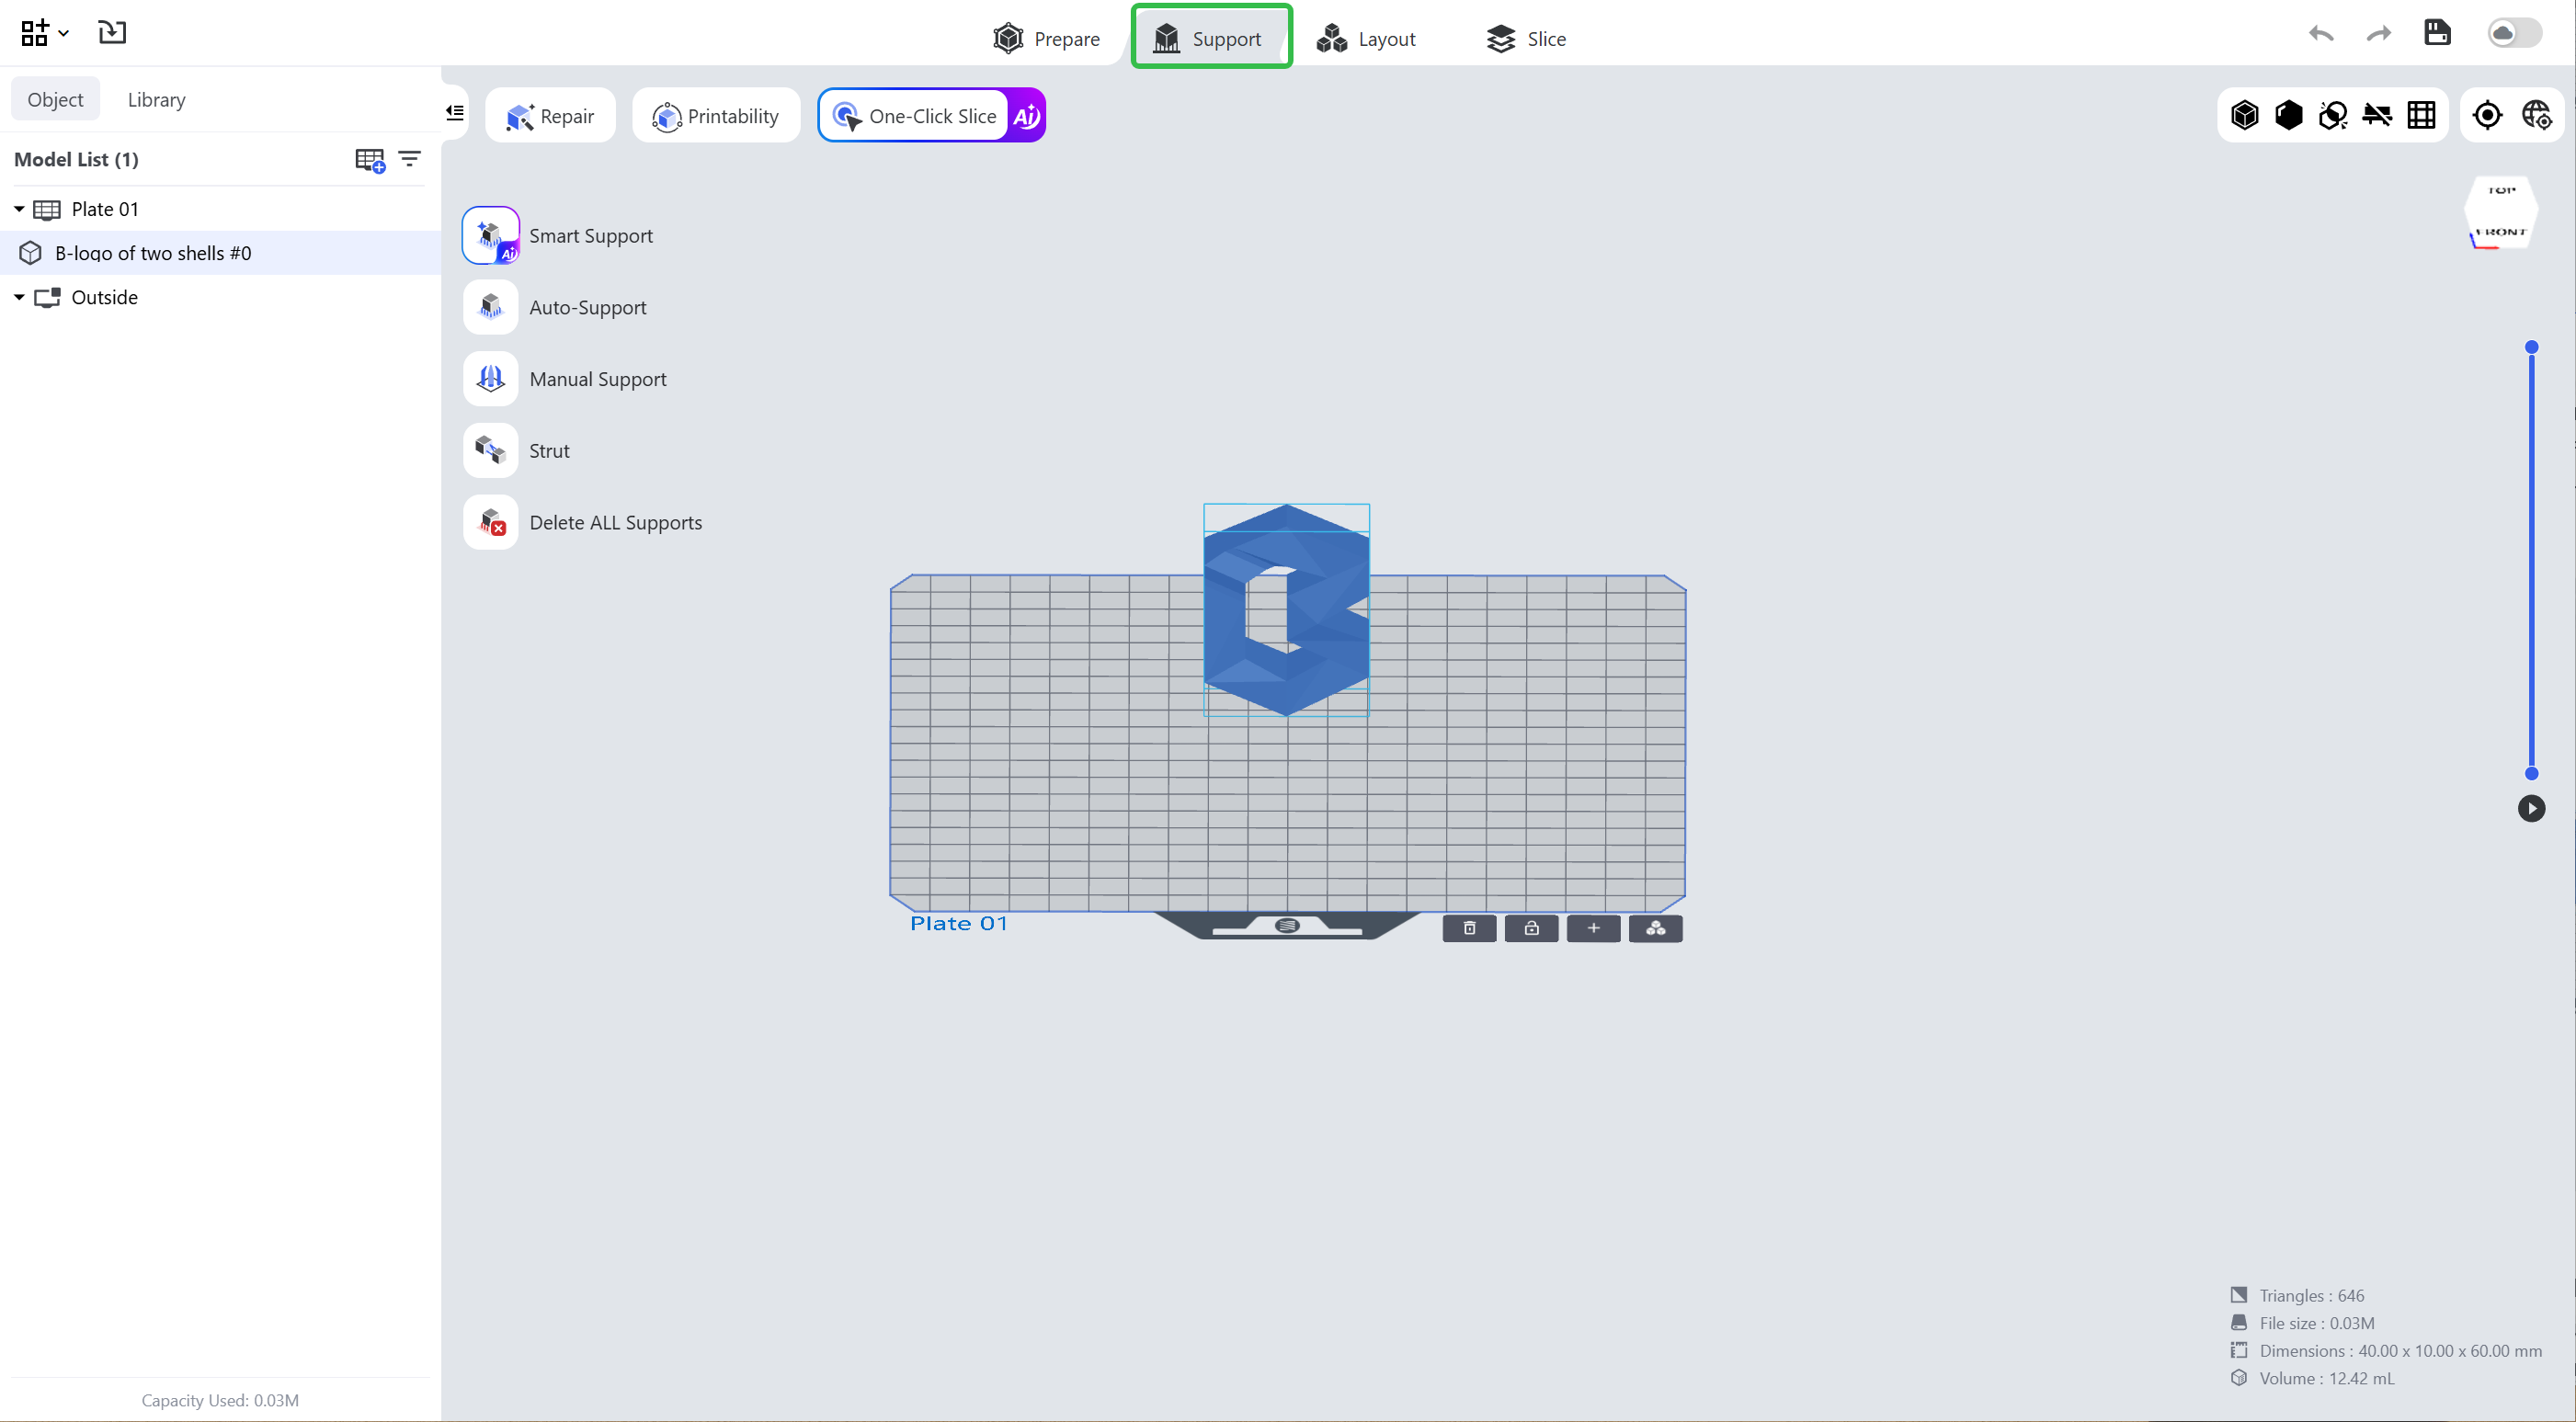
Due to the forming process of 3D printing, most models need supports before they can be printed normally. Blueprint Studio provides the following features to help you complete this process efficiently, quickly and accurately. For the detailed application, please refer to [Support] Page.
¶ 2.2.5 Layout
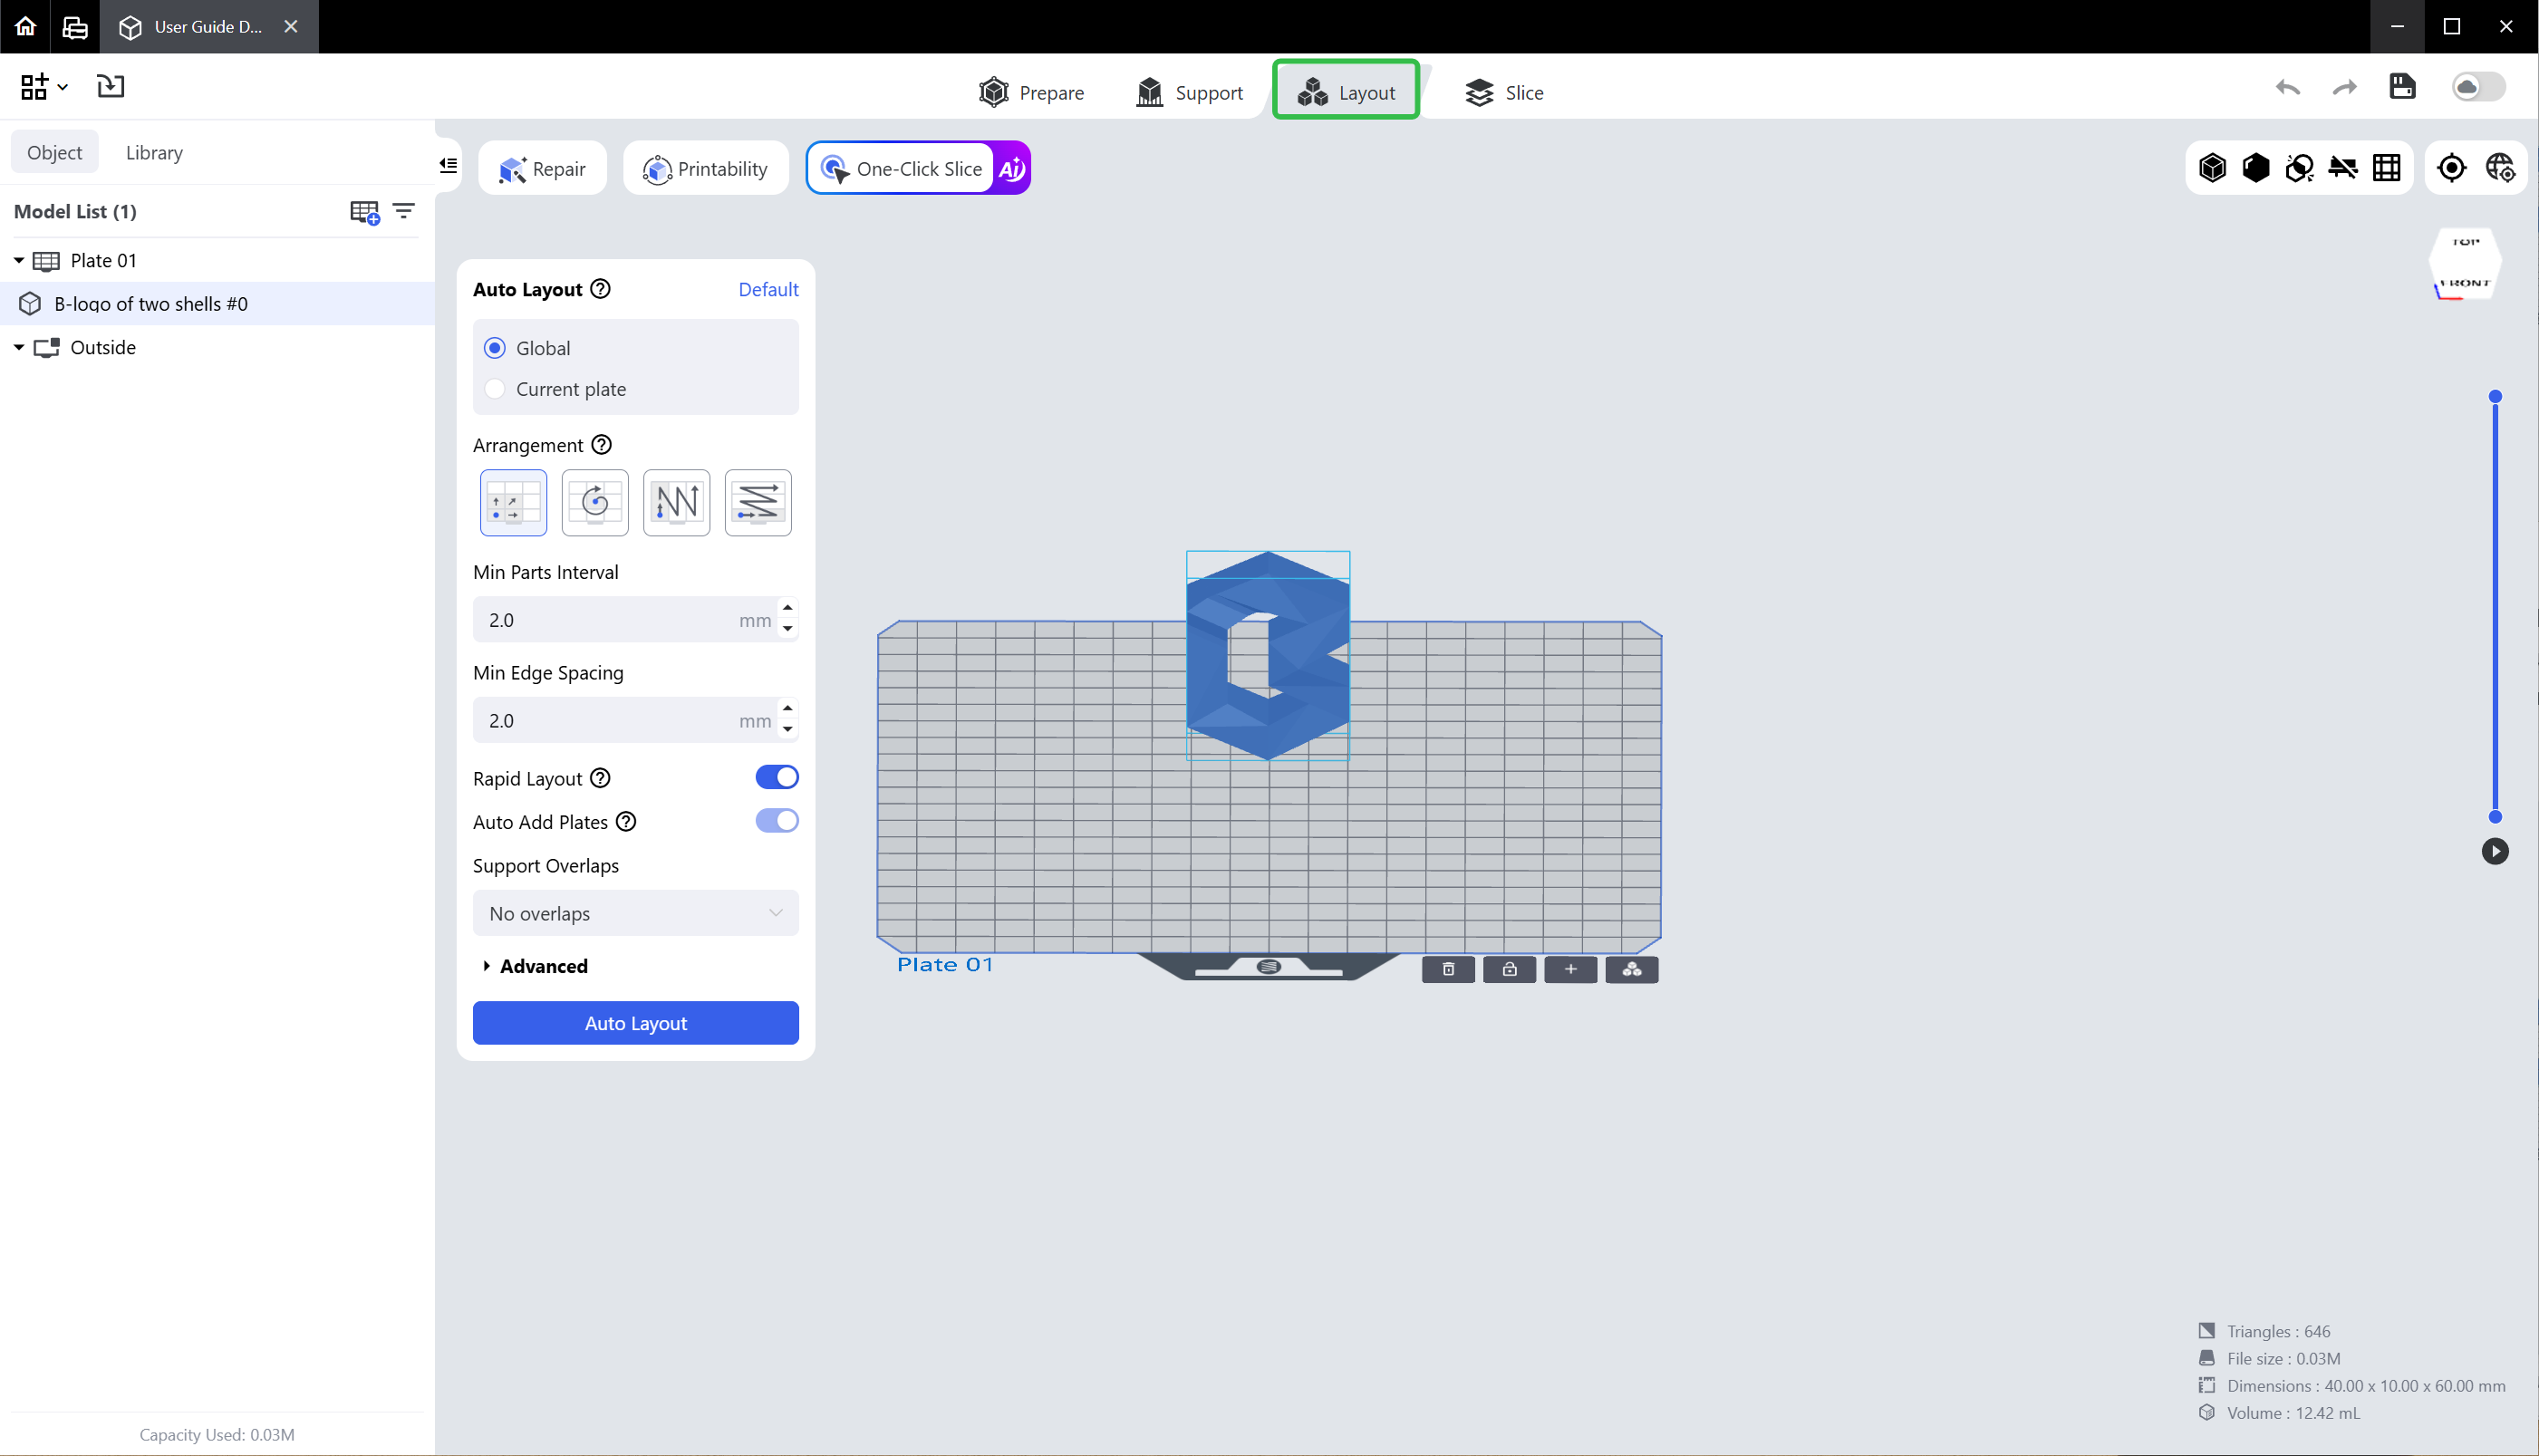
When printing multiple models, to make full use of the print frame, the models need to be laid out properly after the design is finished. Blueprint Studio provides the convenient Auto-layout feature, and you may set more layout parameters in Advanced Settings; for the detailed application, please refer to Layout.
¶ 2.2.6 Slice
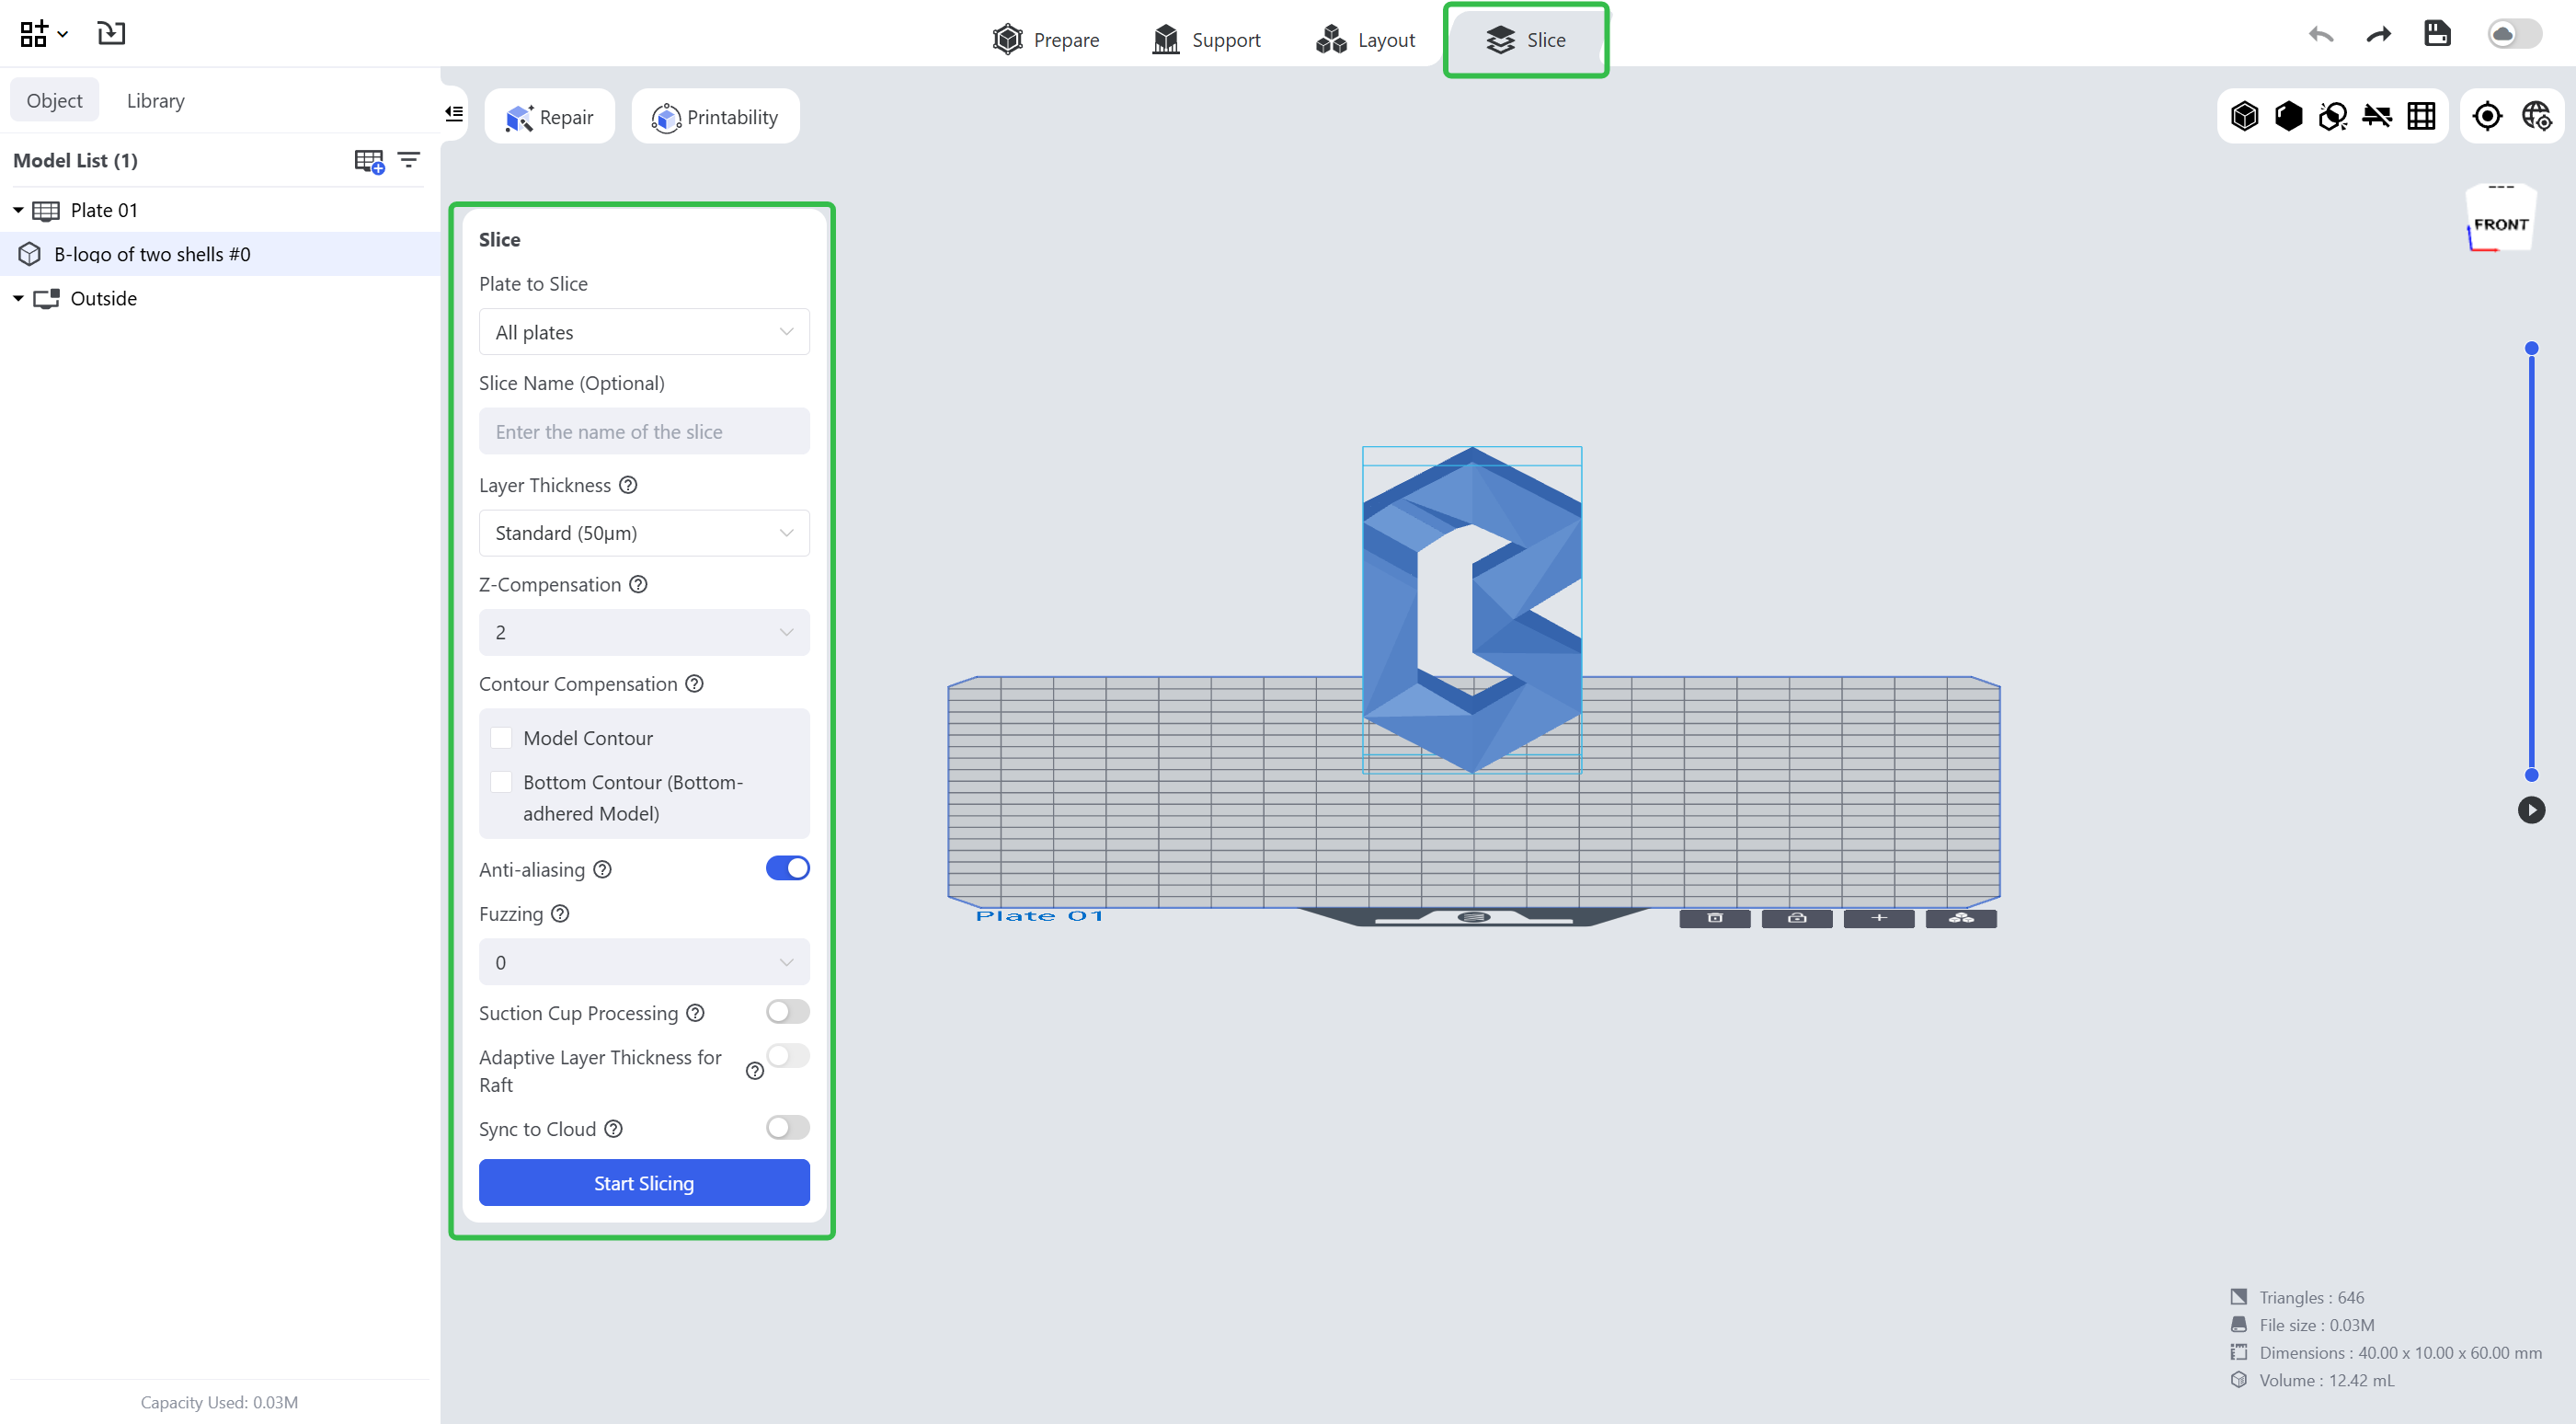
After the model design is finished, it still needs to be sliced to generate the printable file that the printer can recognize; setting the right parameters helps improve the printing result, and you may use the default parameters directly or adjust them as needed. For the detailed parameters, please refer to Slice.
¶ 3. Send the Printable File
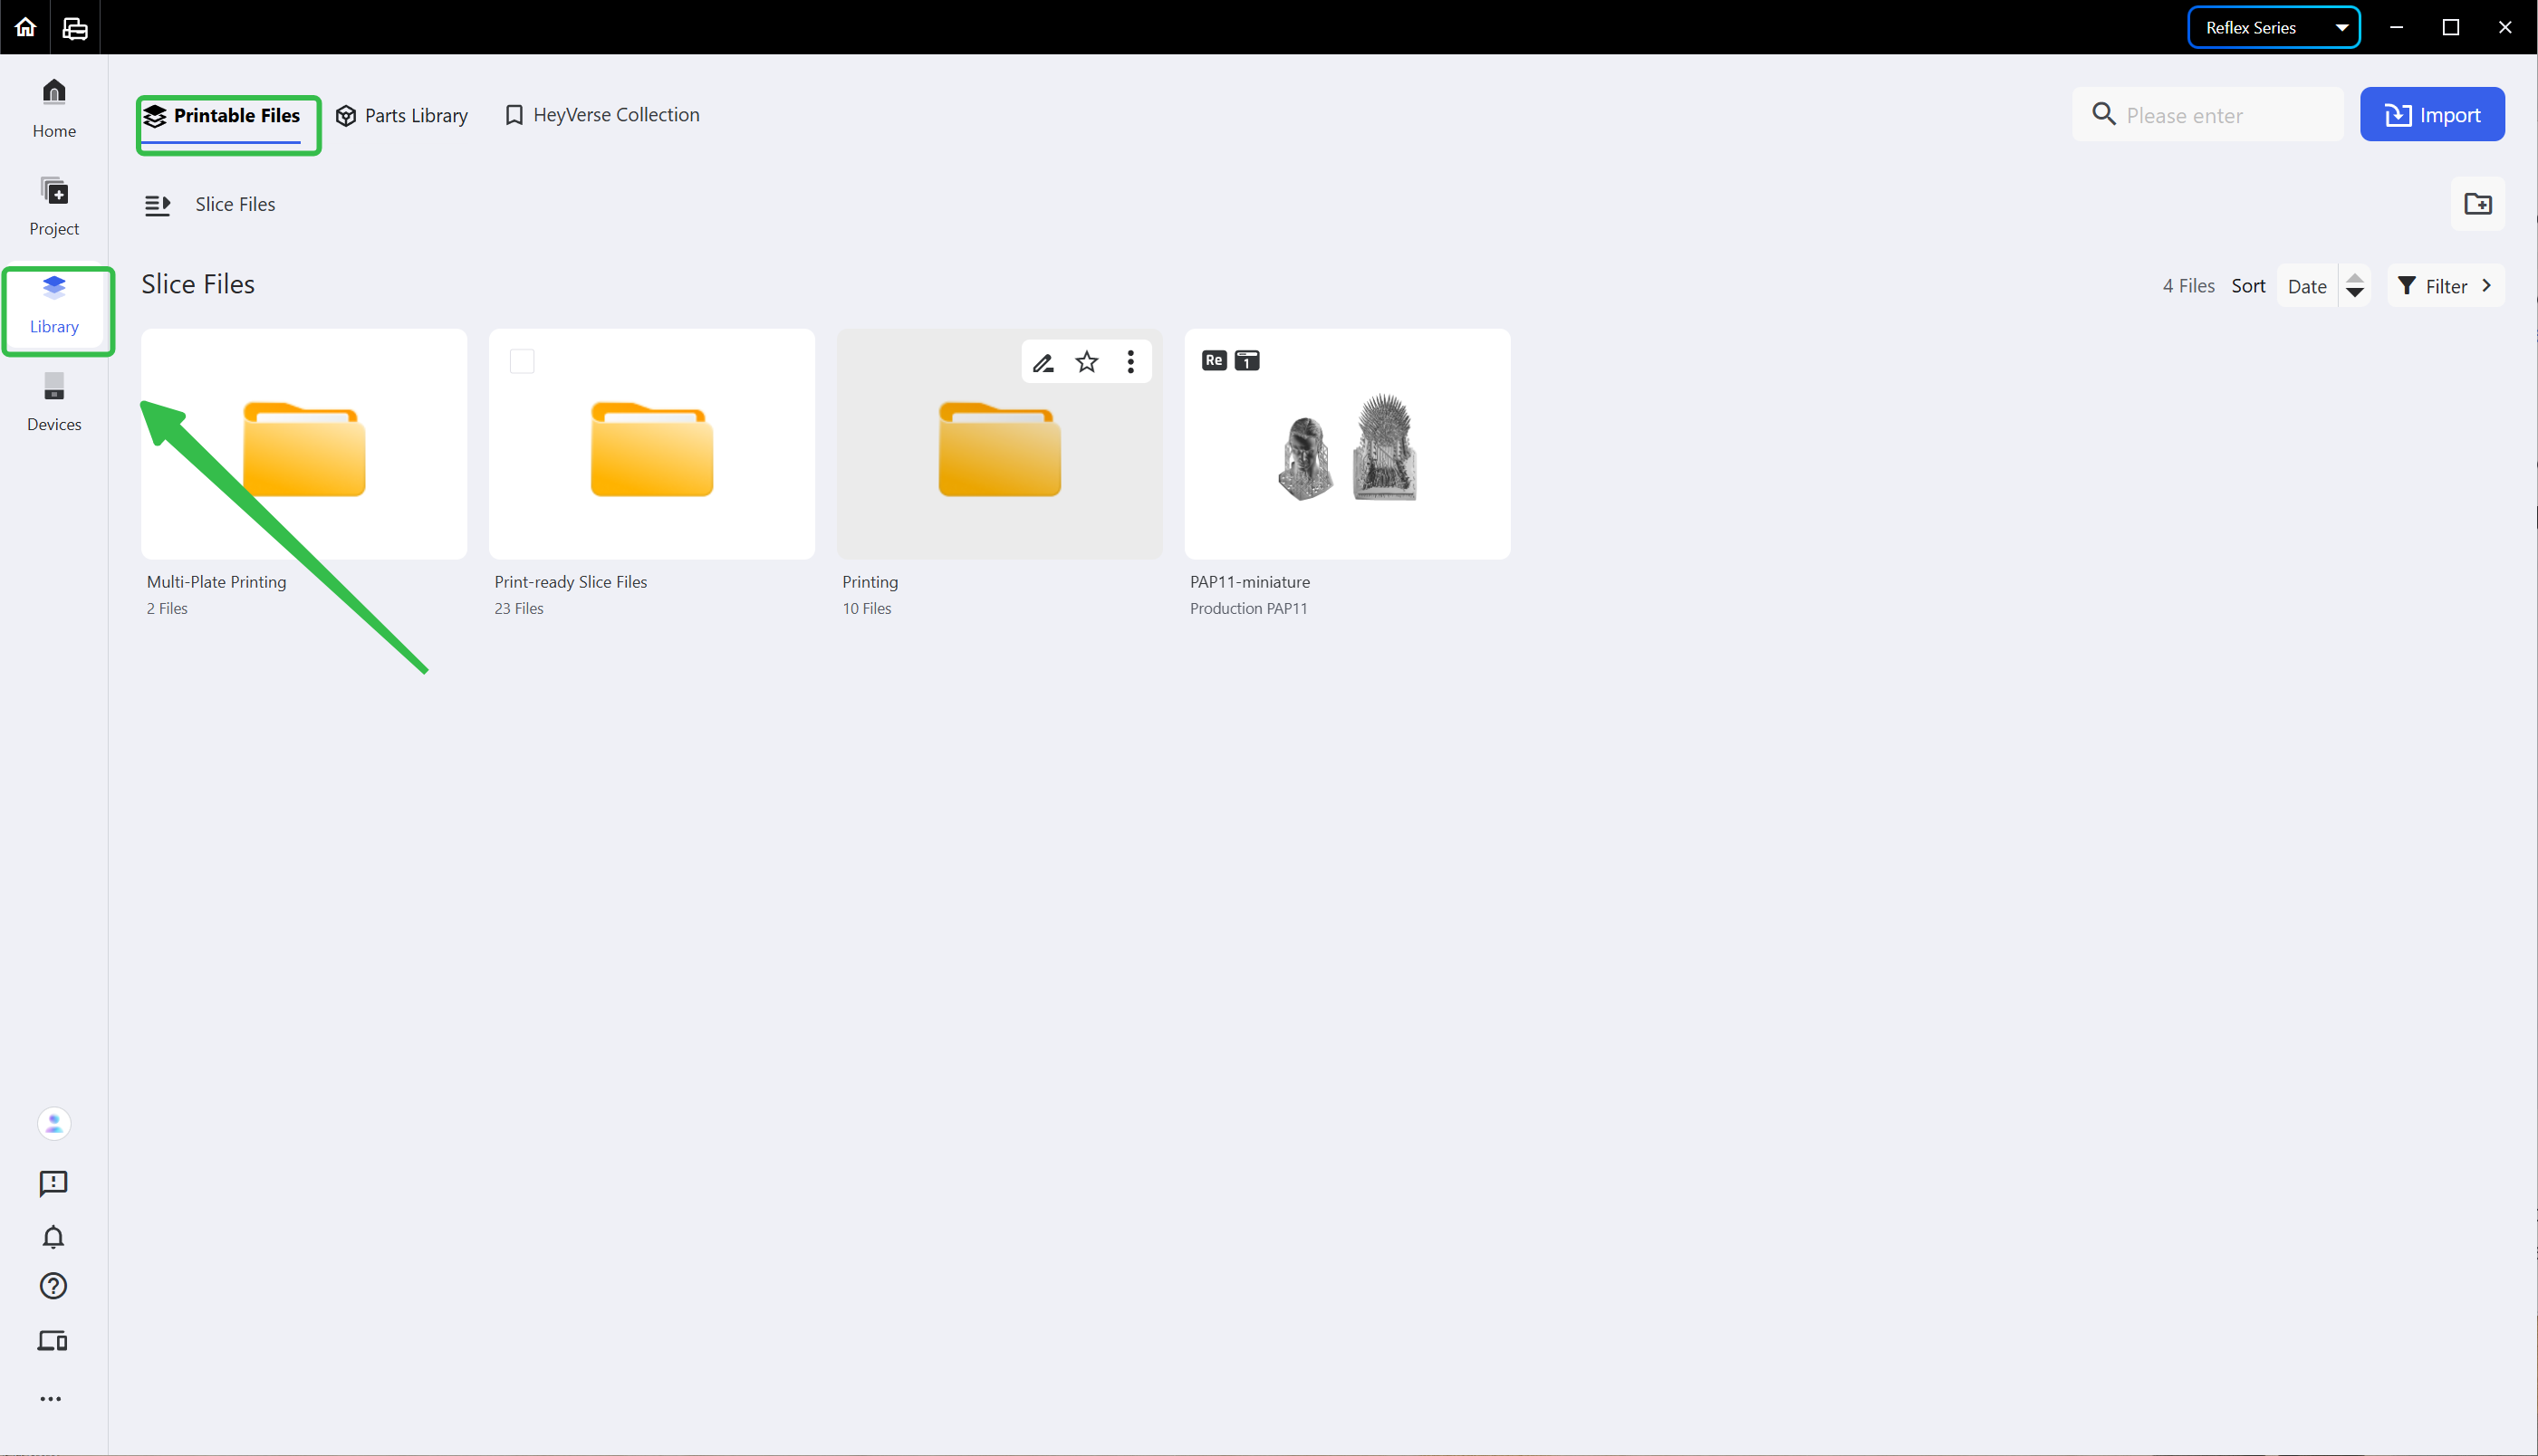
After slicing, you may check it in the [Library] or take the next step.
¶ 3.1 Send via Network
Select the slice file you want to send, click the Send button in the upper right corner of the slice file tab card, and then choose the Reflex printer you want to send it to.
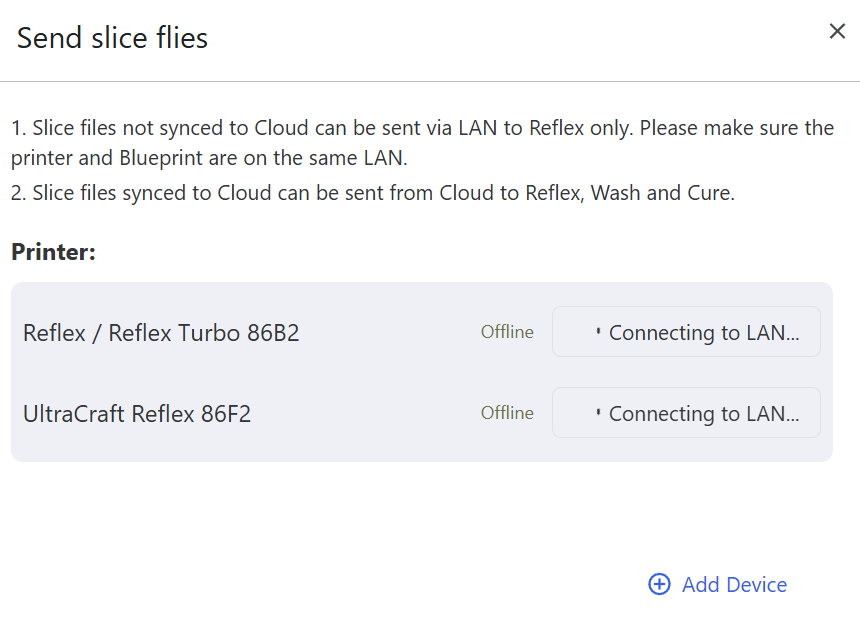
Note: local slice files can only be sent to the printers on the same LAN, while cloud slice files can be sent through the internet to the networked printers, wash machines and cure machines.
¶ 3.2 Import the Printable Files via USB Drive
If you'd like to use your printer when it's offline, you may download the slice files to your local USB drive and import them to your printer via the USB drive to print.
Click the ellipsis icon <...> in the upper right corner of the slice file tab card and choose <Save as> to download the file:
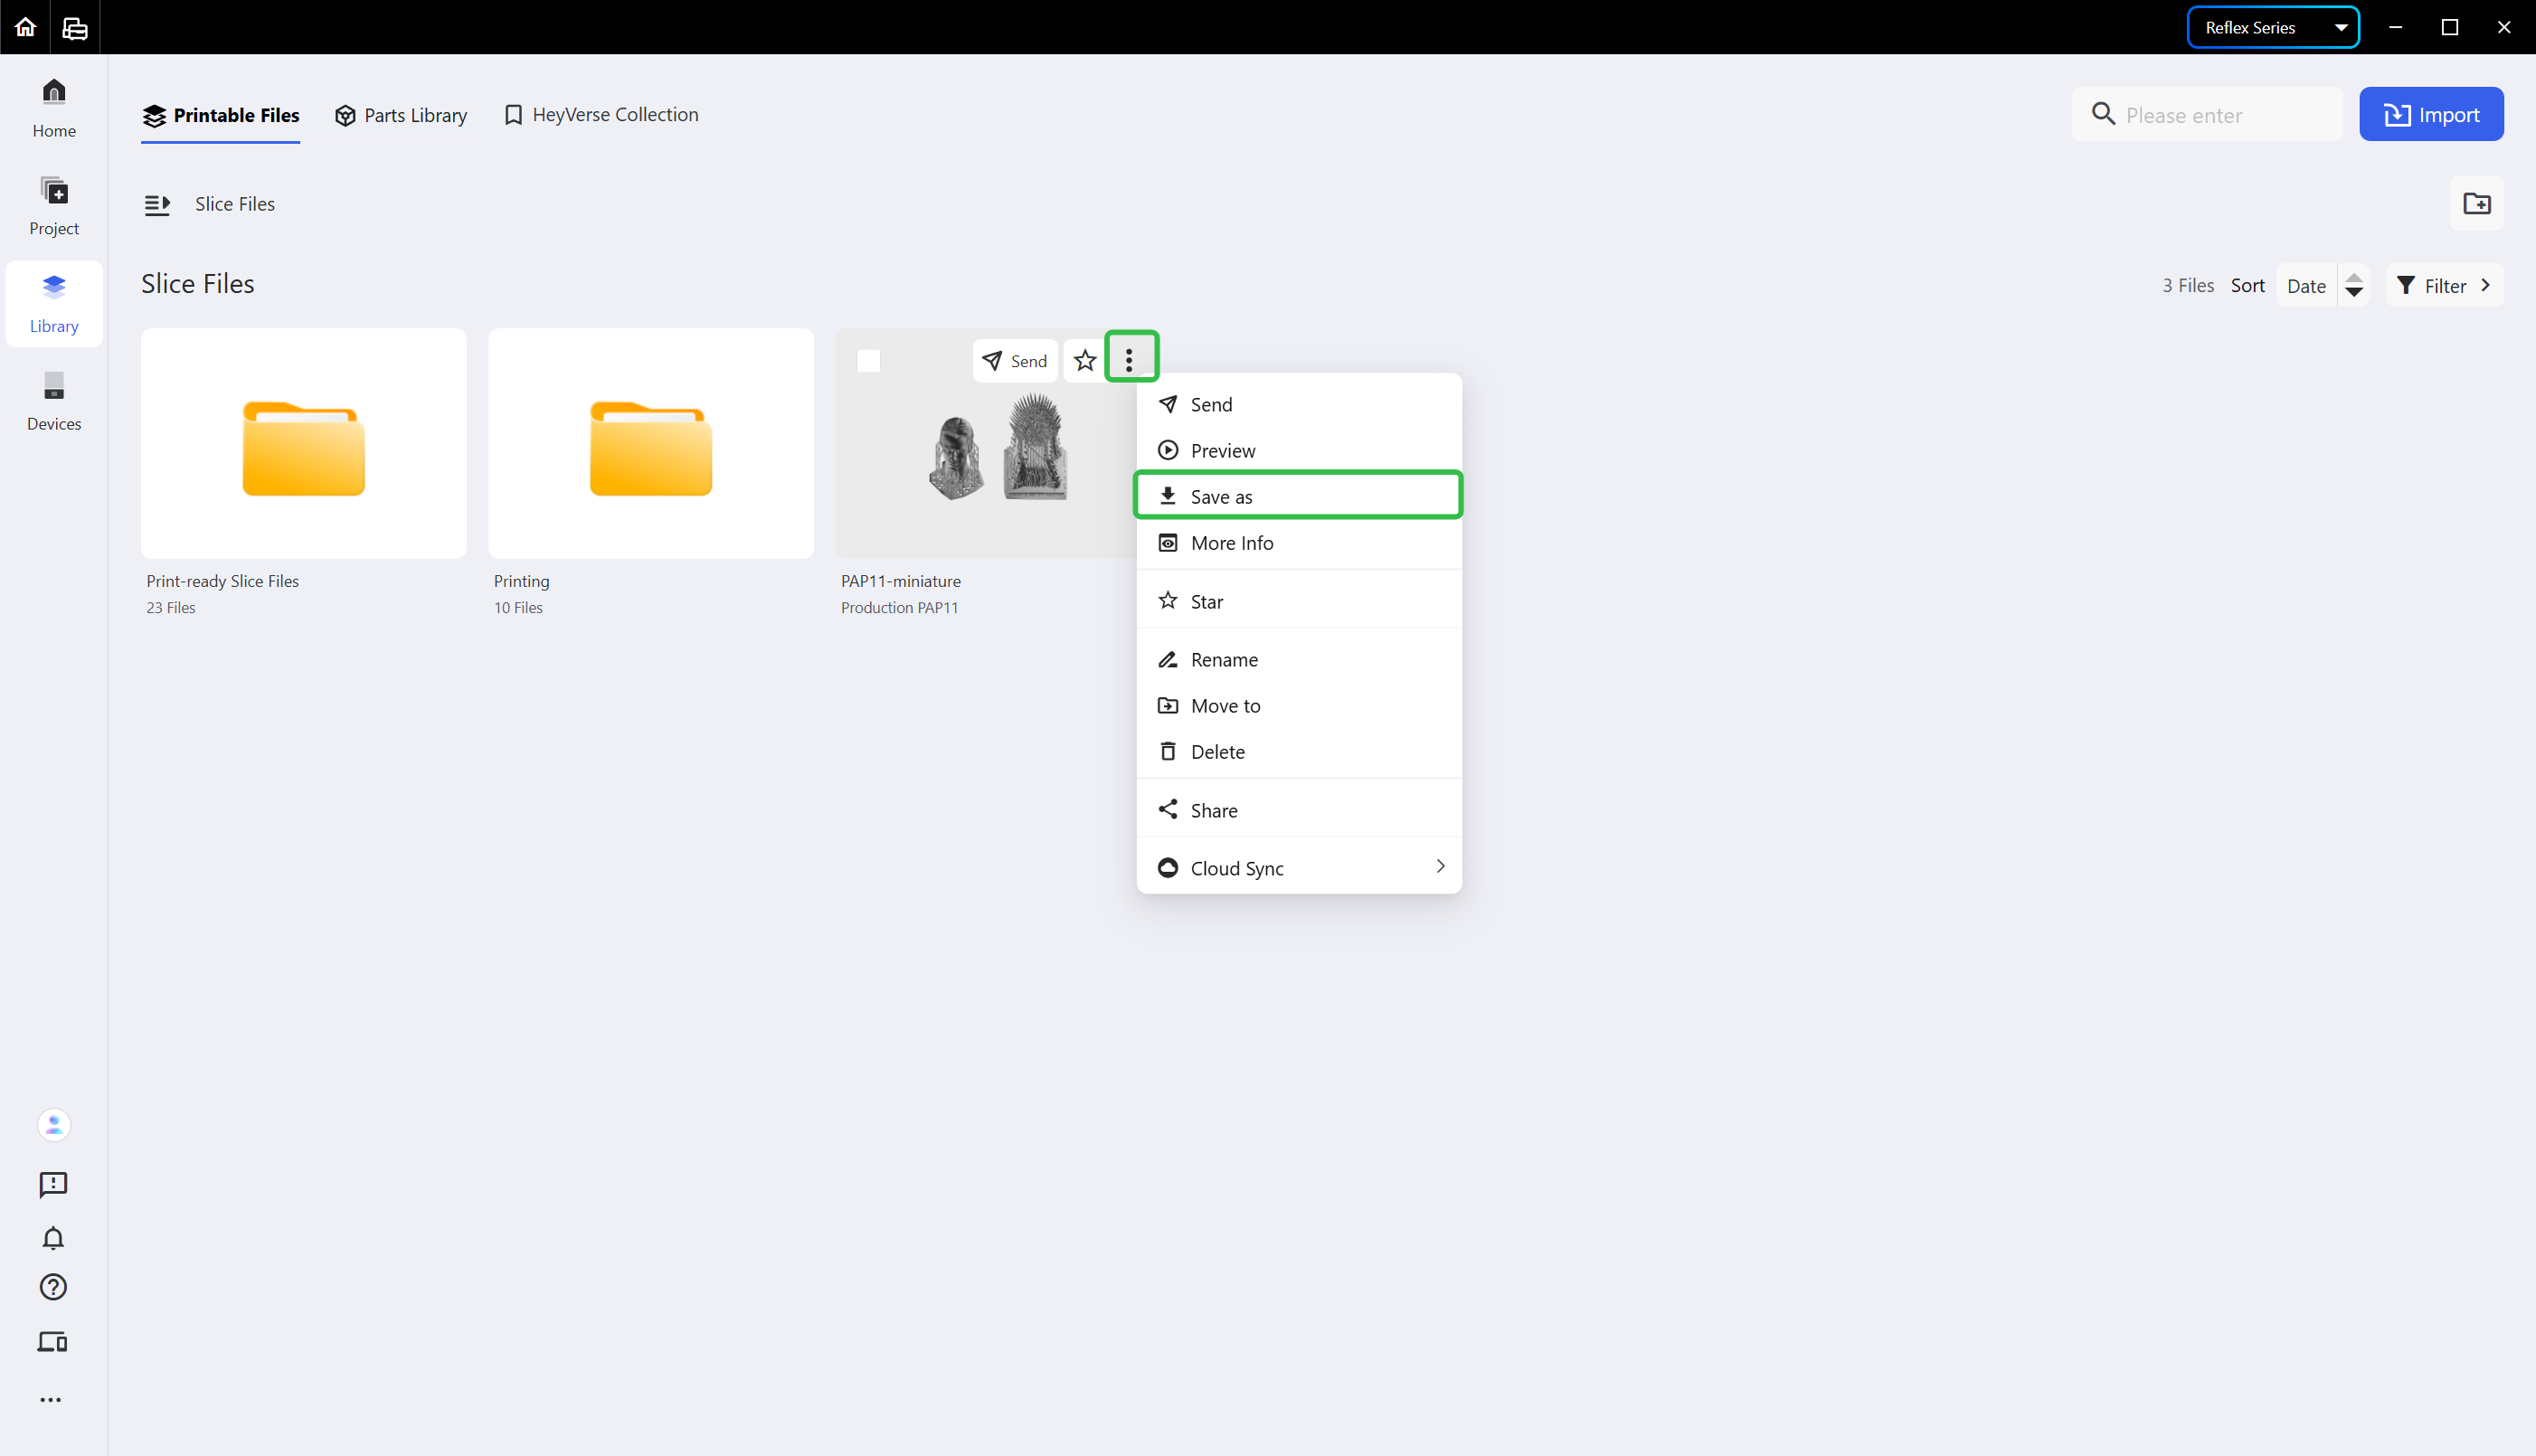
Once the slice file is sent or imported to the printer, you may start the printing on the device.
¶ Update History
| Version | Date |
|---|---|
| 1.0 | 2026-10-26 |